First login and setup
After installing Companion Hub, open the dashboard and finish setup. A new Hub asks for three things, in this order: pair the device with your CI Account, create your admin account or sign in, and complete the onboarding wizard.
Open the dashboard
| Method | URL |
|---|---|
| Desktop app | Opens automatically when the Hub is ready |
| Browser (same machine) | http://localhost:5002 |
| Browser (LAN / SSH) | http://<server-ip>:5002 |
| Tailscale | https://<device>.<tailnet>.ts.net/ (name from Settings → Network), or http://100.x.y.z:5002 when Tailscale runs on the Hub machine itself |
The desktop app opens the dashboard in its own window. You can also use any browser at the URLs above.
Pair the device with your CI Account
A Hub that isn’t paired yet sends you to the device registration page before anything else, and the page has no skip option. A CI Account at hub.ci.computer is required: it provisions your Hub’s web address and unlocks the App Store, remote access, and Organizations.
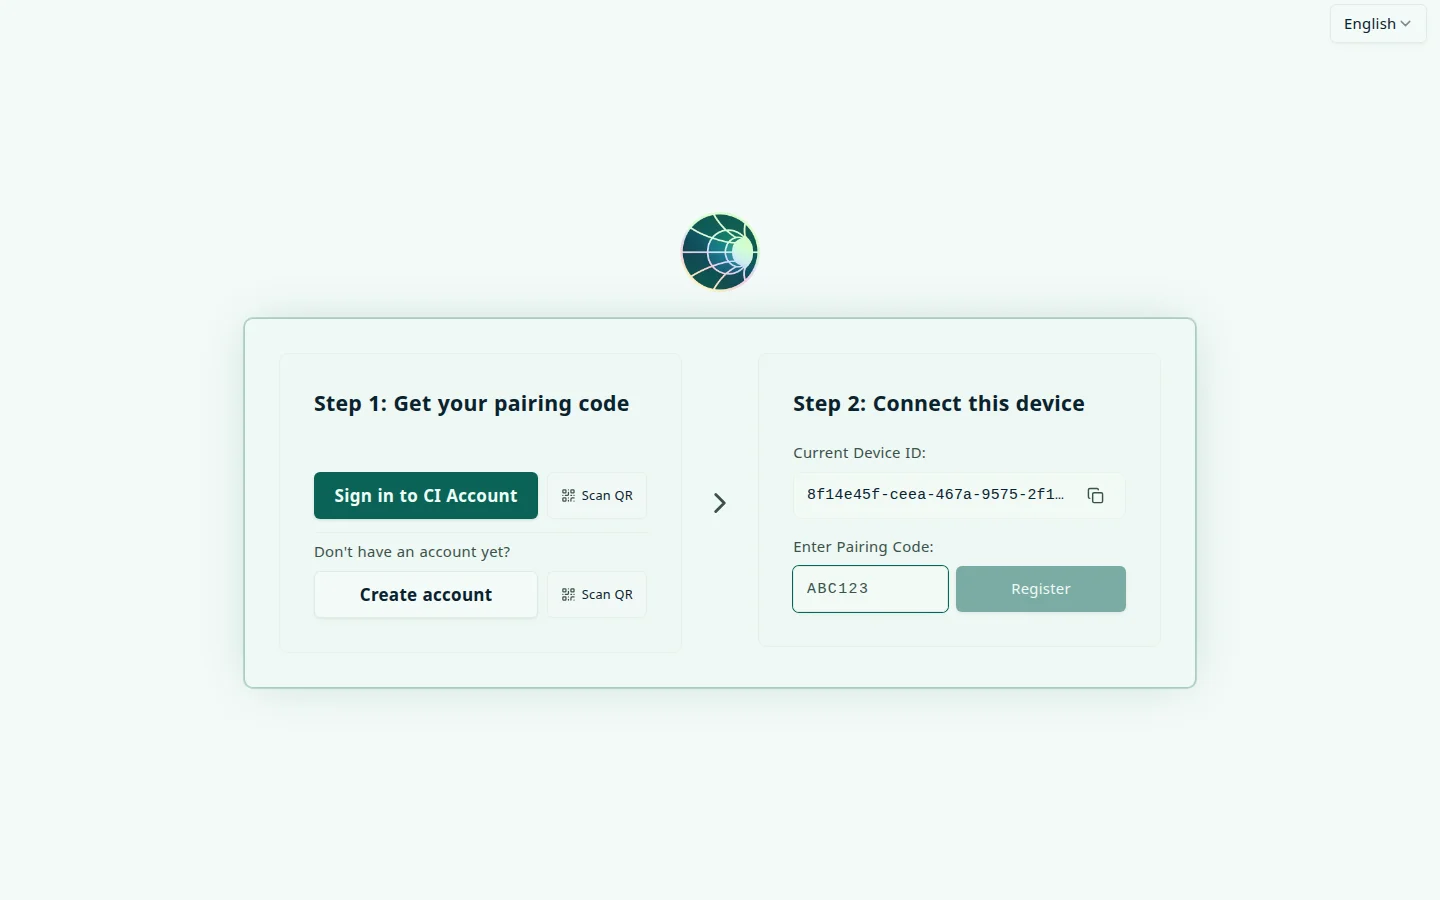
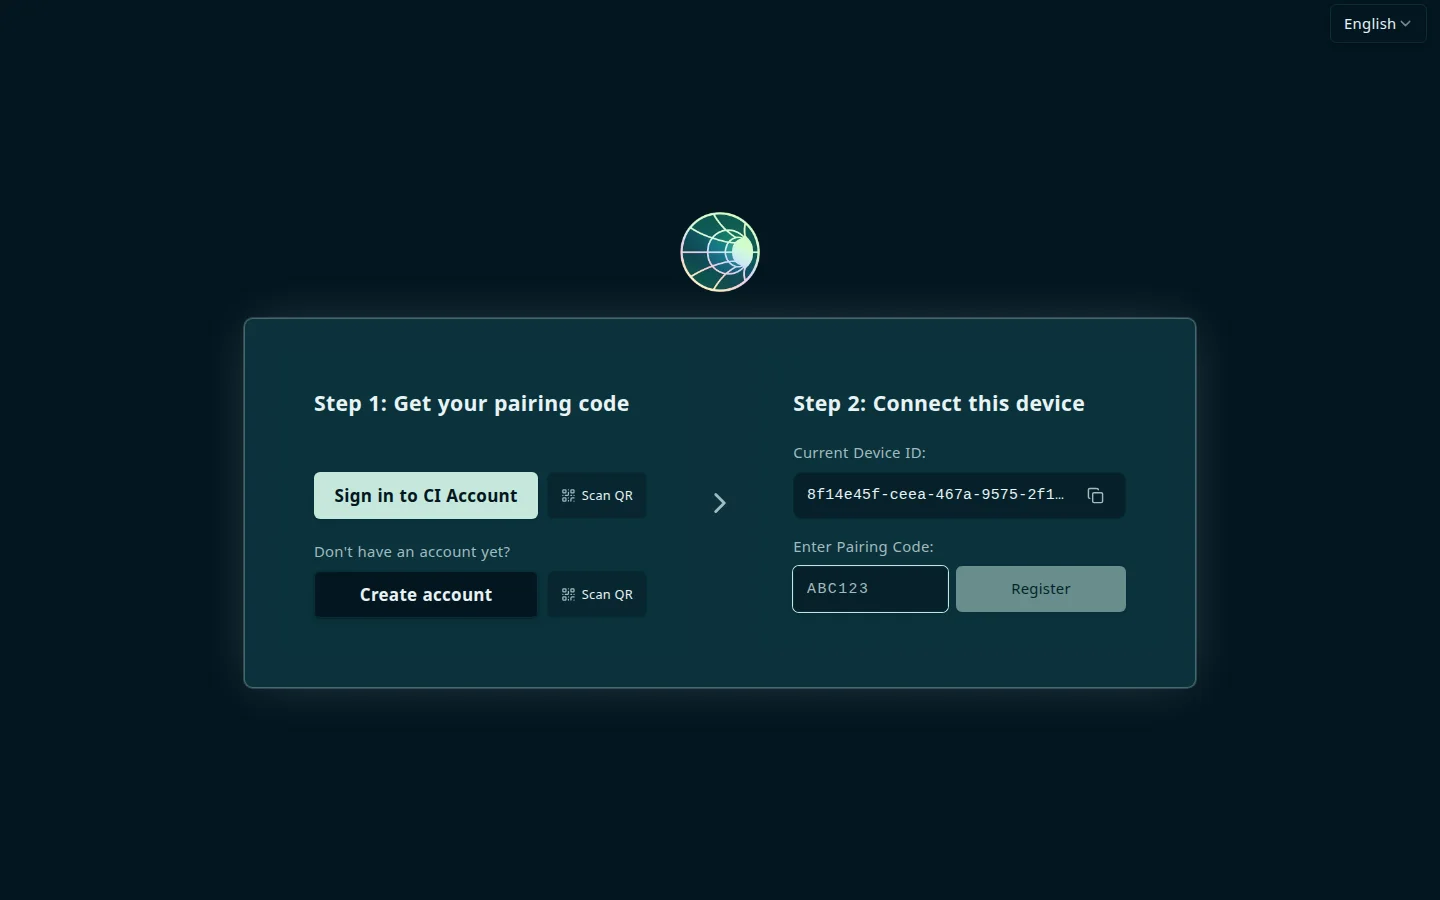
- In Step 1: Get your pairing code, select Sign in to CI Account, or Create account if you don’t have one. Both open hub.ci.computer in your browser. On a machine with no browser, select Scan QR and open the link on your phone.
- In your CI Account, select Add Device, name your Hub, and copy the six-character pairing code.
- Back on the Hub, in Step 2: Connect this device, enter the code in Enter Pairing Code and select Register. The code must be exactly six characters.
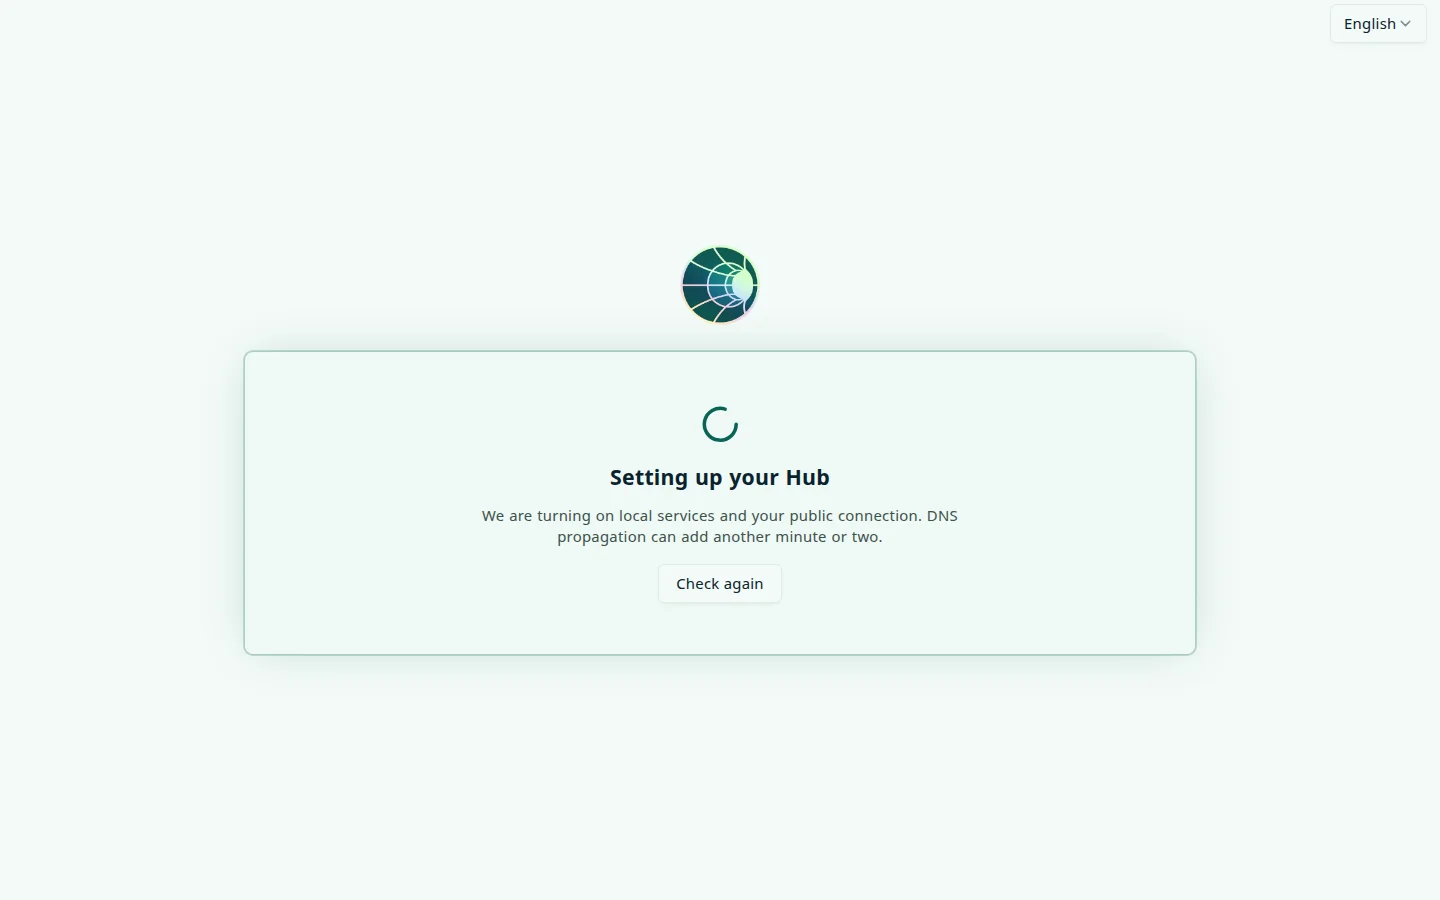
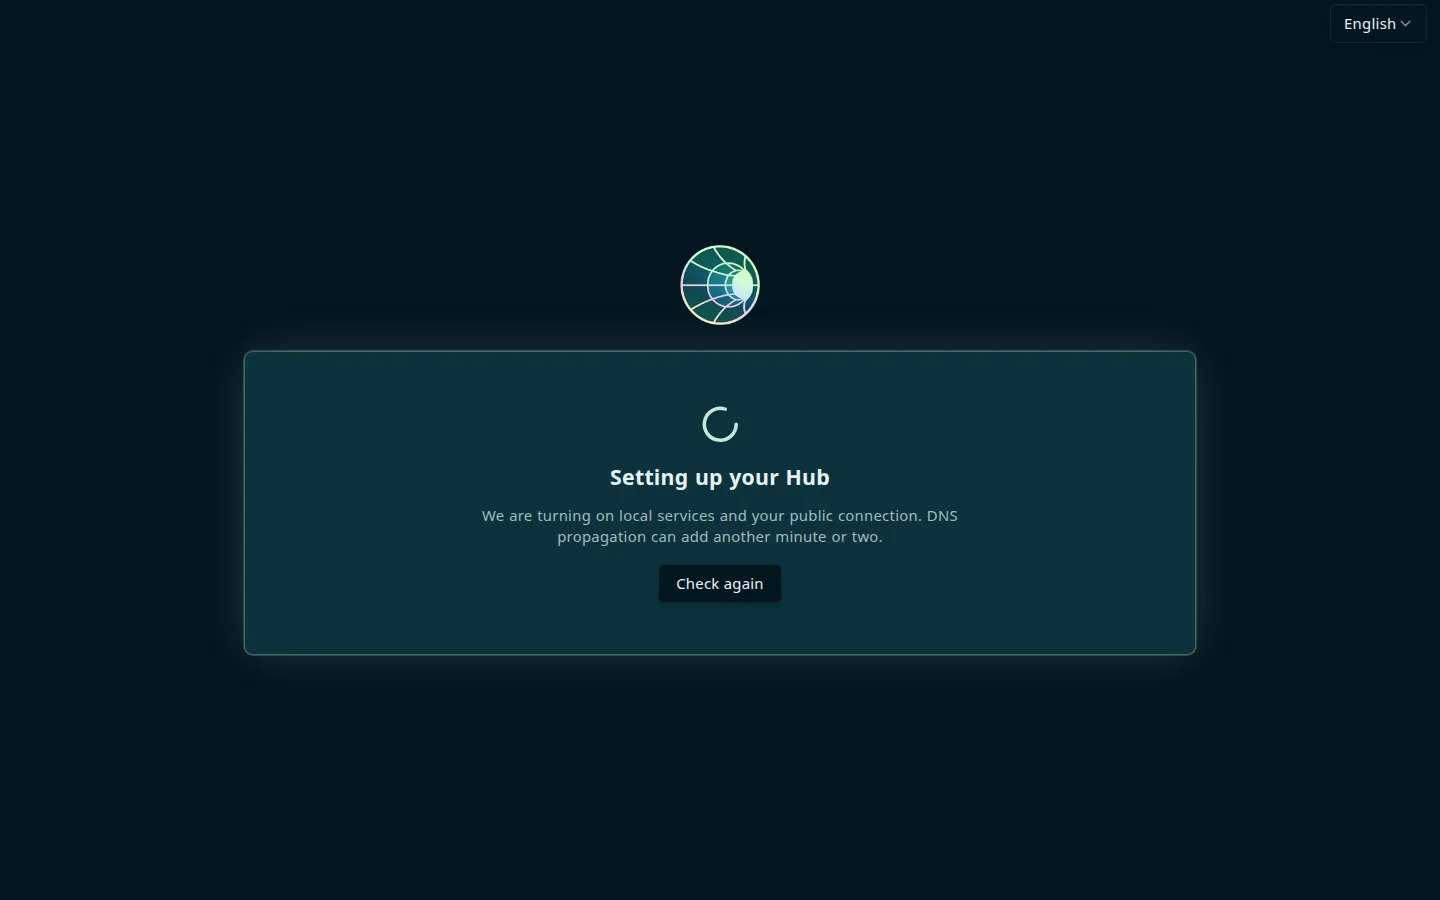
Hub then shows Pairing accepted. Provisioning your domain. DNS and the secure tunnel usually take a few minutes. Keep the window open; it moves on by itself. Partway through, the screen reads Setting up your Hub while Hub turns on its local services and your public connection, and DNS propagation can add another minute or two. Check again looks now.
If you start Add Device on the same machine as the desktop app, the
cihub:// link fills in the code for you. See Device
pairing for the details and for re-pairing a Hub
that already has an account.
Setting up over SSH? Skip the browser: run cihub register --code <pairing-code>
on the Hub, then cihub claim --email you@example.com to create the admin
account. See Installation.
Create your admin account or sign in
Next, Hub shows the sign-in page, titled Login to your local admin account.
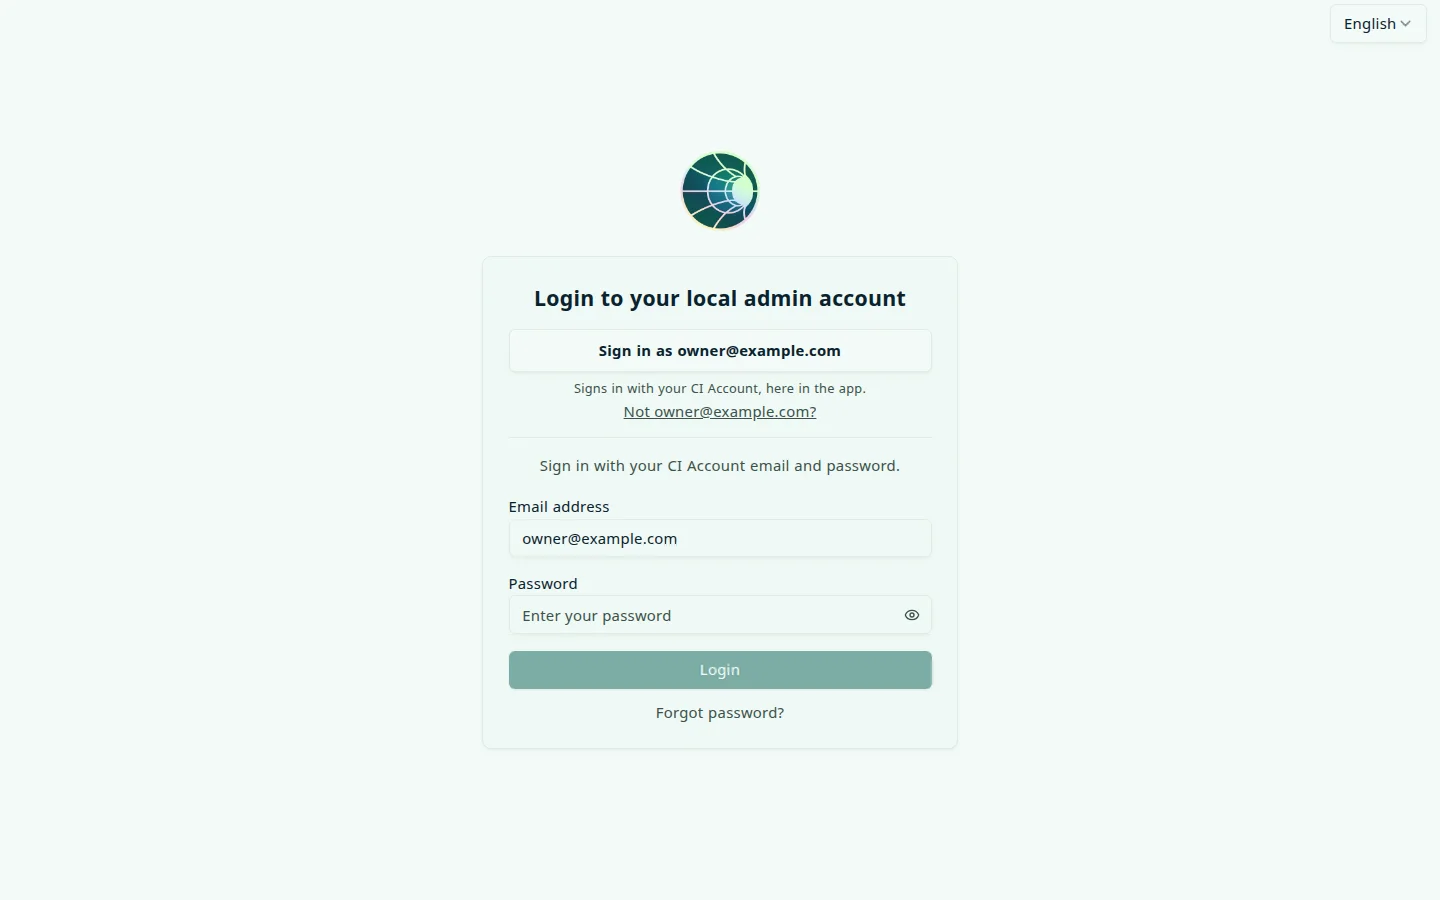
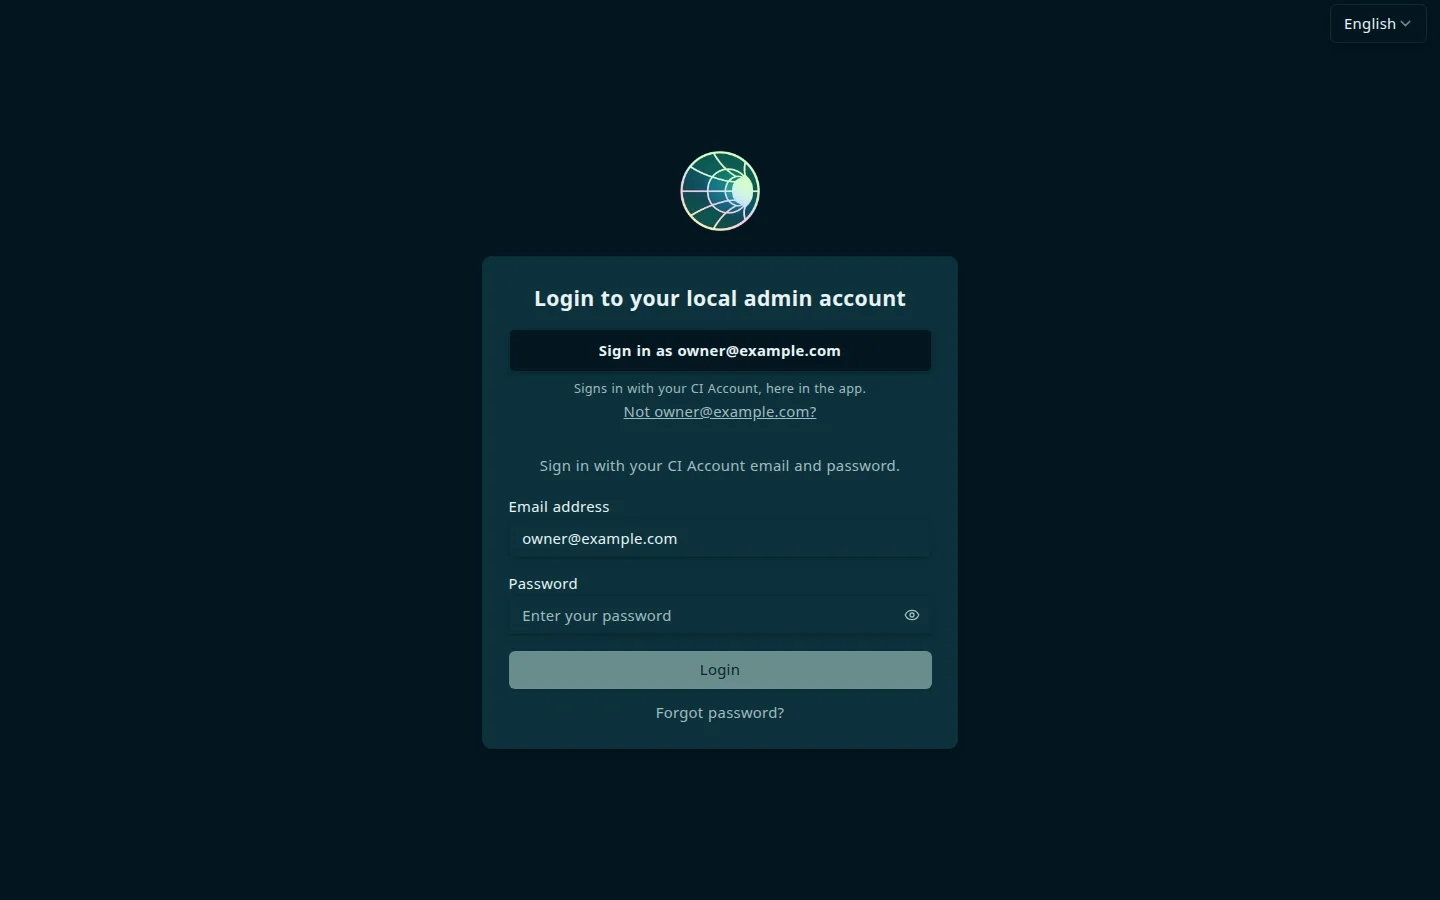
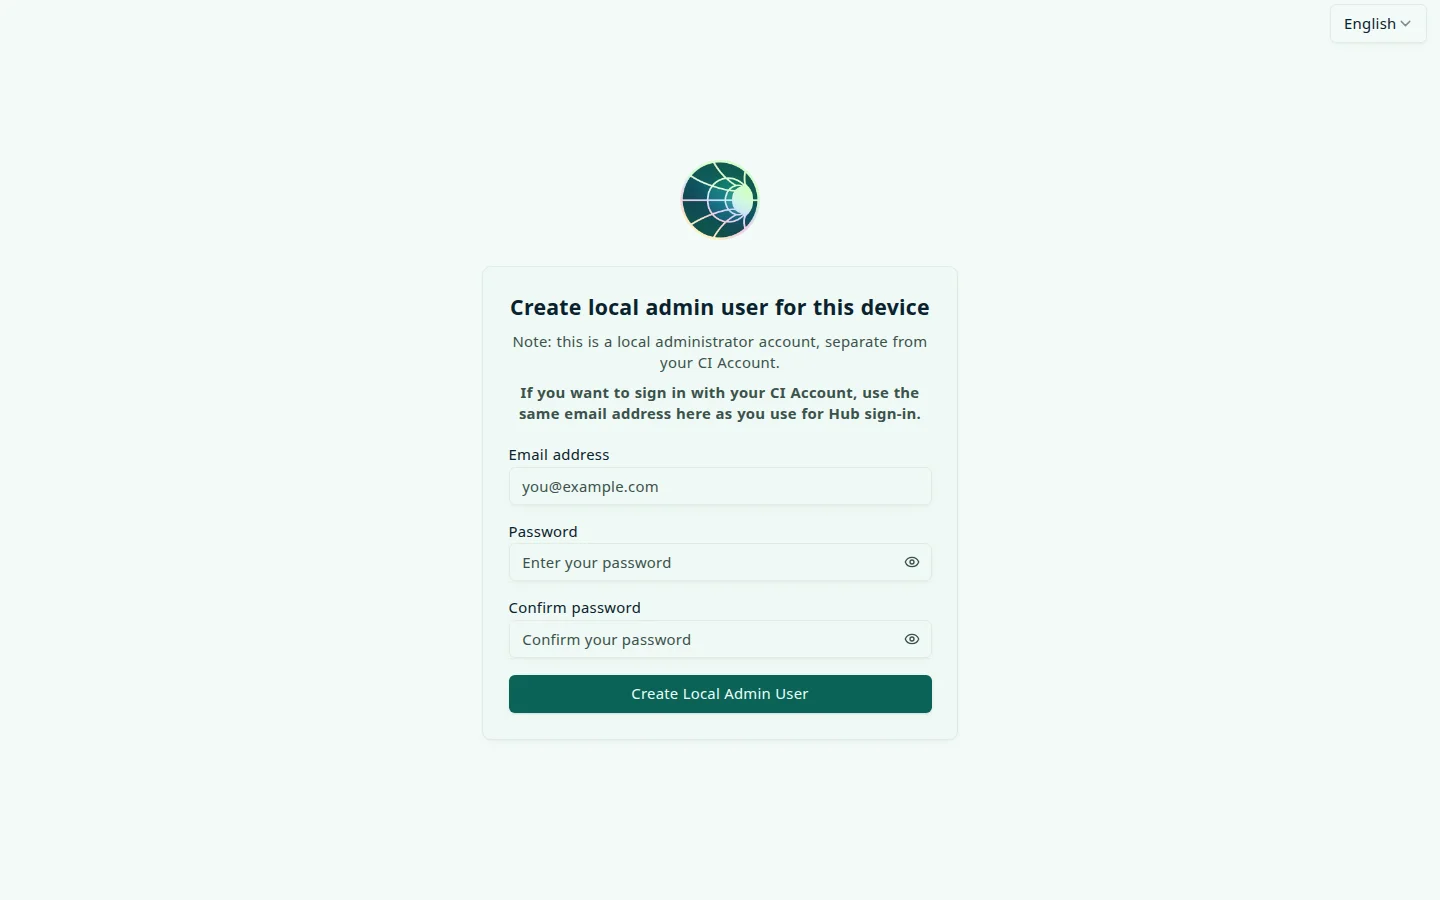
On a Hub that has no admin yet, either of these creates the first admin:
- Sign in using your CI Account. Select the button. Hub opens CI Account sign-in in your browser and returns you to the Hub. In the desktop app, your browser then shows Opening Companion Hub and asks whether to open the app: allow it, or select Open Companion Hub. Continue in this browser carries on in the browser instead. When the app has taken the sign-in, the tab reads Companion Hub is signed in and you can close it. This is the quickest route after pairing, because you’re already signed in to the same account.
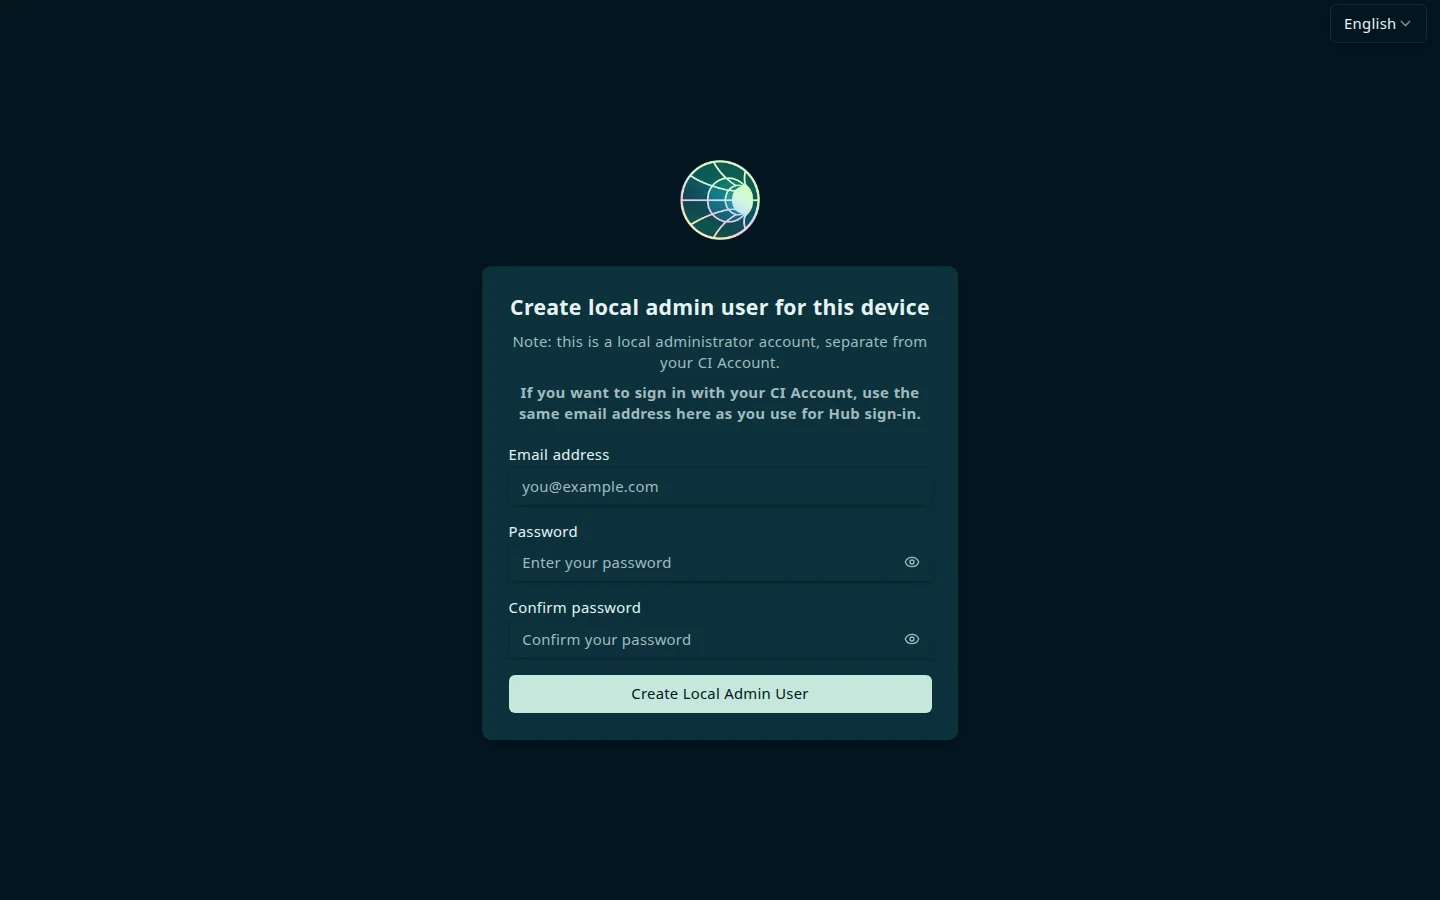
- Create local admin user for this device. If Hub shows this page instead, enter an Email address, a Password, and Confirm password, then select Create Local Admin User. The password needs at least 8 characters with an uppercase letter, a lowercase letter, a number, and a symbol.
Sign-in has limits. If you turned on two-factor authentication, Hub asks for
the 6-digit code after your password. You have five minutes and five tries,
and the fifth wrong code ends the attempt with Too many incorrect 2FA
codes. Sign in again to get a fresh attempt. After ten failed sign-ins in a
minute from one address, Hub answers Too many attempts. Try again in <N>
seconds. Behind Docker Desktop’s port mapping or a proxy that Hub doesn’t
trust, everyone shares one allowance.
Creating a local admin also signs up the same email address and password with CI Account. If that email already has a CI Account — which it does if you just paired with it — Hub answers User already exists; use Sign in using your CI Account instead. With a new email, your CI Account currently requires email verification: verify the address from the email you receive, then sign in on the Hub with the same email and password.
Complete the onboarding wizard
After you sign in, the Onboarding wizard configures remote access, an AI agent, local AI, and Companion Memory, and recommends apps — all on one page with an Install & Finish button.
Review settings
Open Settings (the gear icon in the top bar). Useful first stops:
- Security — change your username or password and turn on two-factor authentication.
- Network — connect Tailscale and see your Hub’s Tailscale address.
- AI — change the inference engine, models, and cloud provider keys you picked in the wizard.
- Settings — domain, ports, and Allow anonymous error monitoring. Crash reporting is on by default in distributed builds; turn the switch off to stop it. See Crash reporting.
The wizard runs once. After it finishes, every login lands on the dashboard:
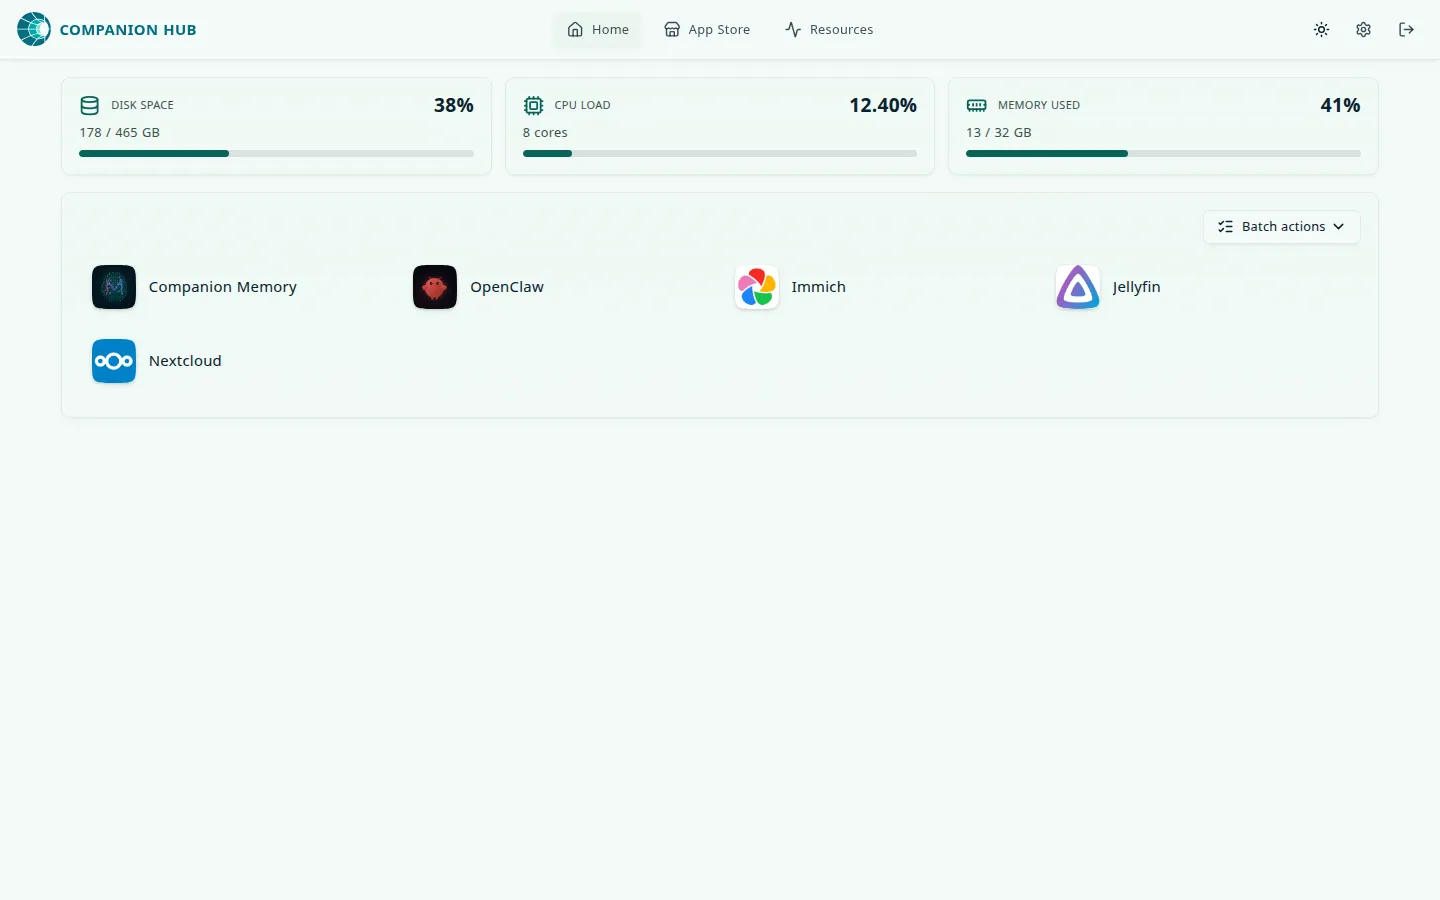
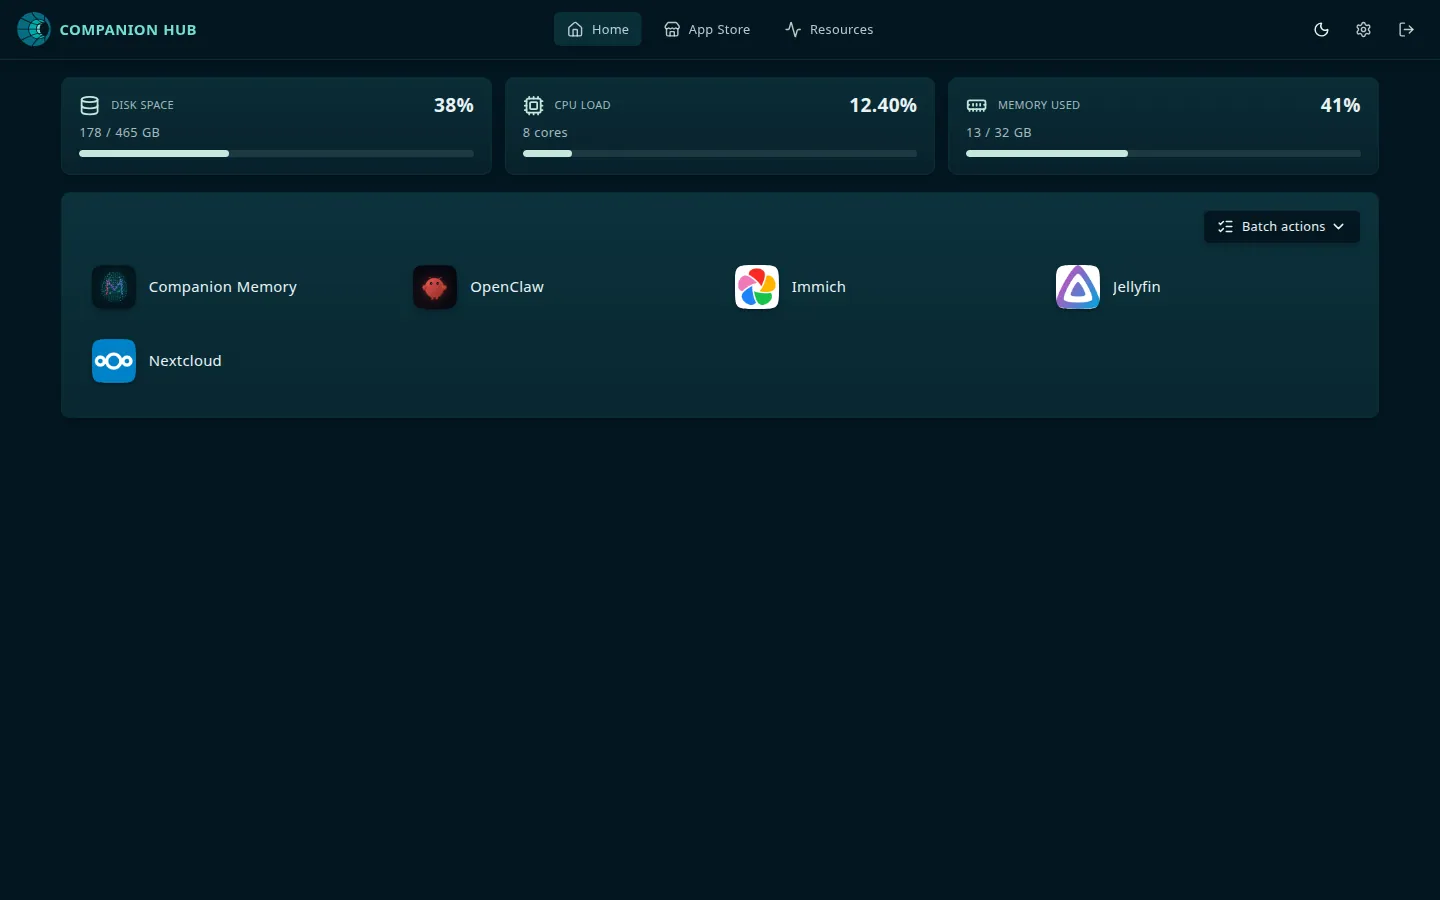
Your Hub sign-in is your CI Account. Keep its password secure: the Hub also keeps a hashed copy on your machine so you can sign in when the CI Account can’t be reached.