Account and login
A CI Account at hub.ci.computer is required. It manages device pairing, Organizations, and remote access, and it is how you sign in to your Hub: the Hub’s own sign-in page on the dashboard at :5002 checks your CI Account. There is no separate Hub-only login.
Creating an account
Open hub.ci.computer , select Sign in, then select Don’t have an account? Sign up. If you start from your Hub’s device registration page, use its Create account button instead, which opens the same form.
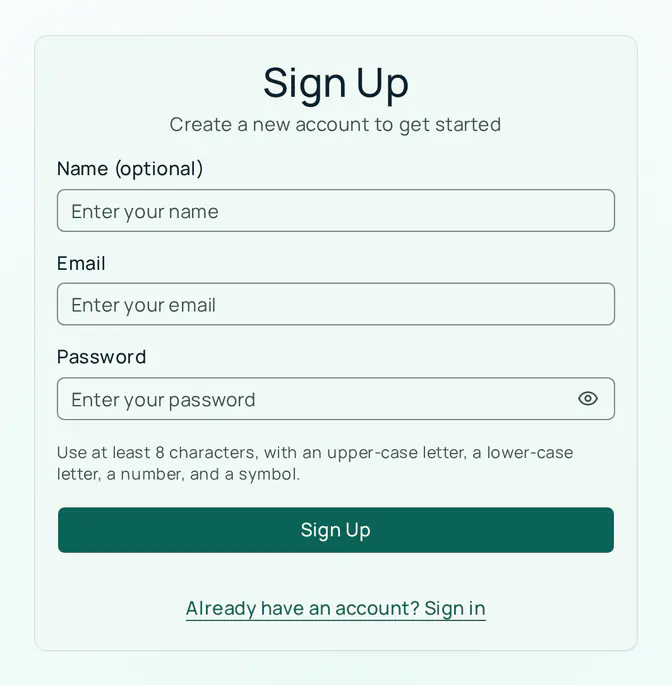
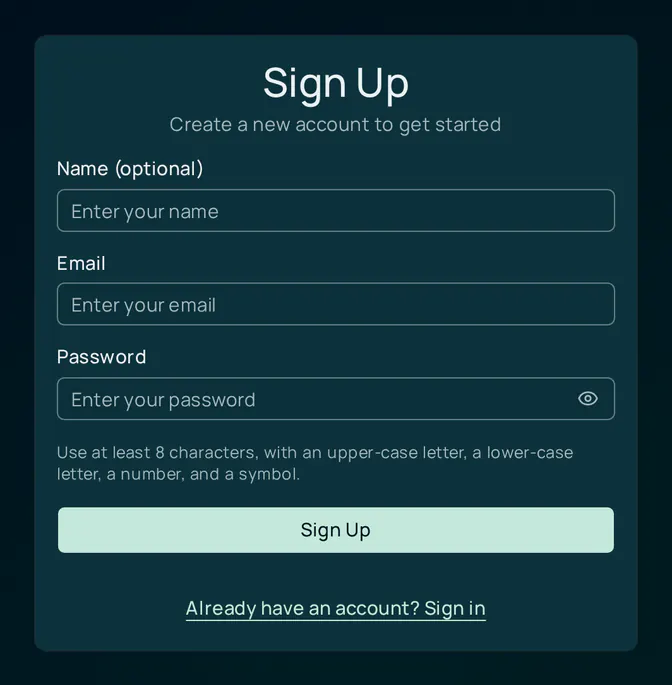
- Enter your email address and a password. Name is optional and becomes your display name.
- Choose a password with at least 8 characters, including an upper-case letter, a lower-case letter, a number, and a symbol. The form checks this before it sends anything.
- Select Sign Up. The page changes to Check your email.
- Open the message titled Confirm your Companion Intelligence account and select Confirm email. The message comes from
noreply@mail.ci.computer. Check your spam folder if it does not arrive.
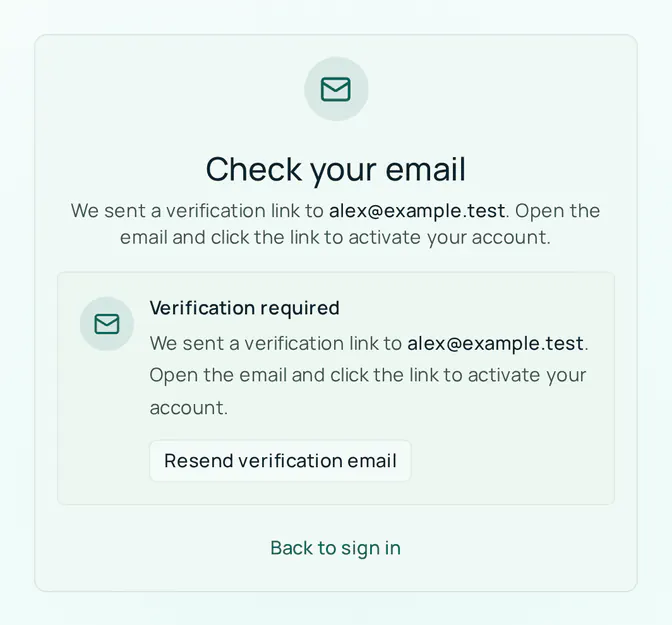
The confirmation link expires after one hour. If it expires, or you never received it, select Resend verification email on the Check your email page. If you already left that page, try to sign in: the Email not verified notice offers the same button. You cannot sign in until the address is confirmed.
After you confirm, you are signed in and land on Home. If you have no organization yet, Home shows a Set up an organization card. See Organizations and Device pairing for what to do next.
If you started from your Hub’s registration page and follow the confirmation link, you land on Home without the Add Device step. Create your organization if Home asks for one, select Add Device, and enter the code on your Hub as usual.
Authentication methods
Your CI Account supports:
- Passkeys (WebAuthn) — passwordless sign-in with Face ID, Touch ID, Windows Hello, a synced passkey, or a hardware key
- Email and password — with mandatory email verification
- Two-factor authentication (TOTP) — an authenticator app code, asked for after a password sign-in
There is no sign-in with Google, GitHub, or another outside identity provider.
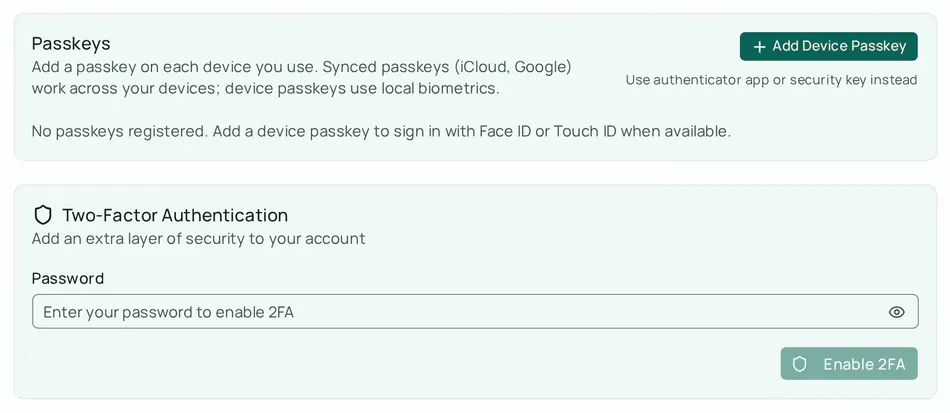
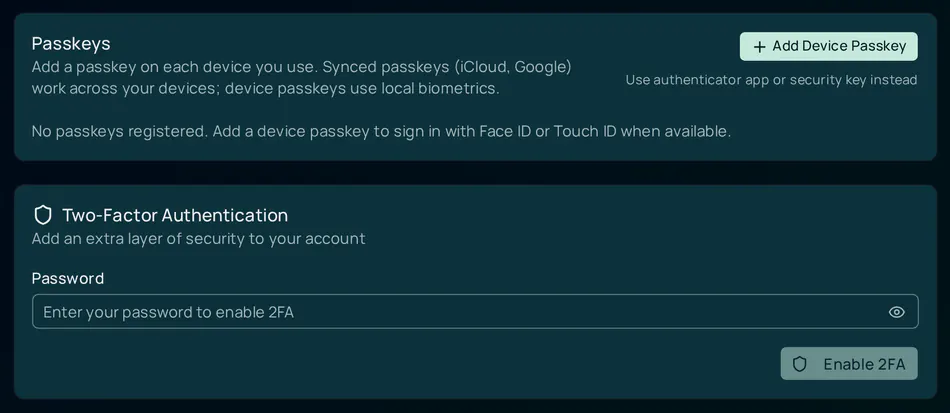
Add a passkey under User settings → General → Passkeys. Select Add Device Passkey to use this device’s biometrics, or Use authenticator app or security key instead for a security key. After some password sign-ins, the Portal offers Enable Face ID or Touch ID?; select Not now to skip it.
Passkeys apply when you sign in at hub.ci.computer. To sign in to a Hub with a passkey, choose Sign in using your CI Account on the Hub, which sends you to hub.ci.computer.
To turn on two-factor authentication, open User settings → General, find Two-Factor Authentication, enter your password, and follow the prompts. Scan the QR code with an authenticator app, save the Backup Codes, then enter a verification code to finish. Two-factor authentication applies to password sign-ins.
Signing in
The sign-in form leads with Sign in with Passkey. Your browser or password manager then offers the passkeys it holds for hub.ci.computer.
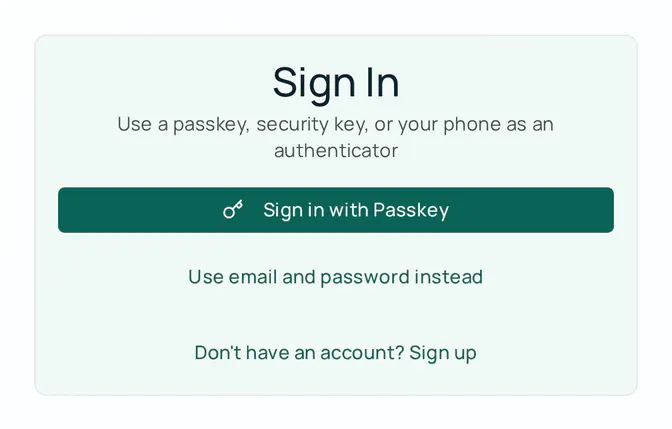
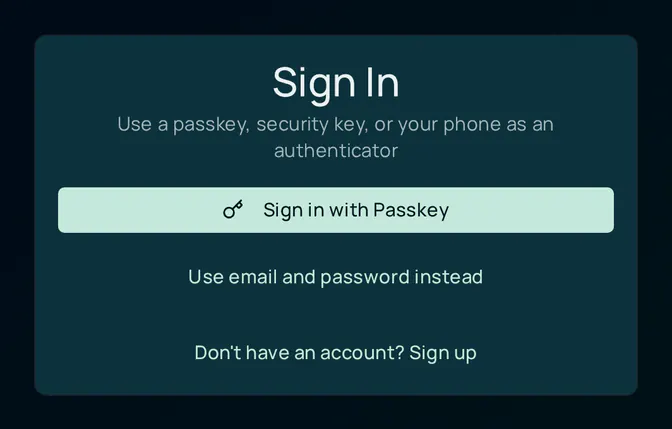
To use a password instead, select Use email and password instead, enter your email address and password, and select Sign In. If you turned on two-factor authentication, enter the code from your authenticator app when asked.
If you forget your password, select Forgot password? on the password form. The reset email contains a link that expires after one hour. After a reset, the Portal signs you out everywhere.
Signed in, you land on Home. From there you can:
- Add and manage paired Hub devices
- Generate pairing codes for new devices
- Add people in Organizations and grant them access to your devices
- See each app’s public address and health
- Install apps remotely on paired Hubs
Signing in to a Hub with your CI Account
On a Hub’s sign-in page you have two ways in:
- Sign in using your CI Account — the Hub sends you to hub.ci.computer to sign in, then brings you back. Use this for a passkey or two-factor code.
- Email and password — enter your CI Account email and password in the Hub’s own form. The Hub checks them with hub.ci.computer. It keeps a hashed copy of your password, so that if hub.ci.computer is unreachable you can still sign in with an email and password you have used on that Hub before. New accounts need hub.ci.computer.
The first person to sign in to a paired Hub becomes its first operator. Everyone else must belong to the organization that owns the Hub; otherwise the Hub tells them to ask an admin to invite them. On a headless Hub you can create the first operator without a browser with cihub claim --email <address>.
If you forget your password, select Forgot password? on the Hub’s sign-in page. The Hub asks hub.ci.computer to send the reset email.
A Hub with no operator yet can show a form titled Create local admin user
for this device. It does not create a Hub-only account: it signs up a new CI
Account with the email and password you enter, and hub.ci.computer sends the
usual confirmation email. If you already have a CI Account — you do if you
paired this Hub — the form fails with “User already exists”. Open the Hub’s
sign-in page at /login instead and choose Sign in using your CI Account.
The first time you sign in to a Hub through hub.ci.computer, a Sign in to screen names the application and the machine. Allow it only if you started the sign-in. To see or withdraw these approvals later, open User settings → Sign-in approvals and select Revoke. A revoke does not sign you out of a Hub you are already using; it makes the next sign-in to that machine ask again.
The Hub also has its own two-factor setting under Settings → Security, separate from the one on your CI Account.
Where you sign in
| Where | What it checks |
|---|---|
| hub.ci.computer | Your CI Account: a passkey, or email and password, plus a two-factor code if you turned it on |
Your Hub, :5002 | Your CI Account: Sign in using your CI Account, or your CI Account email and password. The Hub adds its own two-factor setting and remembers a hashed password for offline sign-in |
Regenerating pairing codes
To add a new device, use Add Device on Home and see Device pairing.
To reconnect a Hub that already appears in your account, or if you closed the dialog before copying the code:
- Sign in at hub.ci.computer
- On Home, open the Device options menu on the Hub’s card
- Select Regenerate pairing code and confirm
- Copy the new 6-character code and enter it on your Hub
Only an owner or admin of the organization can regenerate a code. Each code is single-use, works for 7 days, and is shown once. Generating a new code cancels the previous one. Add Device creates a new device, so use it only for a Hub that is not in your account yet.
Signing in a CLI or headless app
Some first-party tools — CI Hermes, the cihub command-line tool, and other command-line or headless clients — have no
browser of their own to complete a normal sign-in. These use the same device
authorization flow as smart TVs and streaming-stick apps:
- The tool prints or displays a short code (for example
WDJB-MJHT) and a link, or shows it as a QR code - On any device with a browser — your phone, laptop, whatever’s nearby — open the link (or scan the QR) and sign in to your CI Account if you aren’t already
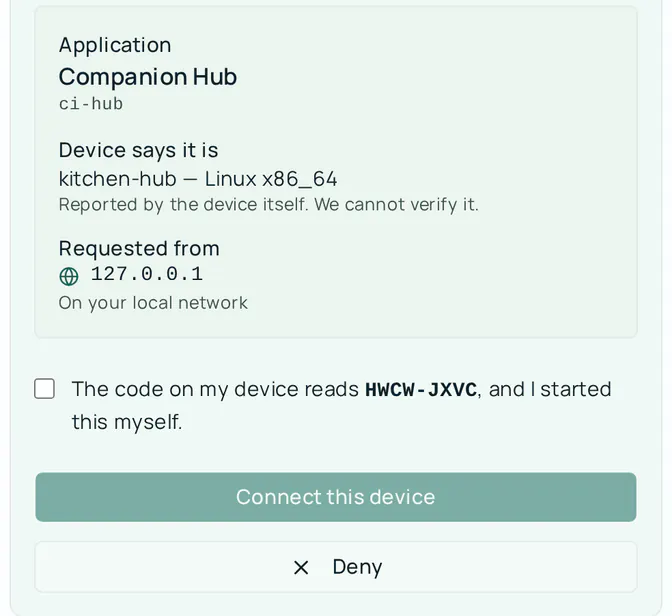
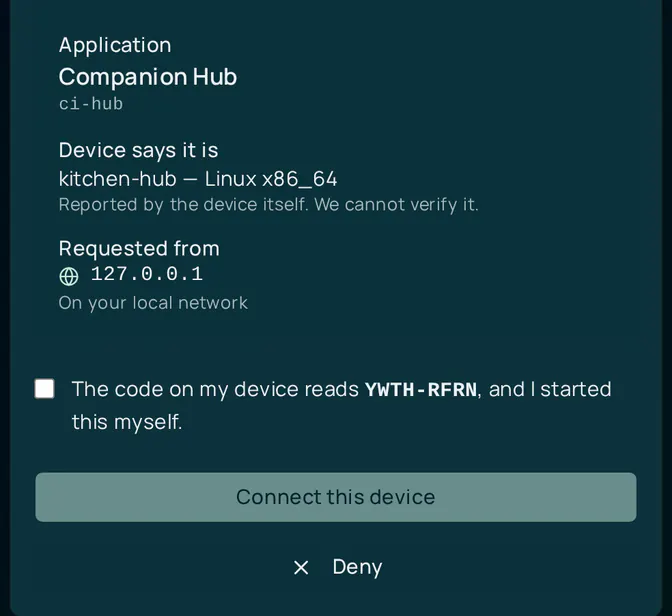
- You’ll land on a Connect a device screen. It names the application, shows the device name and platform the device reports for itself (the CI Account cannot verify them), and shows the network address the request came from. A warning appears if the request came from the public internet instead of your home network or tailnet
- Check that the code on the screen matches the one the tool printed. Tick the box that says you started the request, then select Connect this device. Select Deny to refuse it
The code has 8 letters and expires after five minutes. If it expires, start again from the tool.
The approval always happens in a browser you are holding, never inside the tool:
sequenceDiagram
    participant T as CLI or headless tool
    participant Y as You, in any browser
    participant P as hub.ci.computer
    T-->>Y: Short code (e.g. WDJB-MJHT)<br/>and a link, or a QR code
    Y->>P: Open the link or scan the QR,<br/>sign in if you are not already
    P-->>Y: Connect a device: the application,<br/>its device, roughly where from
    Y->>P: Check the code matches the one<br/>the tool printed, then approve
    P-->>T: Access to your account
    P-->>Y: Email: a new device was approved
Always check that the code on the approval screen matches the code your tool printed before approving. If someone sends you a link or a QR code and asks you to approve it, don’t — legitimate requests come from a device in front of you, not from a message. Approving a code you didn’t generate yourself hands that stranger’s device access to your account.
You’ll also get an email when a new device is approved this way, so you have a record of it even if you approved by habit.
Privacy
Your CI Account stores device metadata (name, hardware ID, online status, tunnel ID), the apps you expose with their public addresses, and what each Hub reports about itself when it checks in about once an hour: Hub version, setup phase, tunnel health, and its Tailscale name and connection state. Your app data stays on your Hub — your CI Account does not access file contents, databases, or app logs.
Hub reports crashes to Sentry by default in released builds. Turn it off with Allow anonymous error monitoring in the General settings card on the Hub’s Settings tab, or set CI_TELEMETRY=off in the Hub’s .env. See Crash reporting for what a report contains.
Account security
- Use a strong, unique password for your CI Account, or sign in with a passkey. The Hub accepts the same password, so treat a Hub that others can reach with the same care
- If you suspect a compromised pairing, open Home, open the Hub’s Device options menu, and select Regenerate pairing code to cancel the old code. To cut the Hub off entirely, select Delete device. On the Hub, Settings → Network → This Hub in your account has Remove from account and Reset this Hub only
- Review User settings → Sign-in approvals and revoke machines you no longer use
Deleting your account
Open User settings → General and select Delete account. The Portal first shows what it will remove. If you are the only owner of an organization, it stops and asks you to make another member an owner first, or to remove the organization separately. Otherwise, type your email address to confirm. Organizations that have another owner, and their devices, stay in place.
Troubleshooting
| Issue | Fix |
|---|---|
| No confirmation email | Check spam for noreply@mail.ci.computer, then select Resend verification email |
| Confirmation link says it expired | Links last one hour. Resend it from the sign-in page |
| A rate-limit error (HTTP 429) | Sign-up, sign-in, and password reset are rate limited. Sign-up allows 5 attempts an hour from one network address and 3 an hour for one email address. Wait, then try again |
| Passkey sign-in does nothing | Select Use email and password instead, sign in, then add a passkey on this device under User settings → General |
| The Hub says “Too many incorrect 2FA codes” | After five wrong codes the Hub ends the pending sign-in, and the code step also expires after five minutes. Sign in again to get a fresh attempt |
See Device pairing for the full pairing flow.