Backup and restore
Companion Hub backs up apps individually. Each backup is a snapshot of one app, taken while the app is stopped so the files are consistent. It holds the app’s data folder, its installed definition (the manifest and compose files), and any overrides you keep in user-config. Data an app keeps in a Docker named volume instead of its data folder is not in the archive.
Backing up an app
Open an installed app’s page (select its tile on Home) and scroll to the Backups card, below the access points.
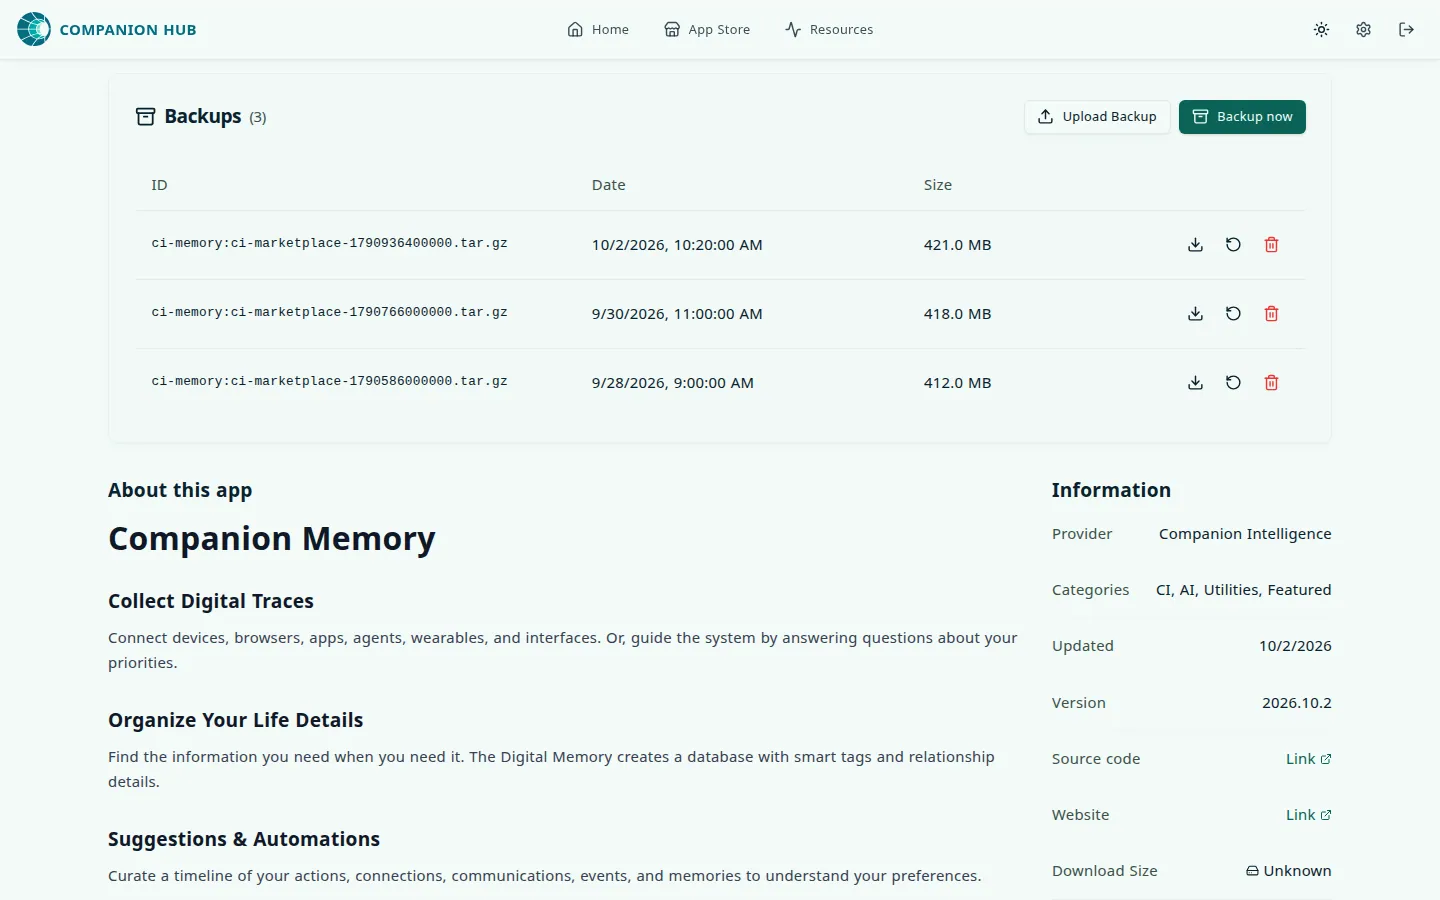
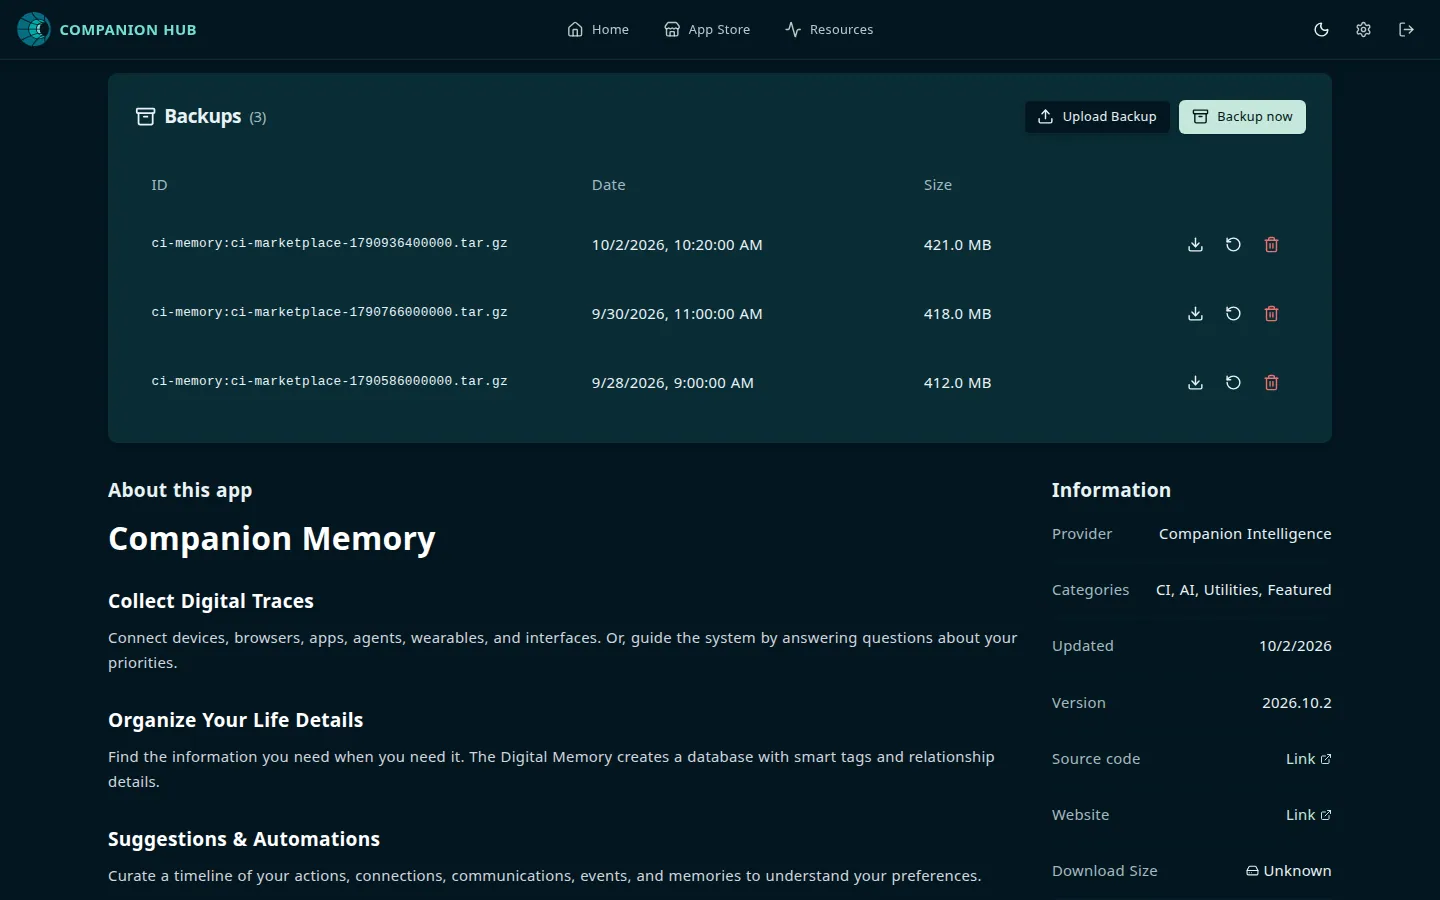
- Backup now asks you to confirm. Hub then stops the app, archives it, and starts it again if it was running. The app shows Backing up until it finishes.
- Upload Backup adds a
.tar.gzfile of up to 1 GB to the list. - The icons on a row download, restore, or delete that backup. Restore and delete ask first. While the app is installing, updating, backing up, restoring, or changing state, the card disables everything except download.
The list shows the newest backups first, ten to a page, with each file’s name, date, and size. Backups also happen in two other ways:
- Before an update. The app update page has a Backup switch that is on by default. Hub pulls the new images first, so a failed download leaves the app running. With the switch on, Hub then stops the app and backs it up. With it off, Hub copies the app’s files to a temporary snapshot instead. If a later step fails, Hub puts the old files back, restores the data too if the new version had already started, and starts the old version again. You see Failed to update app
<name>, see logs for more details. Hub deletes the snapshot after a successful update, and an app that was stopped stays stopped. - On demand, through Hub MCP. An agent connected to your Hub’s MCP server can call
hub_backup_app,hub_list_app_backups,hub_restore_app_backup, andhub_delete_backup. You can also run these tools yourself from the tool catalog in Settings → MCP, with JSON arguments such as{"appUrn": "nextcloud:ci-marketplace"}. Restore and delete are destructive: an agent’s key needs full capability. Back up and prove the restore walks through the tools. - On uninstall. Backups follow the Delete all data switch in the uninstall dialog, which is on by default. With it on, Hub deletes the app’s data and backups once the uninstall succeeds. With it off, both stay, and the dialog says This app’s data and backups stay on this Hub.
Larger apps take longer, and the app is unavailable for the duration. A failed backup leaves the app Stopped and shows Failed to backup <name>, see logs for more details.
Restoring a backup
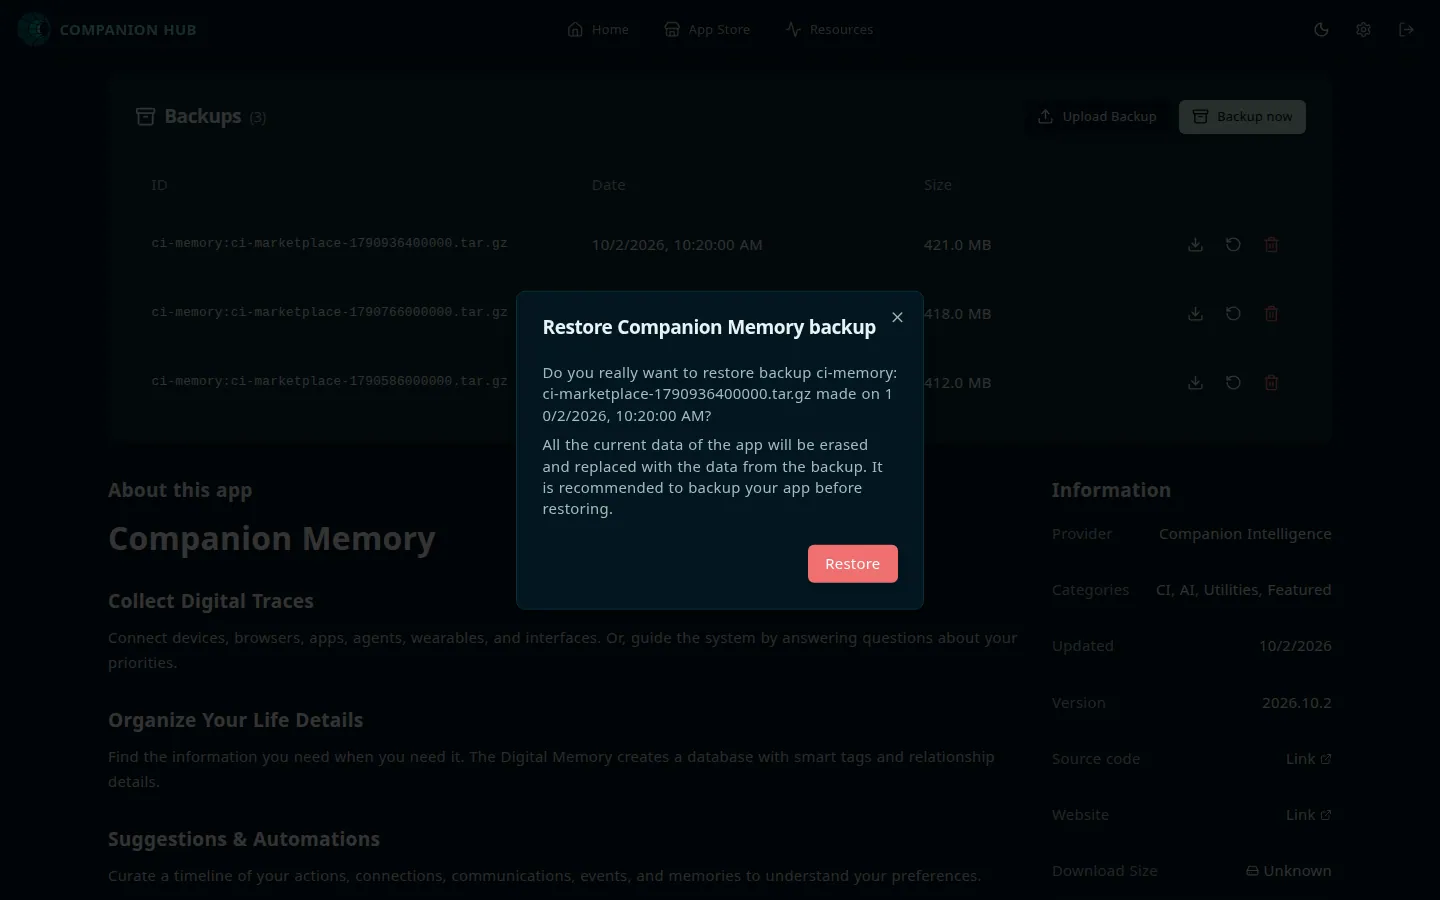
Select the restore icon on a row. The dialog warns that all the current data of the app will be erased and replaced with the backup’s data. Restoring overwrites the app’s current data, installed definition, and overrides, and Hub does not take a backup of them first. Back up before you restore if you might want the current state back.
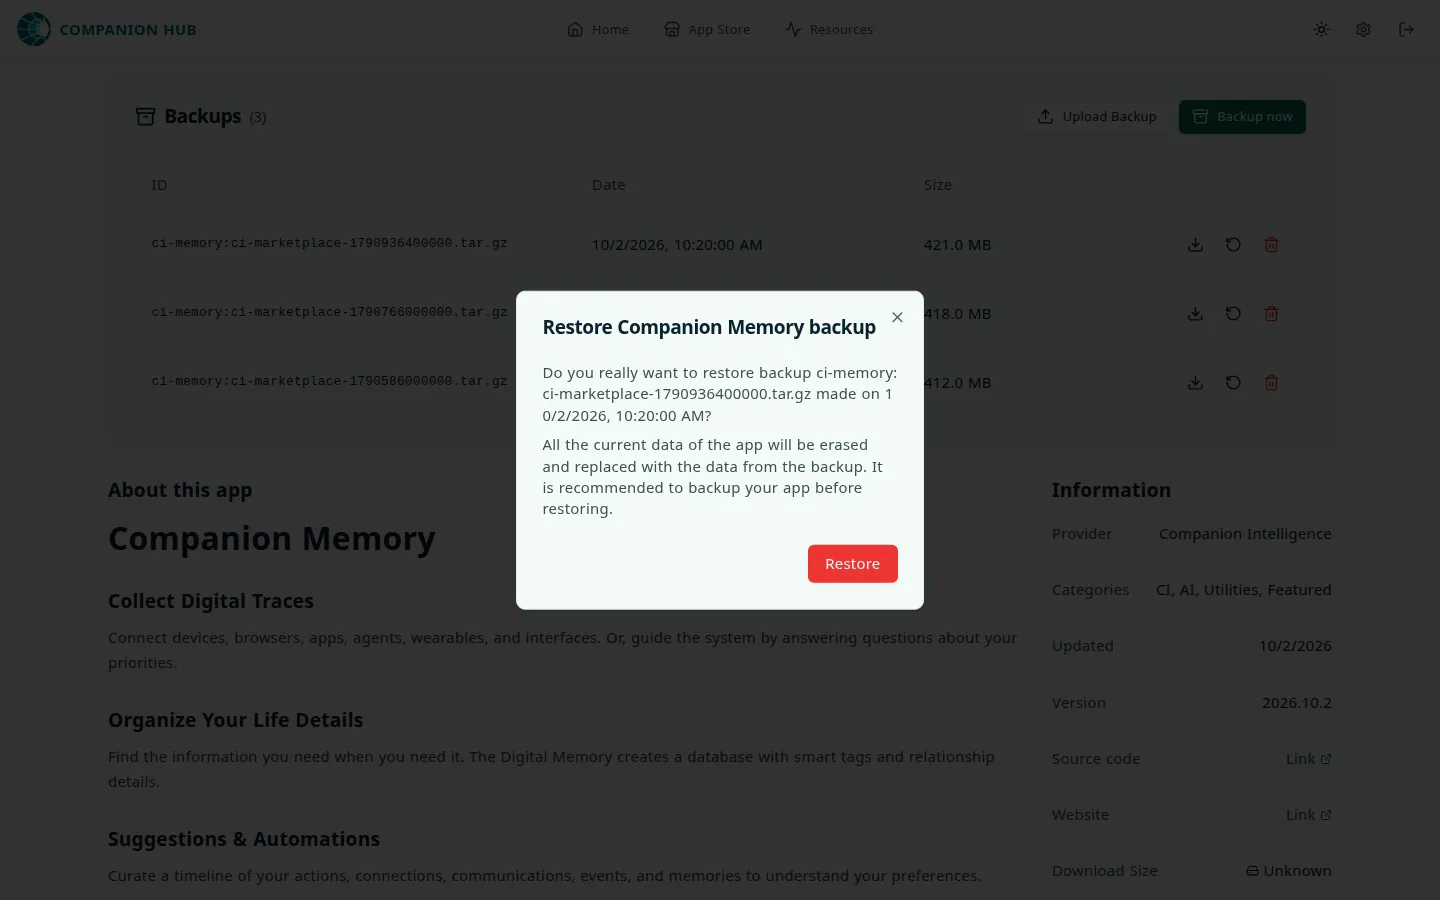
Hub checks the archive before it changes anything live. It refuses an archive that is unreadable, lacks the app’s data or app folder, or holds links, devices, or paths outside what a backup contains. A refused restore leaves the app Stopped with its data untouched and shows Failed to restore <name>, see logs for more details. Settings → Logs names the entry Hub refused. After a successful restore, Hub starts the app again if it was running.
To move a backup to another Hub, select the download icon on its row, install the same app on the other Hub, and select Upload Backup there. Uploads stop at 1 GB. For a larger file, copy it into <ROOT_FOLDER_HOST>/backups/<app-store-id>/<app-name>/ on the other Hub, and it appears in the list.
What a backup covers, where it lands, and what happens to it afterwards:
flowchart TD
    B["Backup: Backup now, before an update,<br/>or hub_backup_app"] --> S["Hub stops the app"]
    S --> A["Archives the app's data, definition,<br/>and overrides"]
    A --> P["ROOT_FOLDER_HOST/backups/<br/>app-store-id/app-name/"]
    P --> R["Hub starts the app again"]
    P -.->|"backup limit set"| X["Oldest beyond<br/>the limit deleted"]
    P -.->|"you copy it<br/>on a schedule"| O["Offsite copy"]
    P -->|"Restore: the row's restore icon,<br/>or hub_restore_app_backup"| W["Overwrites the app's data,<br/>definition, and overrides"]
A backup covers one app. It does not include your Hub settings, your
registration state, or your other apps, and it does not include Hub’s own
database, which lives in the ci_hub_pgdata Docker volume. For moving an
entire Hub to new hardware, see Backup and
restore.
Where backups live
Backups are written inside your Hub data root (ROOT_FOLDER_HOST):
<ROOT_FOLDER_HOST>/backups/<app-store-id>/<app-name>/They are ordinary archive files on your disk. Nothing is uploaded anywhere — if you want offsite copies, sync that directory yourself.
Backups sit on the same disk as the data they protect. A failed drive takes
both. Copy <ROOT_FOLDER_HOST>/backups/ somewhere else on a schedule that
matches how much you’d mind losing it.
Retention
Hub can keep only the newest backups of each app and delete the rest. Three settings decide how many:
- Settings → General settings → Maximum backups to keep (
MAX_BACKUPS) is the limit for every app. The field appears only after you switch on Advanced settings on that tab, confirm, and save. It accepts0to100and defaults to0, which means no limit when you take a backup. - An app’s own App backup limit overrides the global one for that app when you take a backup. It appears in the app’s install and settings dialogs, and only while Advanced Mode is on. Leave it empty to use the global setting, or set
0for no limit. - A weekly cleanup runs as a safety net. It trims every app to the global limit, or to its newest five backups when the global limit is
0. It ignores an app’s own limit, and its weekly timer starts again whenever Hub restarts. So on a Hub that stays up for weeks, backups do not accumulate without bound even when no limit is set.
Hub applies the limit after every backup, including the one it takes before an update, so a limit of 1 means each update replaces your previous backup. Hub orders backups by file date, and an uploaded file counts like any other.
To keep more than five backups of an app, set a global limit higher than five, and copy any backups you need to keep somewhere else. To set the limit outside the dashboard:
MAX_BACKUPS=20An untested backup is a guess. Back up and prove the restore walks through backing an app up, breaking it on purpose, and restoring it.
Companion Memory exports itself
A Hub backup of the Companion Memory app is a snapshot of the app itself, restorable only onto a Hub. Companion Memory also carries its own portable export, which is the one to take if you want your memory in a form you can read and keep outside the appliance. It is a readable copy, not a transfer: the archive is bound to the account that produced it, and Import restores it back onto that same account.
In Companion Memory, open Settings → Your data:
- Export streams every user-scoped row from the memory, search and prediction schemas (
ci,ci_search,hbpe), plus your stored file contents, as one NDJSON file. It downloads asci-memory-export-<date>.ndjson. Derived metrics (ci_derived) and import staging data (ci_import) are outside those schemas and are not included. Credentials are deliberately left out — sessions, API keys, signup and connect codes, and your stored password — so an export can never be used to sign in as you. The file does open with a profile snapshot, though: your name, email, timezone and onboarding state. - Import replaces your data. Every user-scoped row the account owns is deleted first — across
every table, not just the ones the archive happens to contain — and only then is the archive
loaded. This cannot be undone, which is why it asks you to type your account email to confirm. An
archive exported by a different account is refused. Older
.jsonexports are still accepted.
The two side by side:
| Hub backup of the app | Companion Memory export | |
|---|---|---|
| Taken from | Backup now on the app's page, the update page's Backup switch, or an agent using Hub MCP | Settings → Your data in Companion Memory |
| What it holds | A snapshot of the app's data, installed definition, and overrides | Every user-scoped row in ci, ci_search and hbpe, plus stored file contents |
| Format | A .tar.gz archive | One NDJSON file, ci-memory-export-<date>.ndjson |
| Where it lands | ROOT_FOLDER_HOST/backups/ on the same disk as the data | Downloads to you as a file |
| Credentials | Whatever is in the app's data directory | Deliberately left out |
| Restores onto | A Hub | The same account only |
| Restore behaviour | Overwrites the app's current data | Deletes every user-scoped row the account owns first, then loads the archive |
| Use it to | Move to new hardware | Keep a readable copy outside the appliance |
| Scheduled | – | – |
These are two different things and neither replaces the other. The Hub backup restores the app; the export gives you a readable copy of the data that restores onto the same account. Take the export before you wipe an appliance — but to move to new hardware, use the Hub backup, since the export cannot import onto a freshly created account.
What isn’t covered yet
Scheduled backups are not built in. Auto Backup Apps tracks that gap. Companion Memory’s export is manual too — there is no scheduled export.