Onboarding wizard
When you first sign in to Companion Hub, the setup wizard helps you choose how to reach your Hub, pick a personal AI agent, set up local AI, and select a few self-hosted apps. It is a single scrolling page titled Set Up Companion Hub, with one Install & Finish button pinned to the bottom that installs everything you chose.
The wizard appears once. After you finish it, you go straight to the dashboard on future logins. Everything you choose here can be changed later in Settings, and you can run the wizard again from Settings → System → Setup Wizard → Restart Setup Wizard.
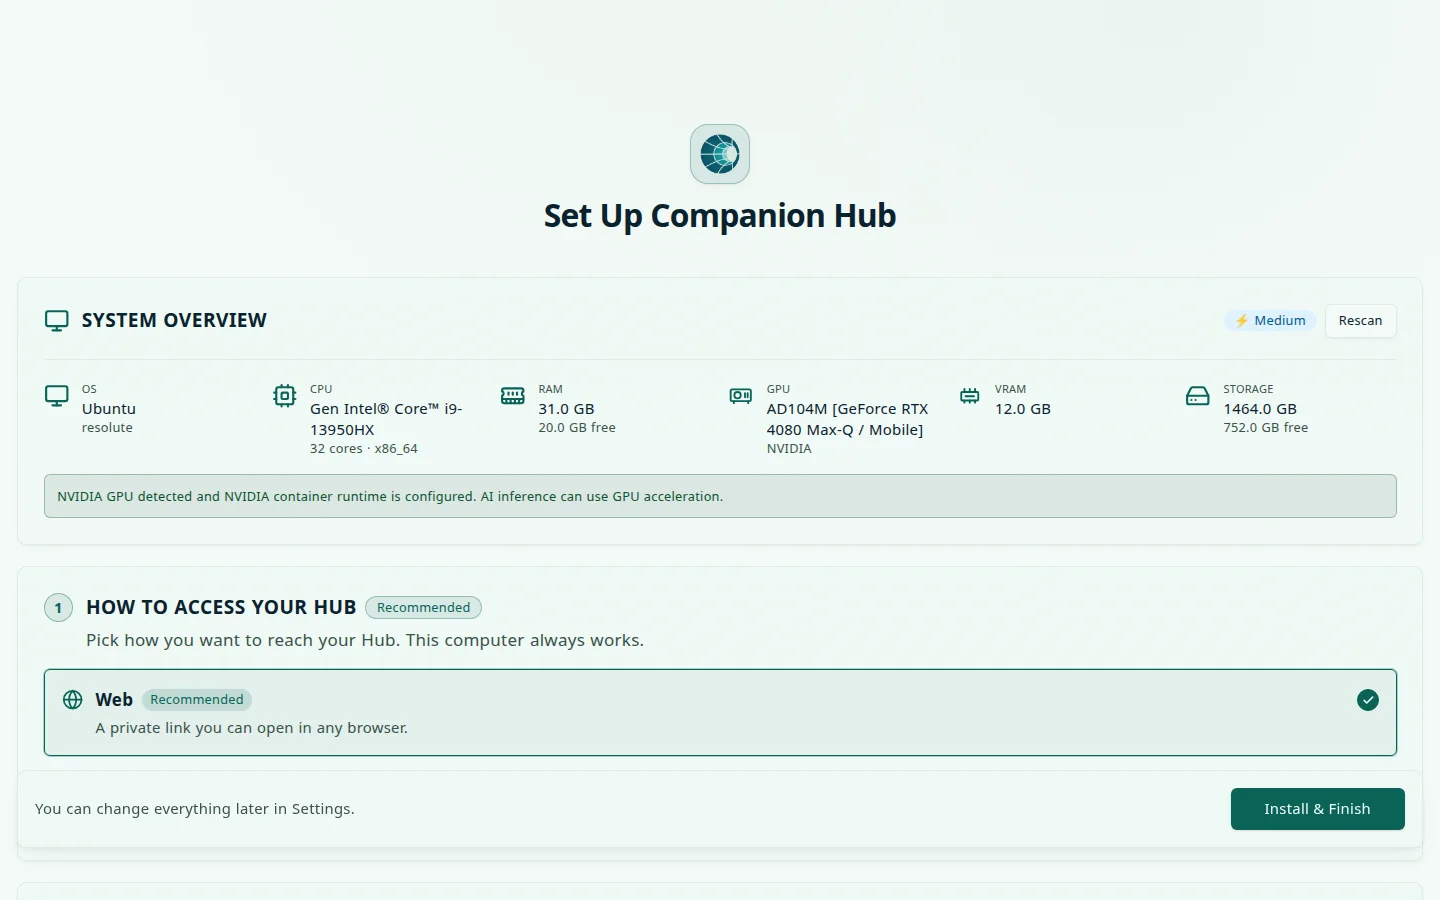
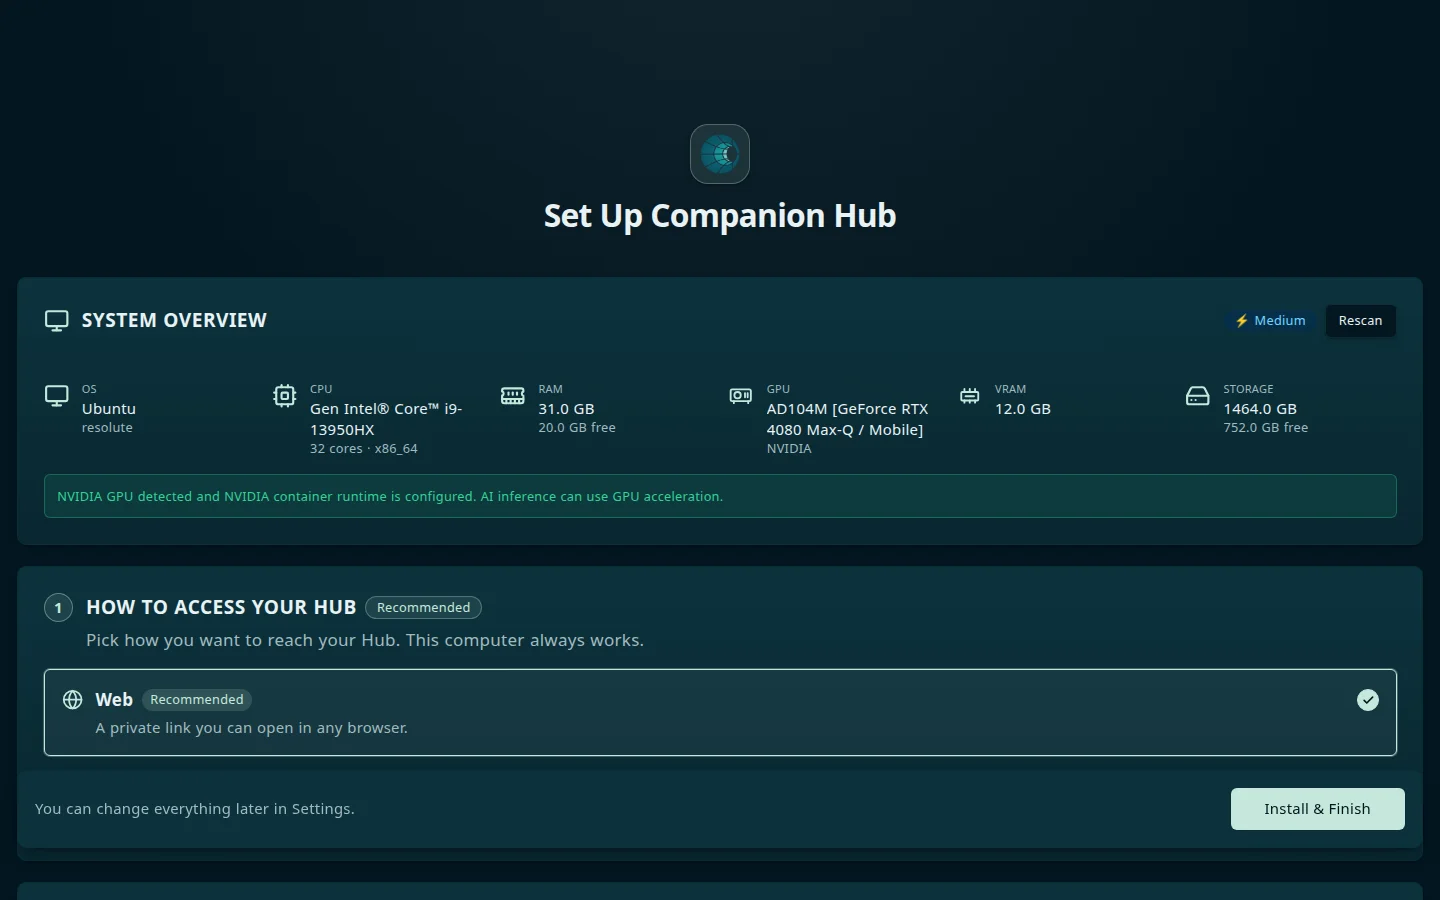
At the very top, a System Overview card summarizes the hardware Hub detected — OS, CPU, RAM, GPU, VRAM, and storage — with a rating badge (High, Medium, Low, CPU Only, APU, or Insufficient) and any GPU runtime guidance. Select Rescan after you change something, such as installing a GPU driver. The Install & Finish button stays disabled while Hub is still detecting your hardware, and the pinned bar tells you why.
How to access your Hub
Pick how you want to reach your Hub from other devices. This computer always works, so local-only is a valid choice.
- Web (marked Recommended) — a private link you can open in any browser, through the Cloudflare Gateway. If the Cloudflare connection isn’t ready yet, the card adds ”- set up later”.
- Private VPN — reach the Hub from your other devices over Tailscale. Selecting it opens a Tailscale panel in place. When Hub can reach Tailscale, select Log In with Tailscale and finish sign-in in your browser; the panel updates by itself when the connection is up. When it can’t, the panel says Tailscale needs to be installed on this computer — install Tailscale on the Hub machine, and the Log In with Tailscale button appears once Hub detects it. Hub detects Tailscale on a Linux host; on macOS and Windows it can’t use the Tailscale app on your computer, so see Tailscale. The panel doesn’t show a refusal: if Tailscale won’t accept the Hub’s changes, apps you install with Private VPN read Refused until you run the command that Settings → Network shows. You can also set this up later in Settings → Network. The panel links the Tailscale apps for Windows, macOS, Linux, and mobile so you can install them on your other devices.
The choice sets how the apps the wizard installs are exposed. If the transport you picked isn’t connected yet, Hub falls back to the other one, or to this device only.
Learn more in the Tailscale documentation and the Cloudflare Gateway page.
Choose your AI agent
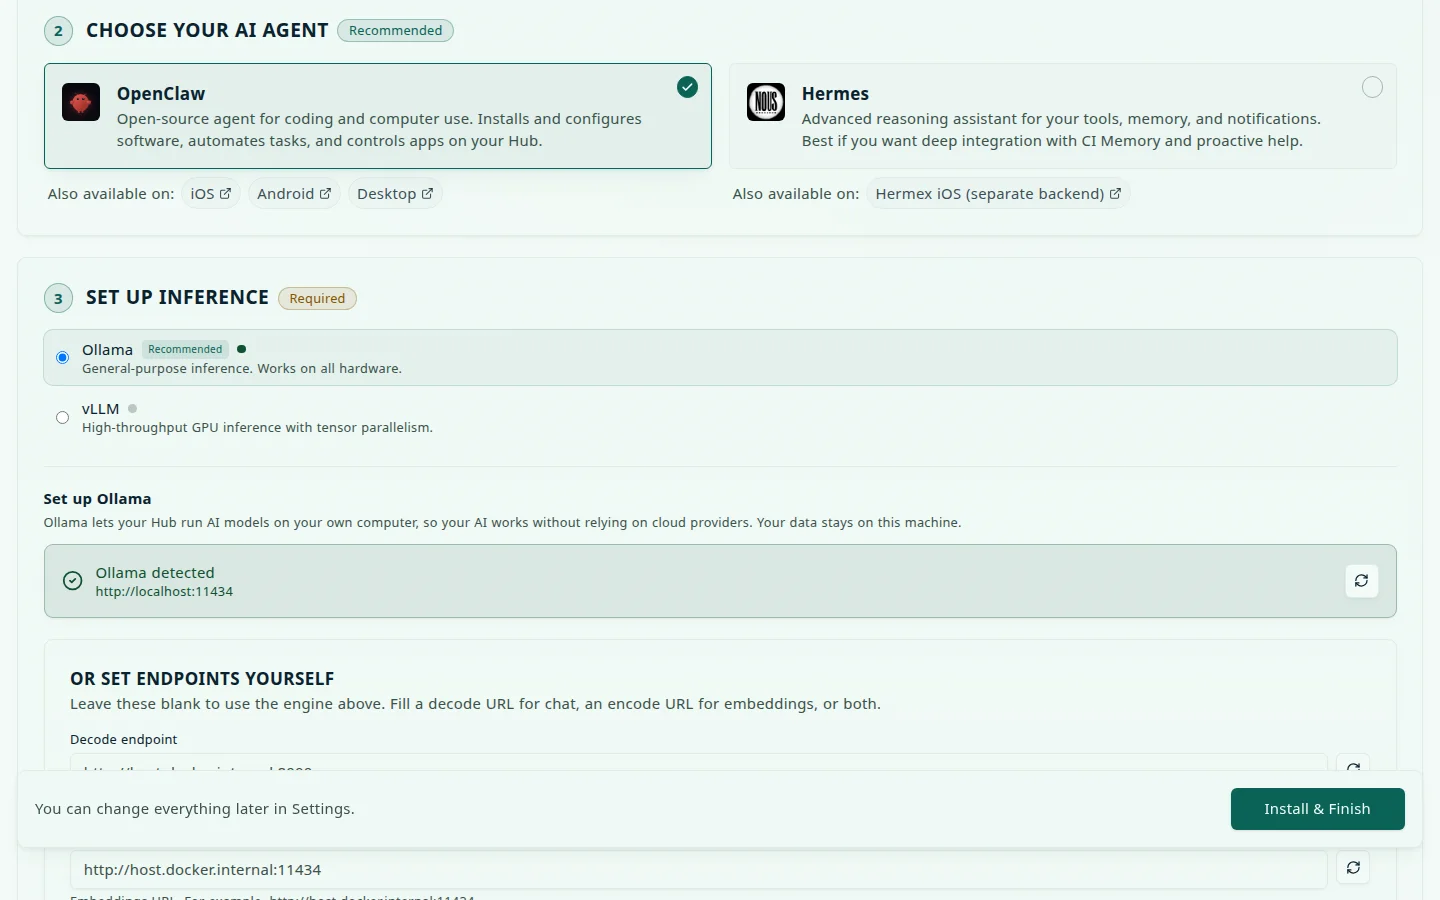
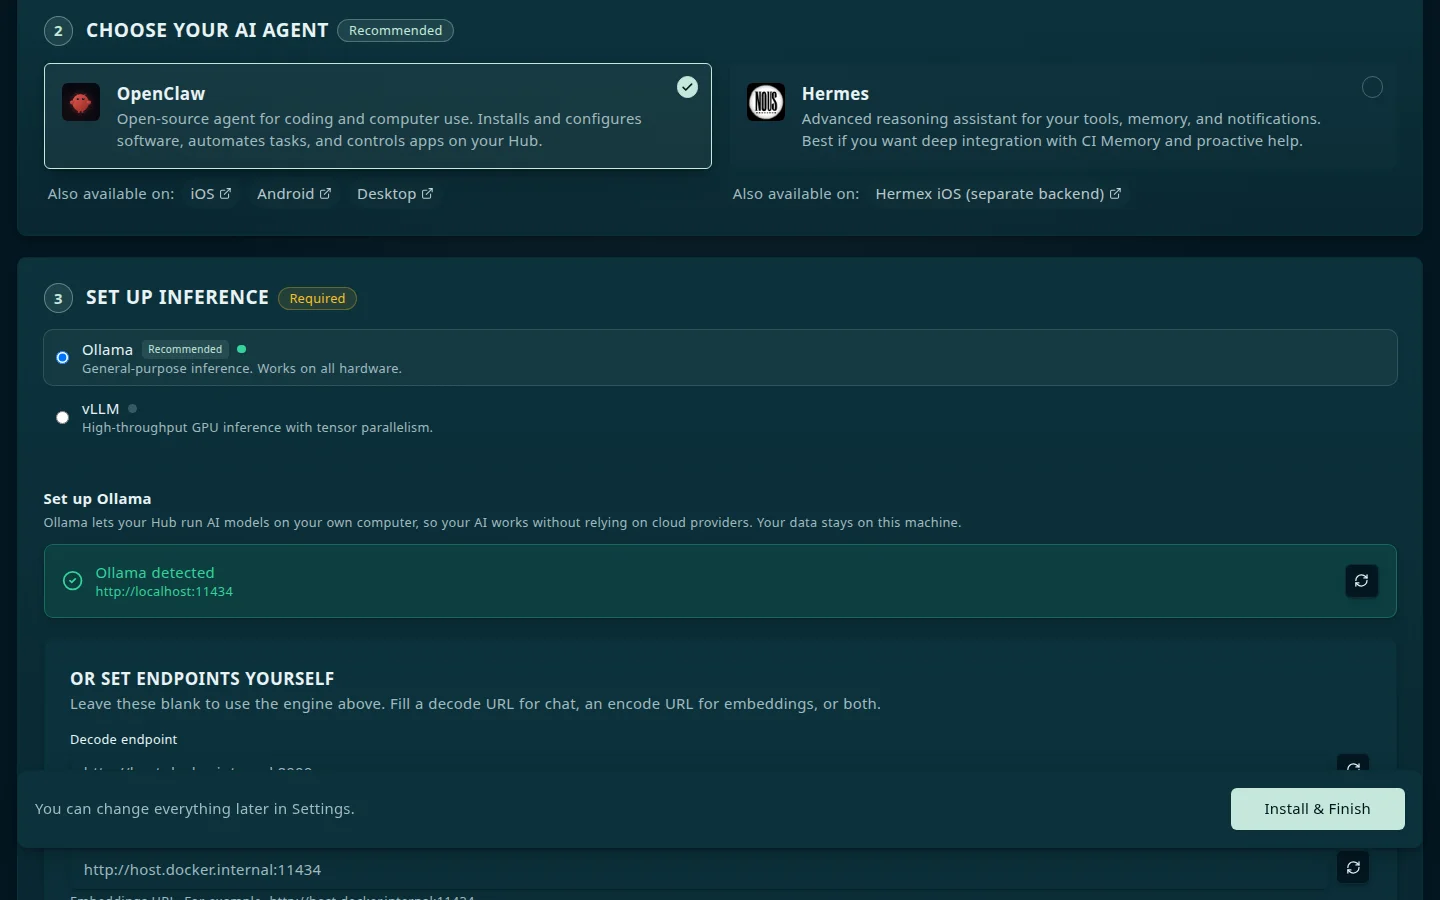
Choose the personal AI agent that powers your system: OpenClaw (an open-source coding and computer-use agent, pre-selected) or Hermes (an advanced reasoning assistant for your tools, memory, and notifications). Select one, both, or neither — with none selected, Hub says you can add one later from the App Store. Each card links the companion apps for phones and desktop.
Set up inference
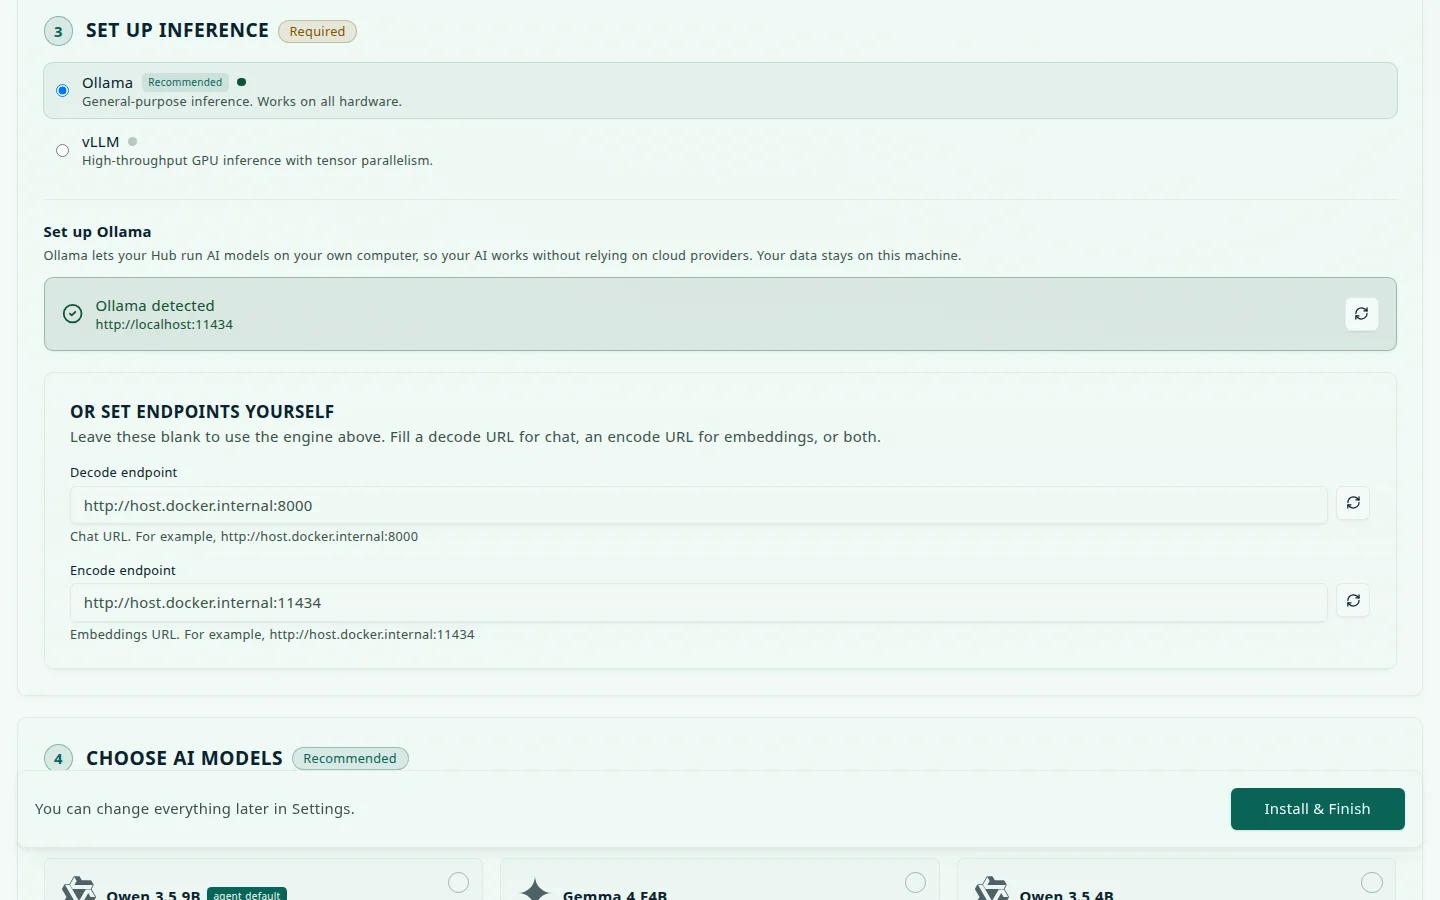
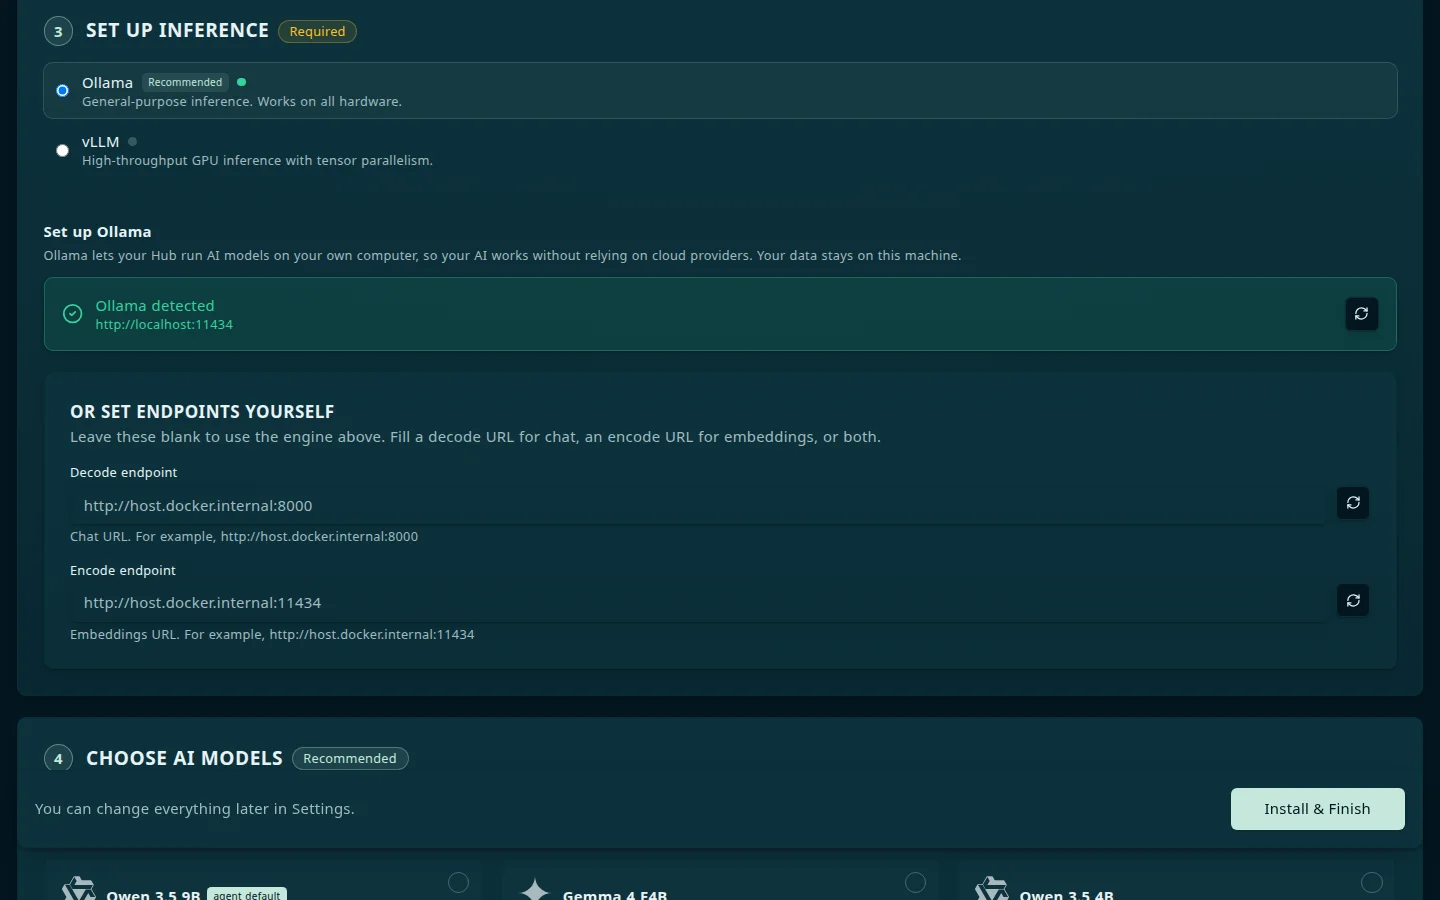
This step is marked Required. It offers the engines that can run on your machine:
| Engine | Runs on | Notes |
|---|---|---|
| Ollama | Any hardware | Hub can install it for you in the desktop app. See Install Ollama. |
| oMLX | Apple silicon only | MLX chat. Install with Homebrew, then run omlx start; Hub probes host port 8000. Apps get embeddings from Ollama. |
| vLLM | NVIDIA GPUs only | High-throughput GPU inference. Run it on the host, not in Docker. |
| Lemonade | AMD GPUs, never macOS | You install Lemonade. Hub downloads and loads models through its API, and sets up its own embedder. On Linux the card shows the steps that let Hub reach it from Docker. |
Below the engine you pick, a setup card shows whether Hub can reach it — Ollama detected, Ollama not detected, and so on — with a Re-check button and, in the desktop app, Run this automatically. When you choose vLLM or Lemonade, the same step shows an Embeddings section for Ollama. vLLM needs it, because vLLM can’t create embeddings. Lemonade doesn’t, because Hub sets up Lemonade’s own embedder. oMLX shows no such section, but apps still get embeddings from Ollama, so keep it running.
The engine marked Recommended is pre-selected: oMLX on Apple silicon, vLLM on an NVIDIA GPU whose container runtime is ready, and Ollama otherwise.
If you already run an engine somewhere else, use Or set endpoints yourself. Leave the fields blank to use the engine above, or fill in a Decode endpoint (the chat URL, for example http://host.docker.internal:8000), an Encode endpoint (the embeddings URL, for example http://host.docker.internal:11434), or both. Hub probes from inside Docker, so use host.docker.internal rather than localhost.
Choose AI models
The Choose AI models step lists models matched to your detected hardware, memory budget, and selected engine. Models already present on the engine you selected are pre-selected and marked Installed, and the model your agent uses carries an agent default tag. Check any additional models you want to download, or leave them off. A bar above the step tallies the download against your free disk and shows how much inference memory is free of the total (VRAM on a discrete GPU, otherwise the share of RAM that models may use); the memory line is informational, and each card shows the memory the model needs as VRAM. An Other Models drawer groups the rest by size (large, medium, small, embedding, and speech) with intelligence and tool-use scores. Install & Finish stays disabled with an explanation if your selection needs more disk than you have free.
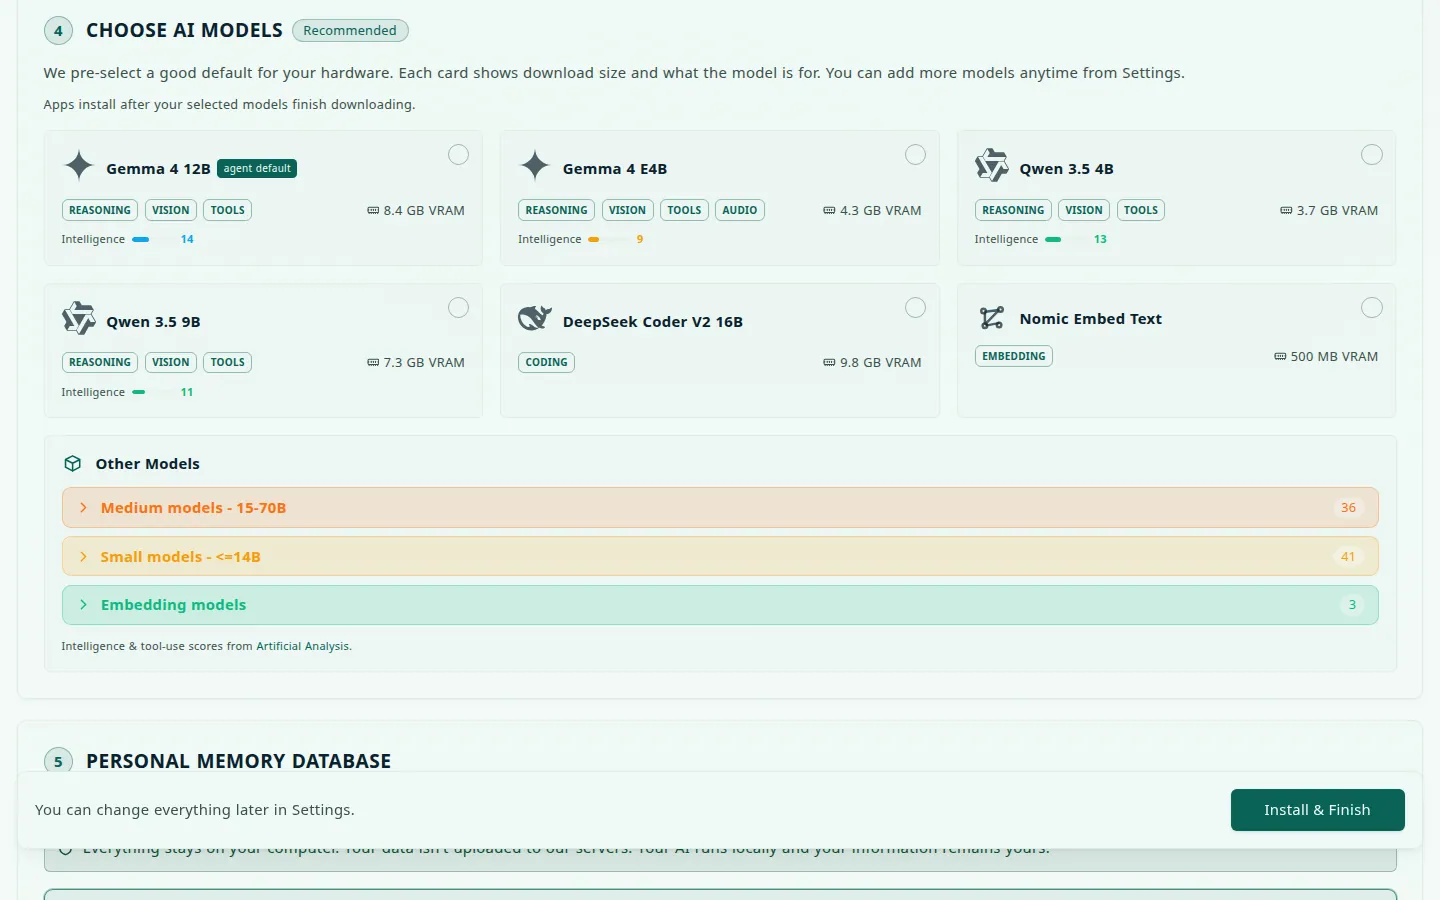
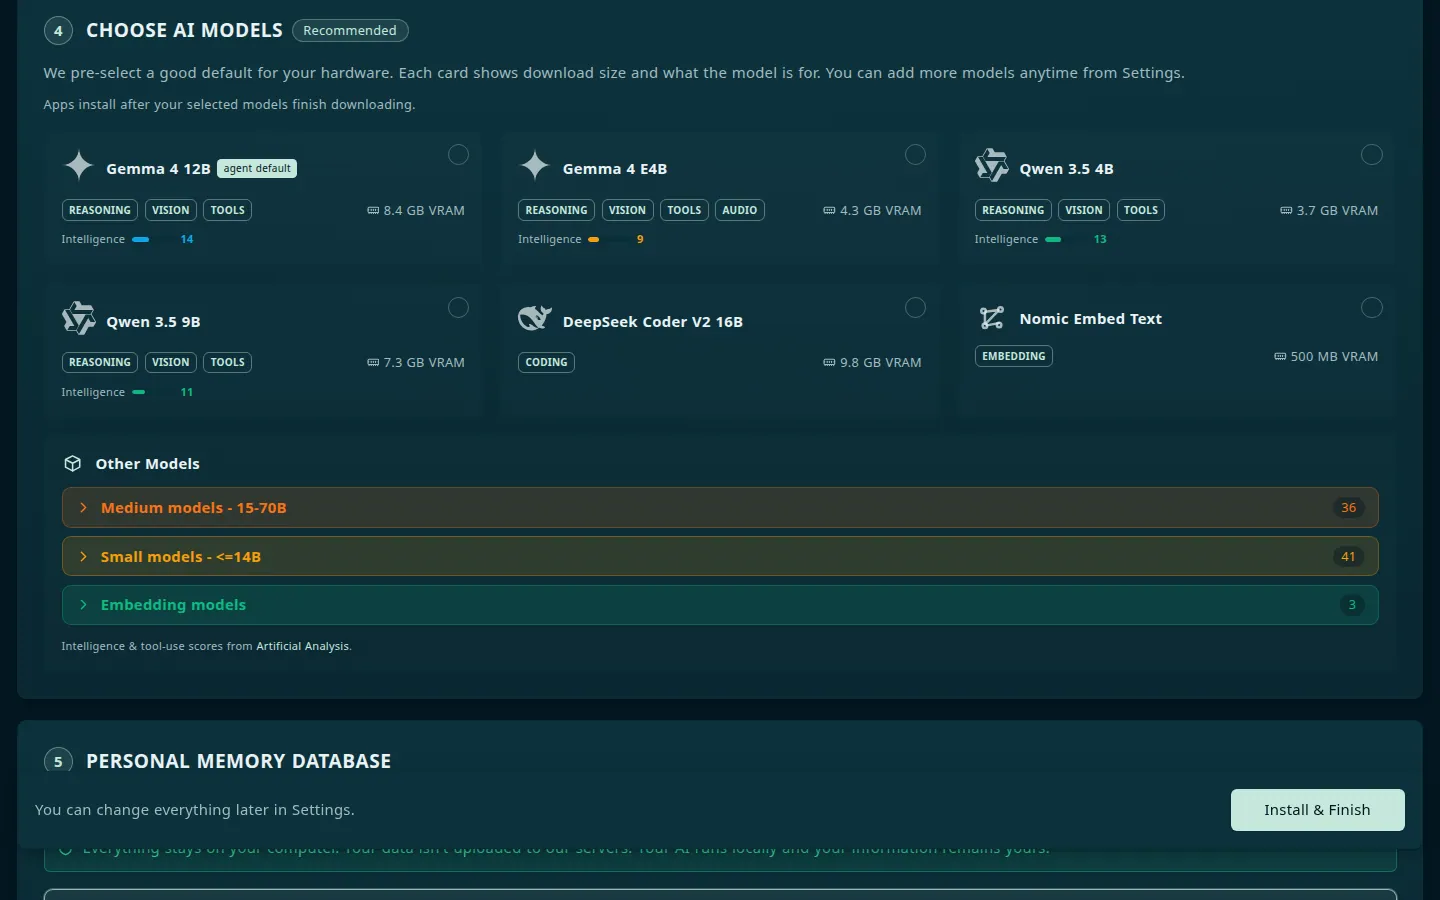
Models download in the background while you finish setup, and progress also appears in Settings → Logs. With Ollama, Hub installs your apps after the selected models finish downloading, so a large model delays them. With vLLM, you download the weights and load the model on the host yourself, then select Re-check. With Lemonade, Hub downloads and loads the models for you.
Personal Memory Database
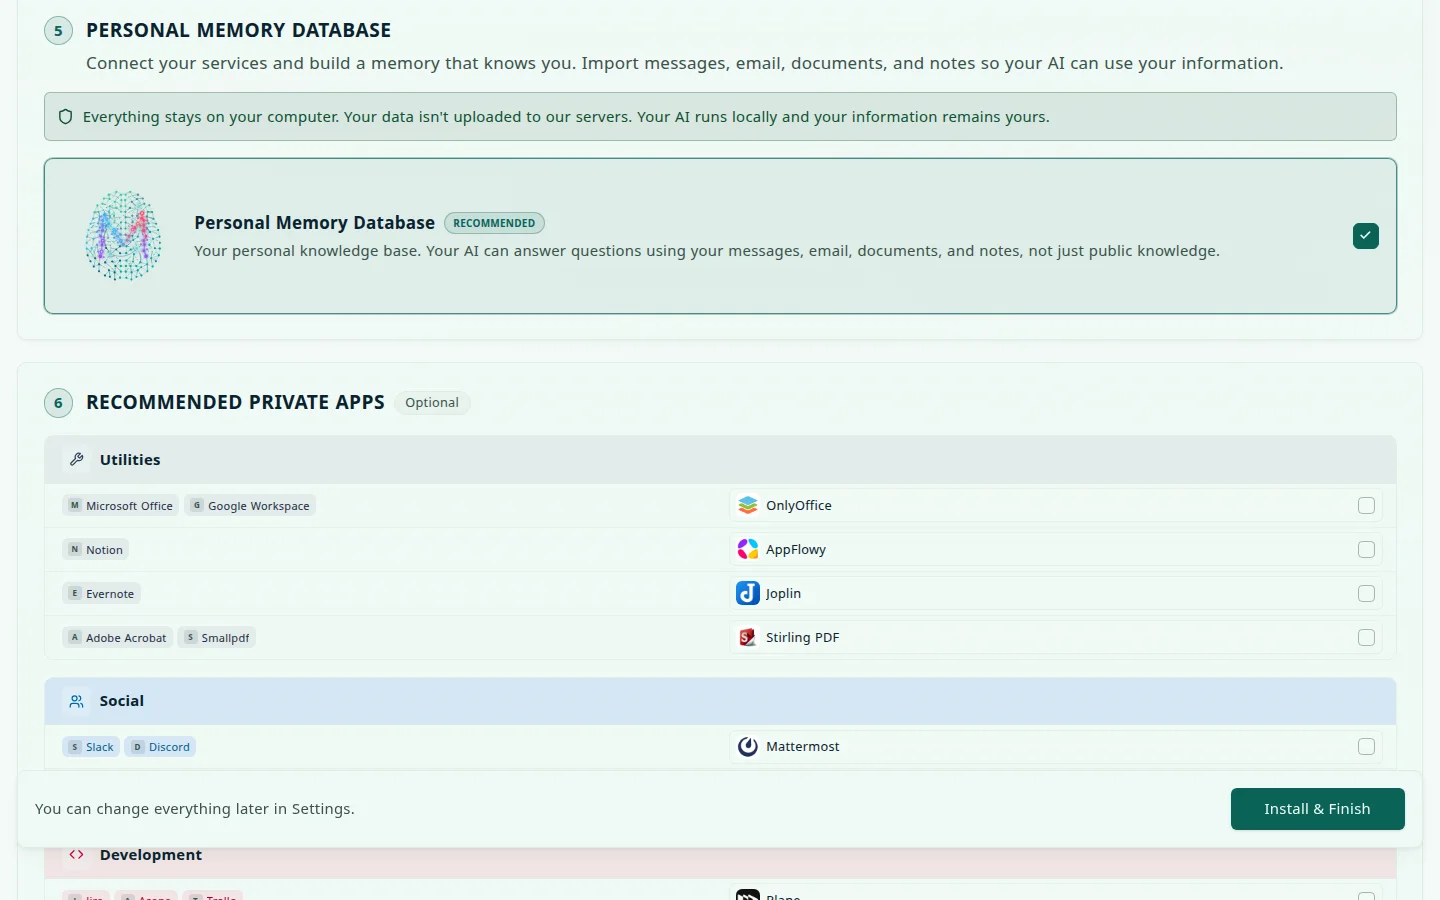
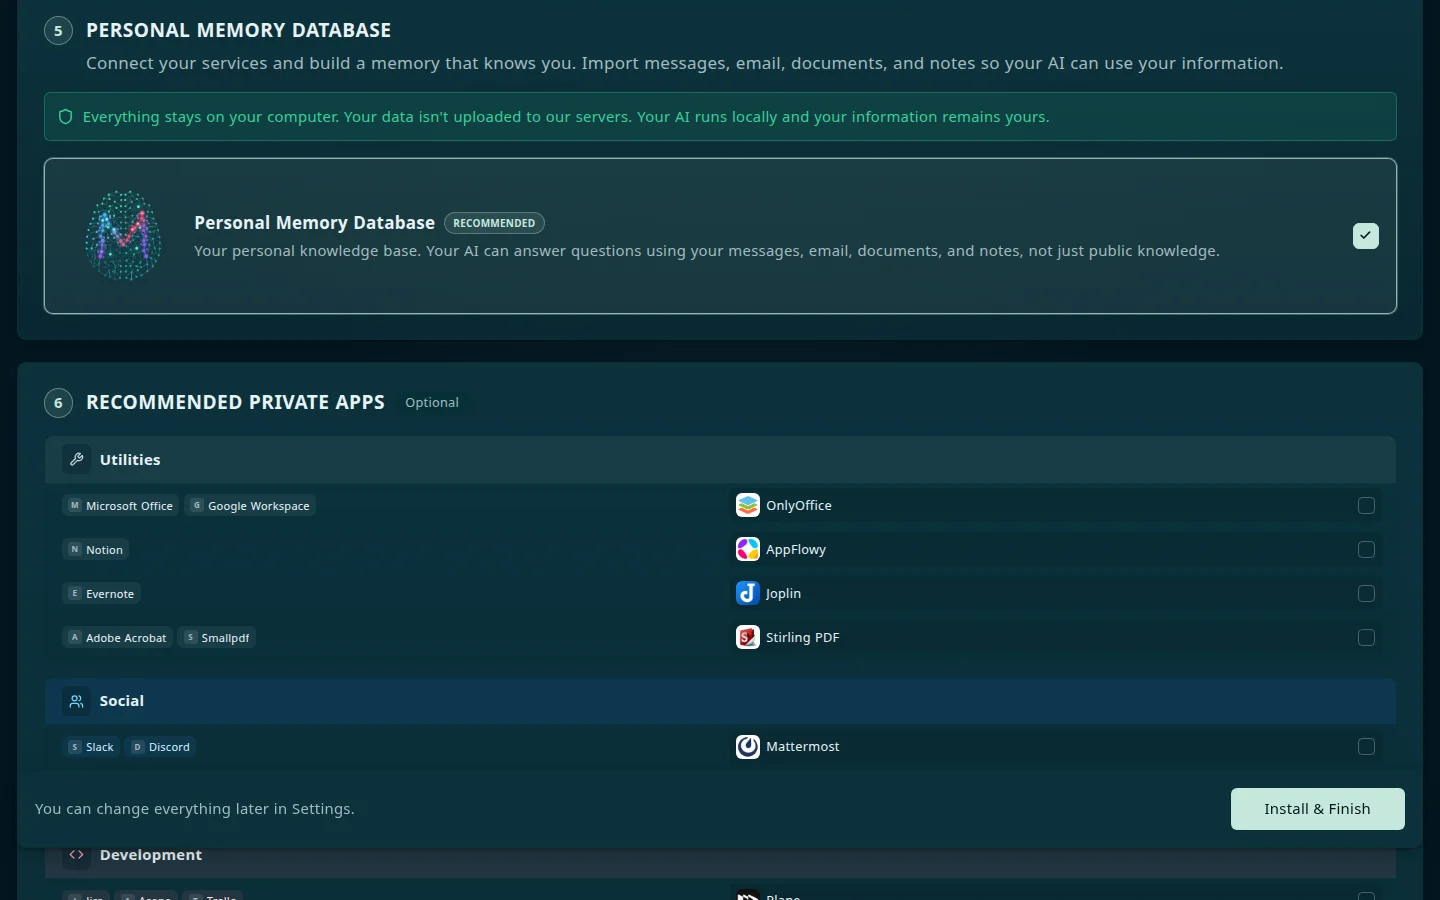
Step 5 installs Companion Memory — your personal knowledge base, so your AI can answer questions from your messages, email, documents, and notes. It is marked Recommended and pre-selected once the catalog has loaded. The section is titled Personal Memory Database in current releases and Companion Memory in earlier ones; the store lists the app as Companion Memory.
This section is a fixed first-party choice, not a view of your catalog: today it contains exactly one app. If your catalog doesn’t carry it yet, the tile appears grayed out and marked Not available in your app store yet. Every other first-party app in the store (Companion Planning, Spellbook, and the rest) is installed later from the App Store. Companion Capture is not one of them: it is a pre-release desktop app that you download from ci.computer/download .
Data import now ships built into Companion Memory. The standalone Memory Import Tools app was retired and its catalog listing removed on 2026-08-17, so the wizard no longer offers it separately.
Recommended Alternatives
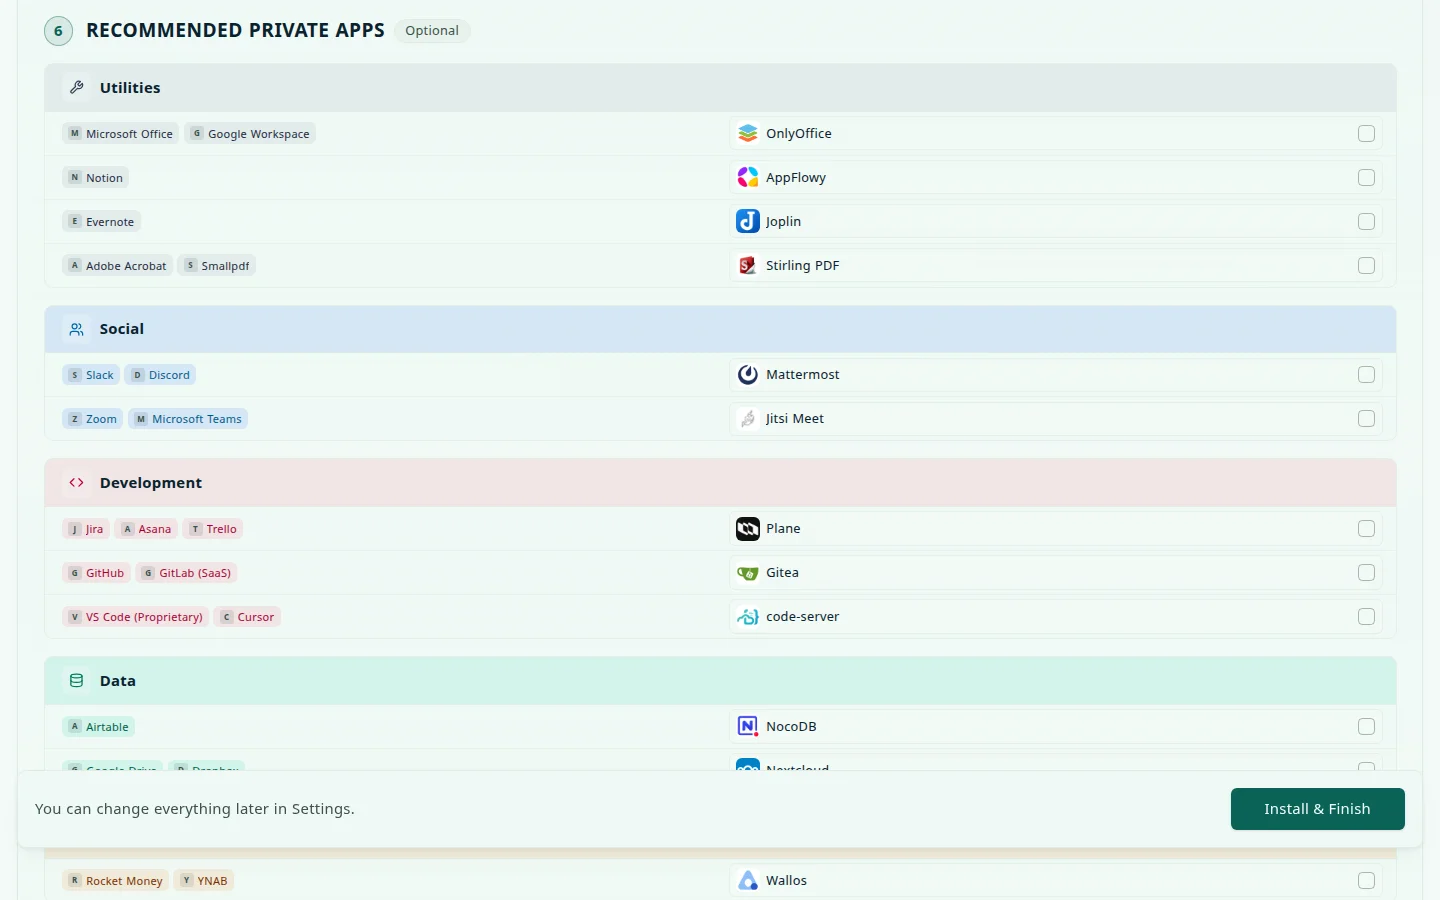
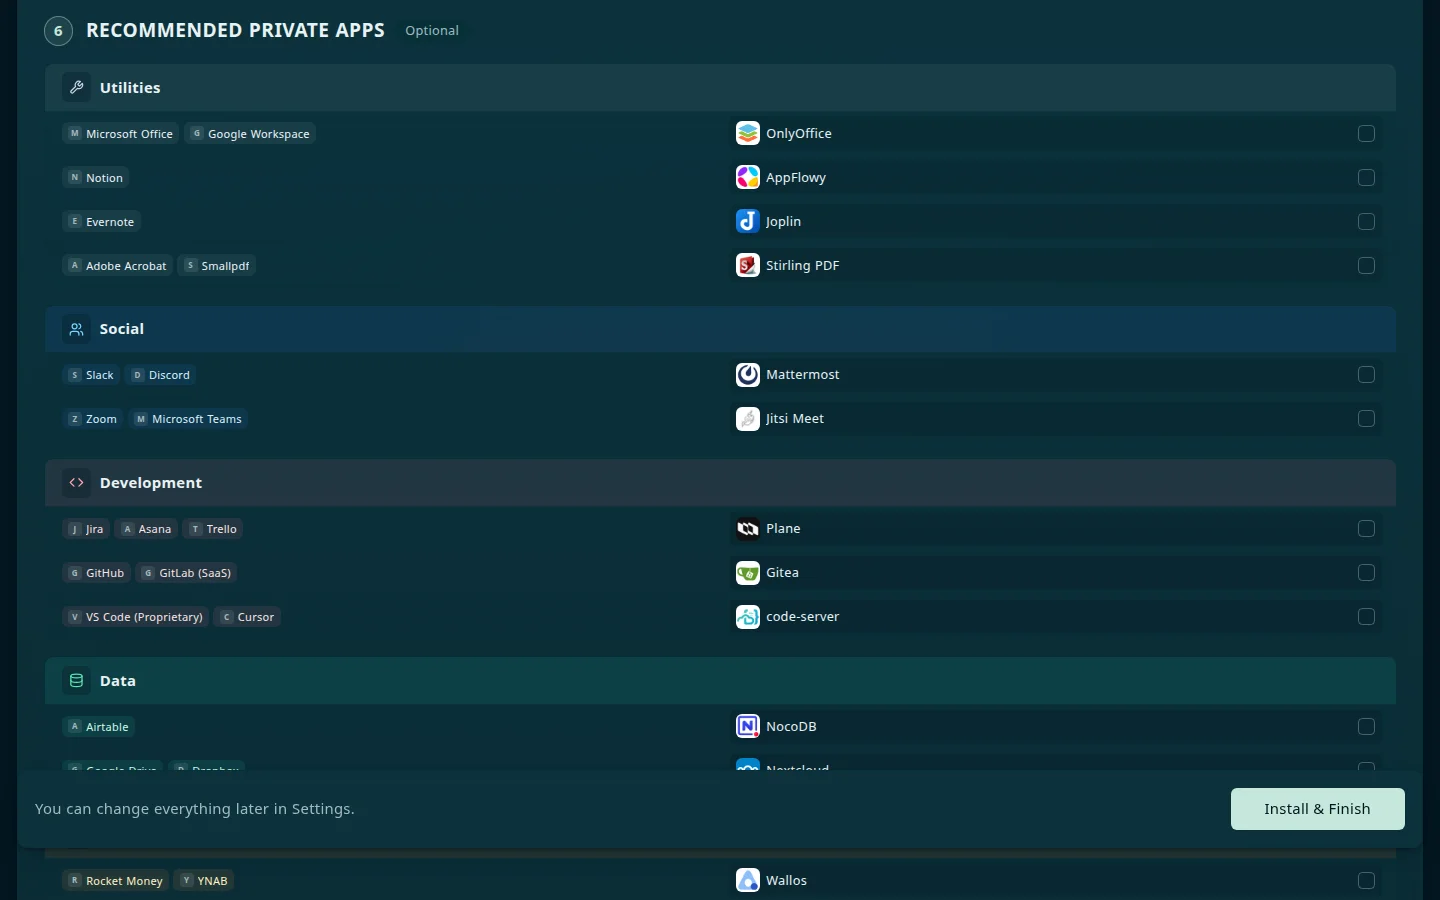
Step 6 is optional. It lists about twenty popular open-source apps you can self-host, each shown next to the proprietary service it replaces — for example Mattermost for Slack, Nextcloud for Google Drive, Immich for Google Photos, Vaultwarden for 1Password, n8n for Zapier, and Open WebUI for ChatGPT. Select any you want installed. Apps that aren’t synced into your catalog yet appear marked Soon. If the catalog can’t load, the step says Could not load recommended apps; retry below or continue without them.
The step title depends on your language pack: en-US shows Recommended Alternatives, and the base English pack shows Recommended Private Apps.
Advanced (optional)
An optional, collapsed Advanced step (step 7) holds Cloud API Keys for OpenAI, Anthropic, Google AI, and GitHub Copilot, each marked Optional. Paste a key if you’d rather use a hosted provider instead of, or alongside, local models.
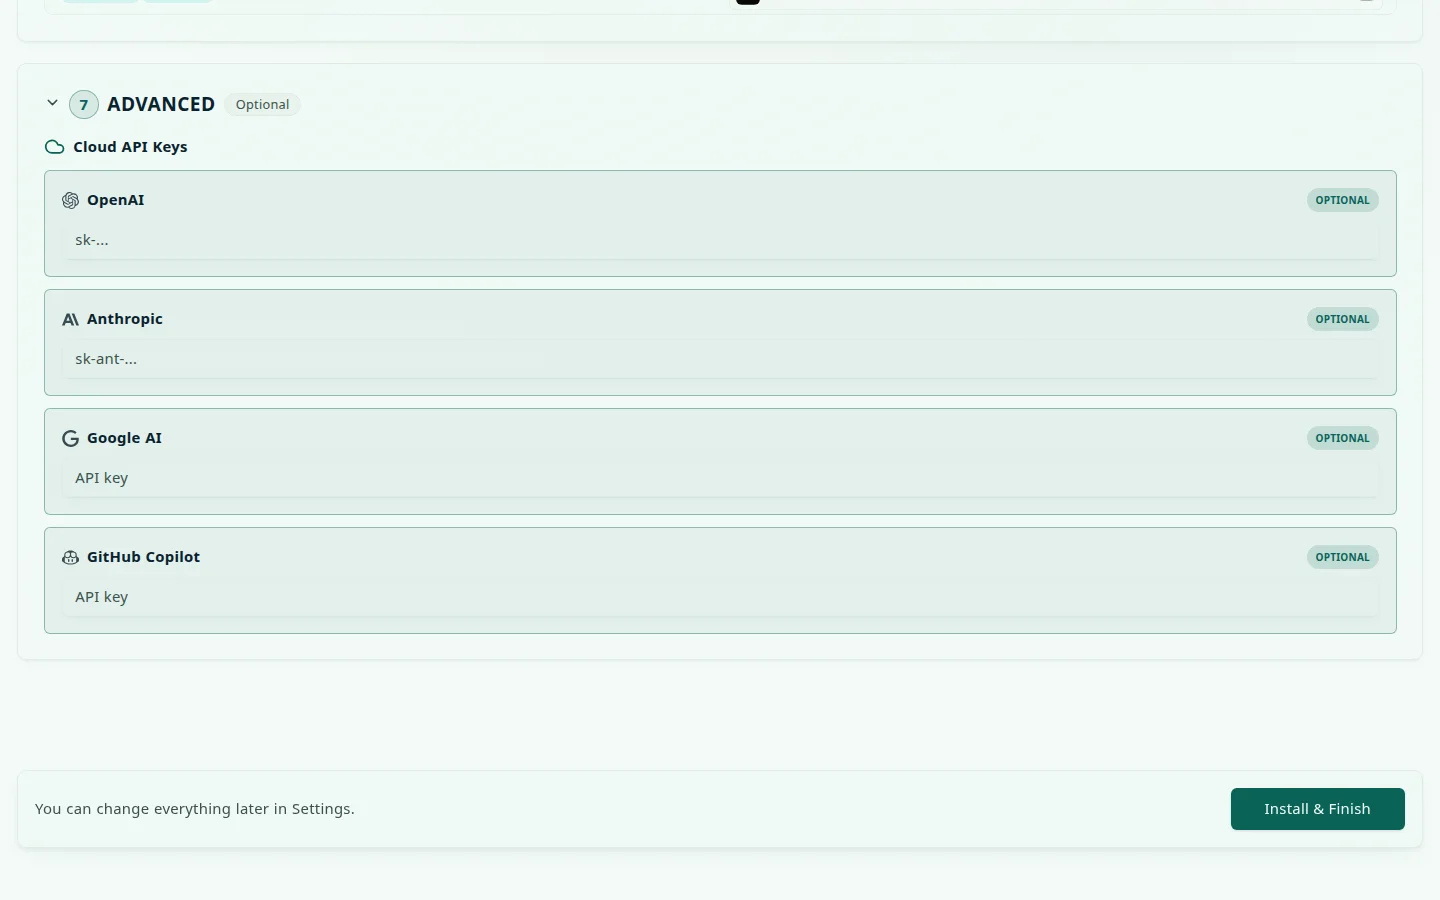
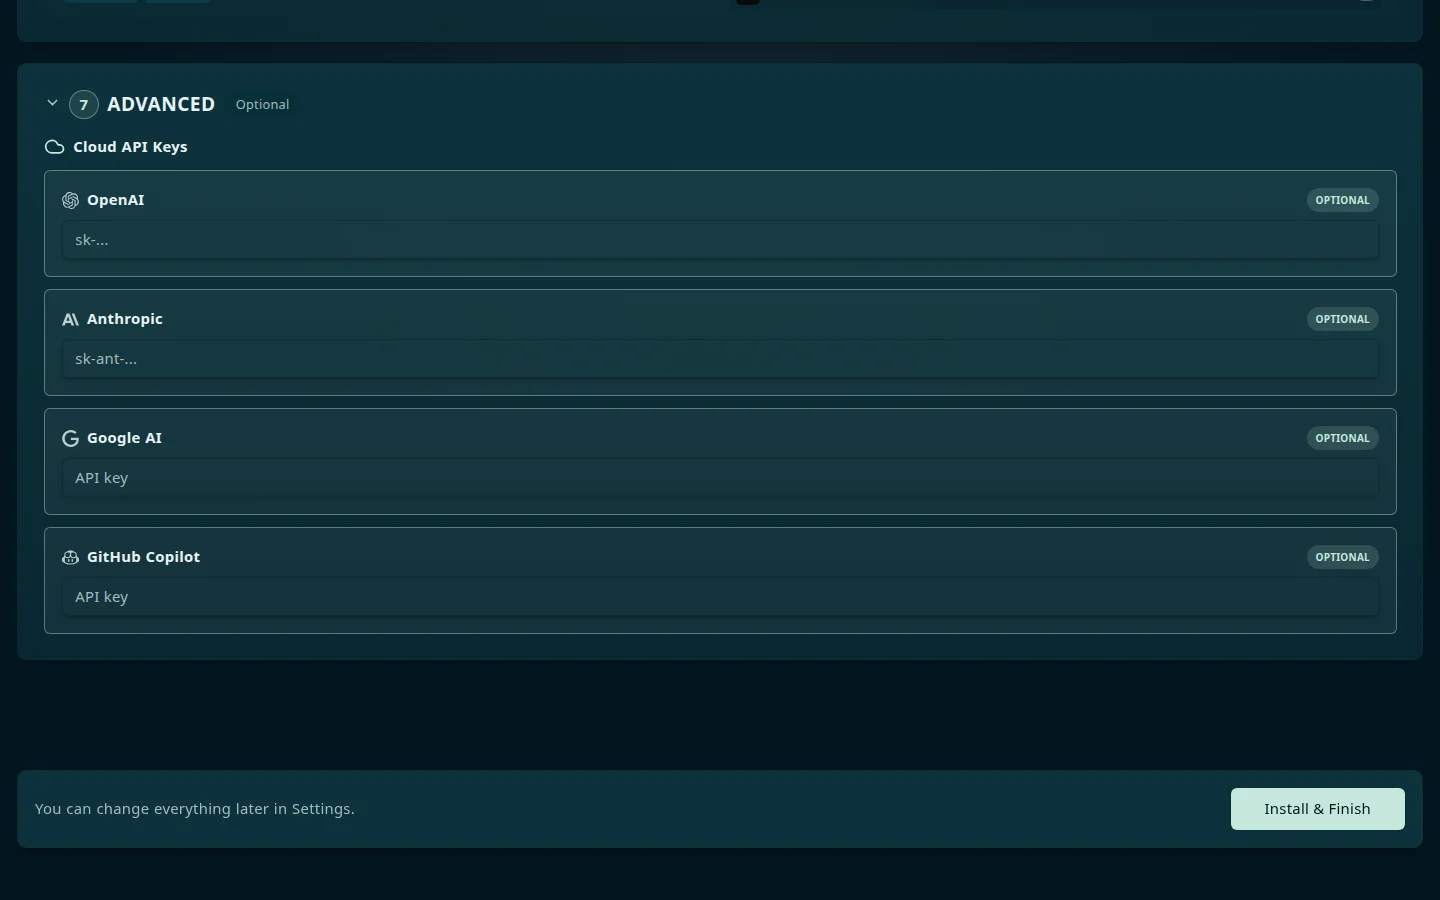
Install & Finish
When you’re ready, select Install & Finish. Hub configures your AI setup, then installs your selected apps one at a time and shows per-item progress — Queued, Installing…, Running, Not yet confirmed, or Failed — under Installing Apps. Everything keeps installing in the background: select Continue (apps installing in background) — or Continue (apps and AI setup in background) while models are still downloading — to go to the dashboard. When all work is done the button reads Continue.
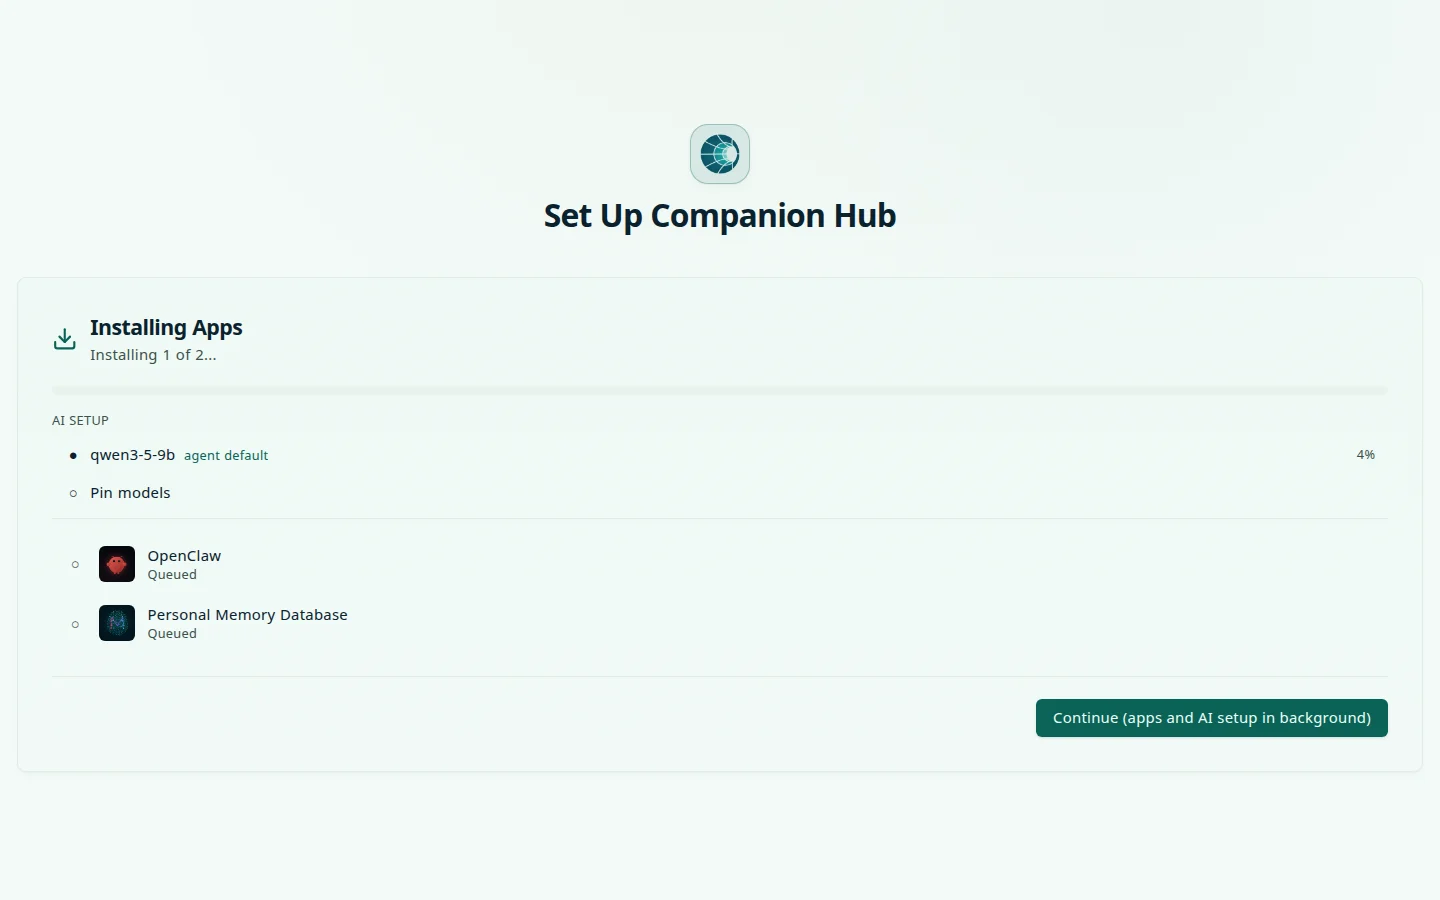
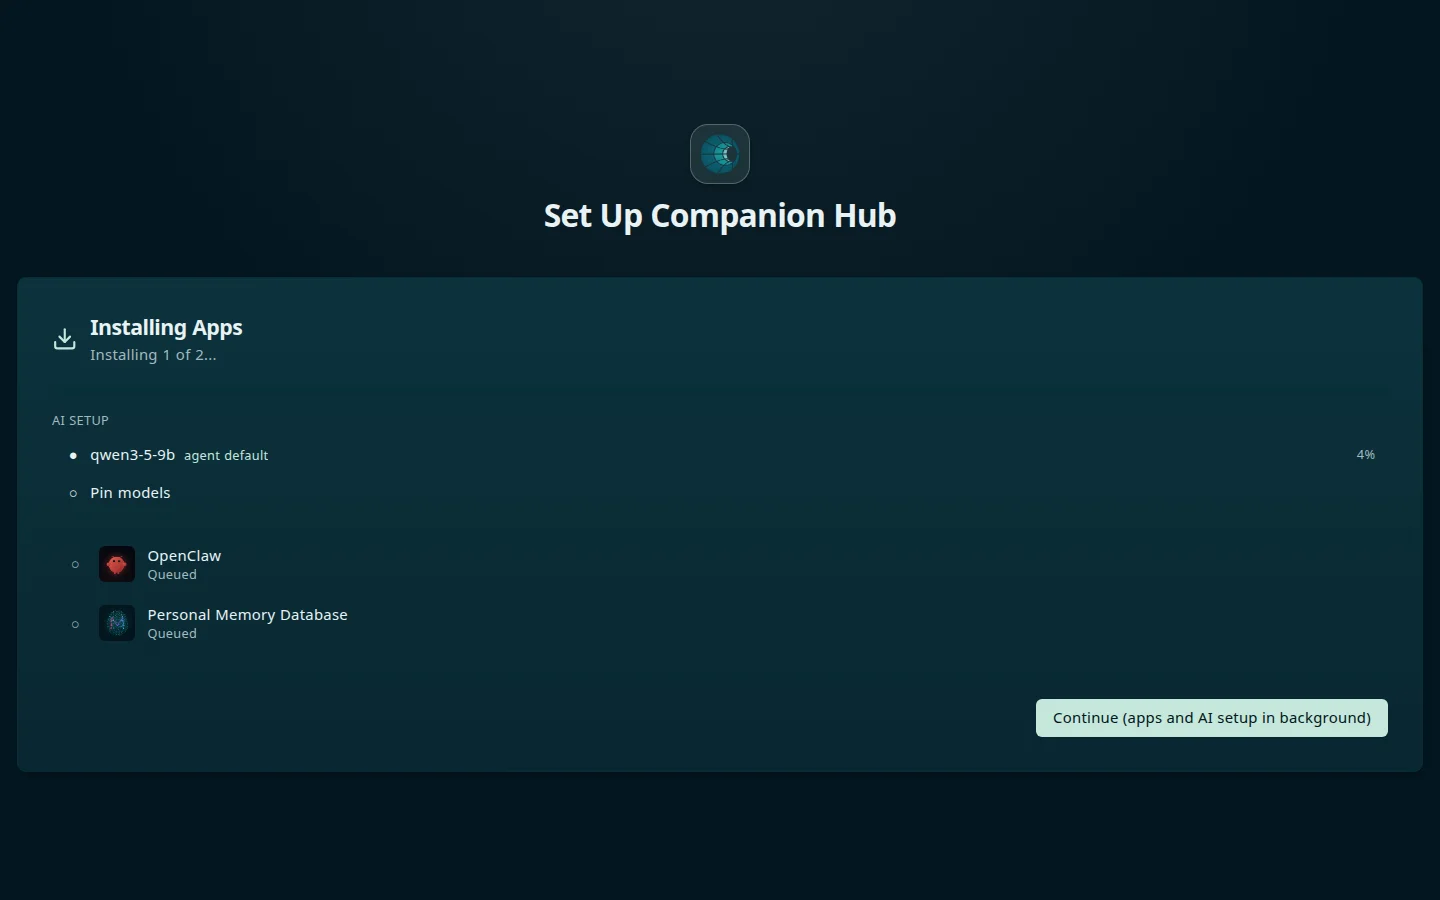
If Hub can’t record that setup is complete, it stays on this screen and says Your apps are installed, but the Hub could not record that the setup is complete. Check that the Hub is running, then select Continue again.
Insufficient hardware
If Hub rates your machine Insufficient — under 16 GB of RAM and no supported GPU, or under 8 GB on Apple silicon — the System Overview says Your hardware can’t run local models - add a cloud provider below. The wizard then hides steps 1 to 5, so you can’t pick remote access, an agent, an inference engine, models, or Companion Memory here. It still shows Recommended Alternatives and Advanced, where you can paste a cloud provider key. Install the agent and Companion Memory later from the App Store, or move to a machine with more memory.
On mobile
The whole flow is responsive: the steps and app grids reflow to a single column, and the Install & Finish bar stays pinned to the bottom.
Re-running the wizard
To run the wizard again, open Settings → System, find the Setup Wizard card, and select Restart Setup Wizard. It reopens the wizard so you can reconfigure your agents, models, and remote access. You can also install more apps anytime from the App Store, and adjust AI, models, and networking in Settings.
Service detection only finds Docker containers running at the time of the scan. If you start new services later, you can find alternatives manually in the App Store’s Alternatives section.