Back up an app and prove the restore works
An untested backup is a guess. Back up one app, deliberately break it, restore it, and confirm that the data returns.
Time: ~25 minutes · You’ll need: one installed app with some data in it
You run this drill from the Backups card on the app’s page, which Companion Hub 0.3.0 added. Earlier releases had no backup button, so the same drill ran through an agent connected to Hub MCP. That route still works; it is at the end of this page.
The drill, and the two ways it can end:
flowchart LR
    subgraph make["Make the backup"]
        direction TB
        A["Create something<br/>recognisable"] --> B["Select Backup now<br/>on the app's page"]
        B --> C["Confirm the archive:<br/>ID, date, size"]
    end
    subgraph prove["Prove it"]
        direction TB
        D["Delete it on purpose"] --> E["Restore the archive<br/>from the same card"]
        E --> F{"Is it back?"}
        F -->|"yes"| G["Backup and restore<br/>both proven"]
        F -->|"no"| H["The archive missed it —<br/>better to know now"]
    end
    make --> prove
Do this on an app you can afford to lose — the restore step erases the app’s current data before replacing it. Pick something you installed to experiment with, not your only copy of anything.
What you’ll have at the end
- A backup archive on disk you can point at
- First-hand proof the restore path works
- A sense of how long it takes, before you need it under pressure
What Hub’s backup actually captures
Per app, Hub archives three things into a single .tar.gz:
| Included | What it is |
|---|---|
app-data/ | The app’s persistent data directory — its database, uploads, and state |
app/ | The installed app definition (compose file, config) |
user-config/ | Your overrides for that app, when you have any |
Anything under the app’s data folder whose path contains the text backups is skipped, so backups don’t accumulate inside each other. Data an app keeps in a Docker named volume instead of its data folder is not captured.
On disk, each archive lands in a per-app folder, named after the app’s URN and a timestamp in milliseconds, with those three directories inside it:
Backups land on the same disk as the data they protect, under
<ROOT_FOLDER_HOST>/backups/<app-store>/<app-name>/. That covers a bad update
or a mistaken change. It does not cover the disk failing. For that, copy
archives somewhere else — see Backup and
restore for whole-machine migration.
Put something recognisable in the app
Open the app and create something you’ll recognize later — a document, a note, or an uploaded photo. You need a specific thing to look for, not a vague sense that it “looks right.”
Take the backup
On Home, select the app’s tile to open its page, then scroll to the Backups card, below the access points.
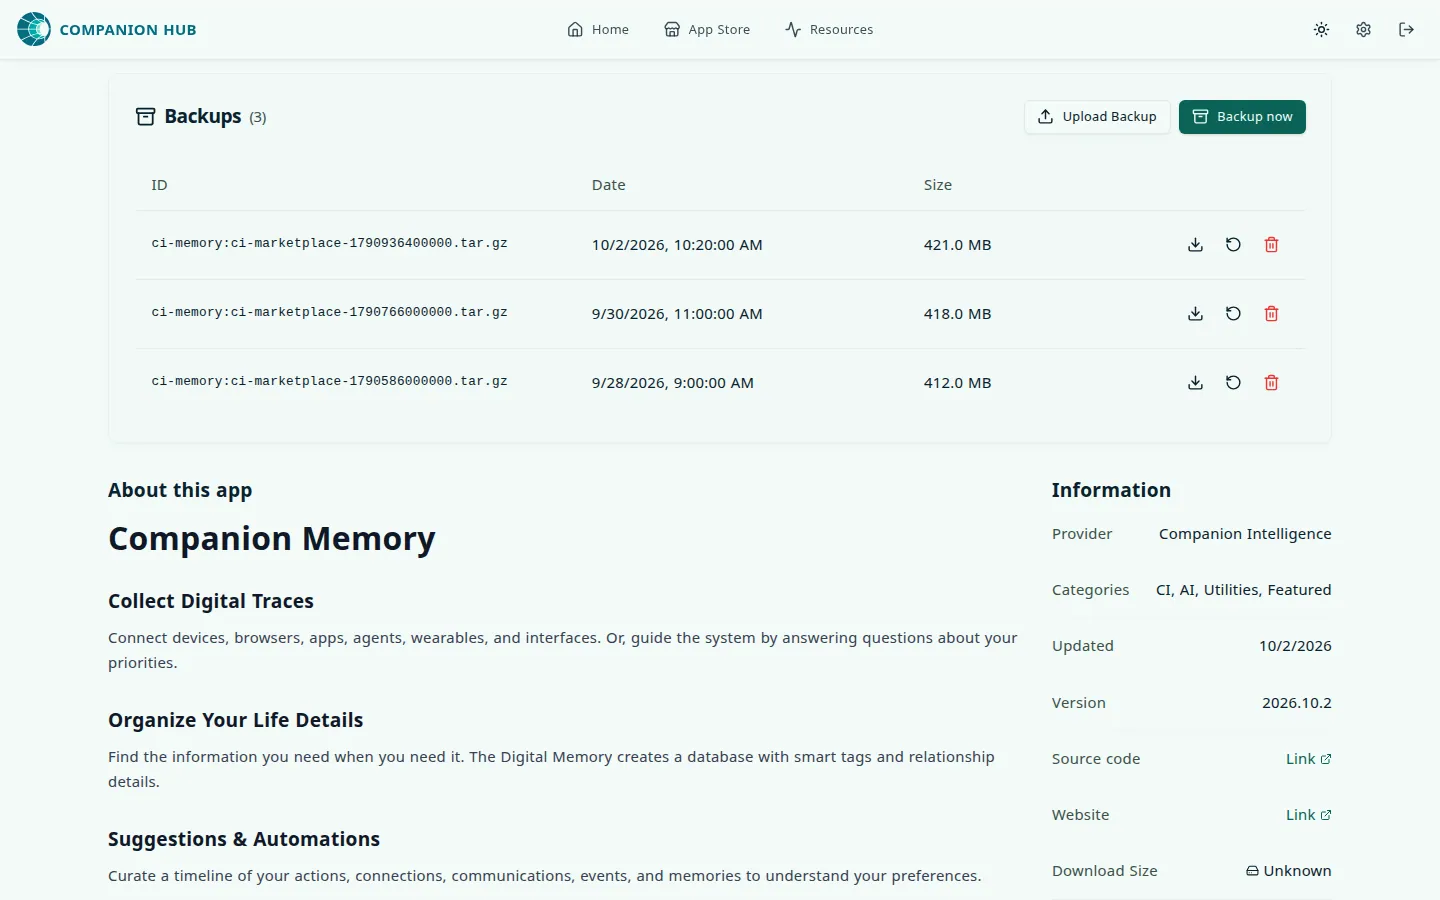
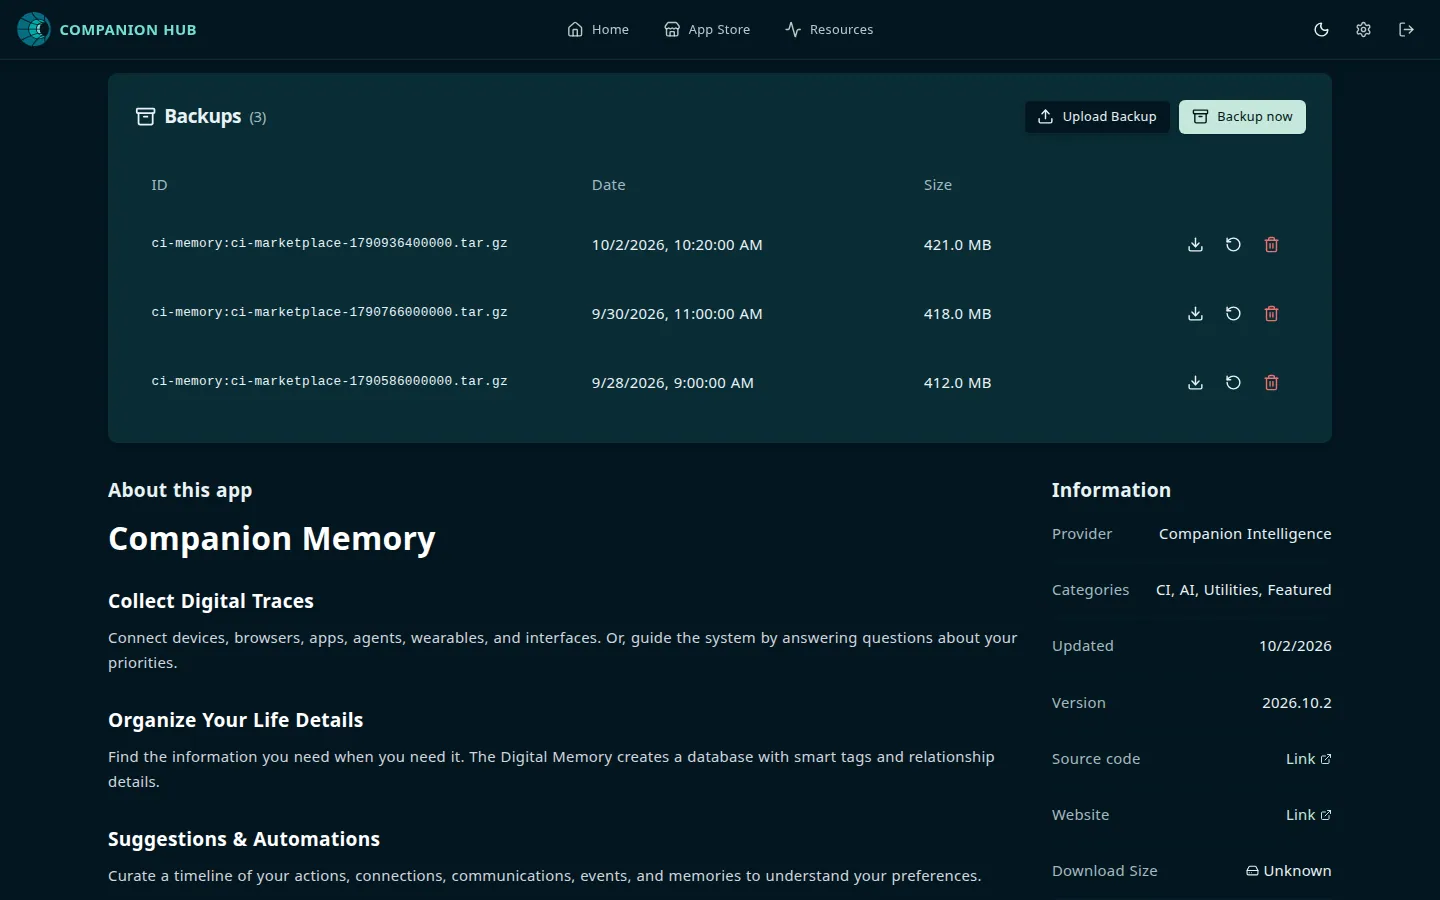
Select Backup now, then confirm. Hub stops the app while it copies the app’s data, config, and any user overrides into a temporary directory, creates a .tar.gz, and moves it into the app’s backup folder. The app shows Backing up and is unavailable until the backup finishes. Larger apps take longer — it is a real copy, not a snapshot. Hub starts the app again afterward if it was running, and shows App <name> backed up successfully.
Confirm the archive exists
The new backup is the first row of the card. Each row shows the file name (the ID), the date, and the size. You can also see it on disk:
ls -lh <ROOT_FOLDER_HOST>/backups/<app-store>/<app-name>/Archives are named <app-urn>-<timestamp>.tar.gz. A size of a few hundred bytes means it captured nothing — check the app actually had data before you trust it.
Break something on purpose
This is the part that makes it a drill instead of a ritual.
Go back into the app and delete the thing you created in step 1. Confirm it is really gone from the app’s own interface.
Restore
Back on the app’s page, select the restore icon on the archive’s row. The dialog warns that all the current data of the app will be erased and replaced with the data from the backup. Select Restore.
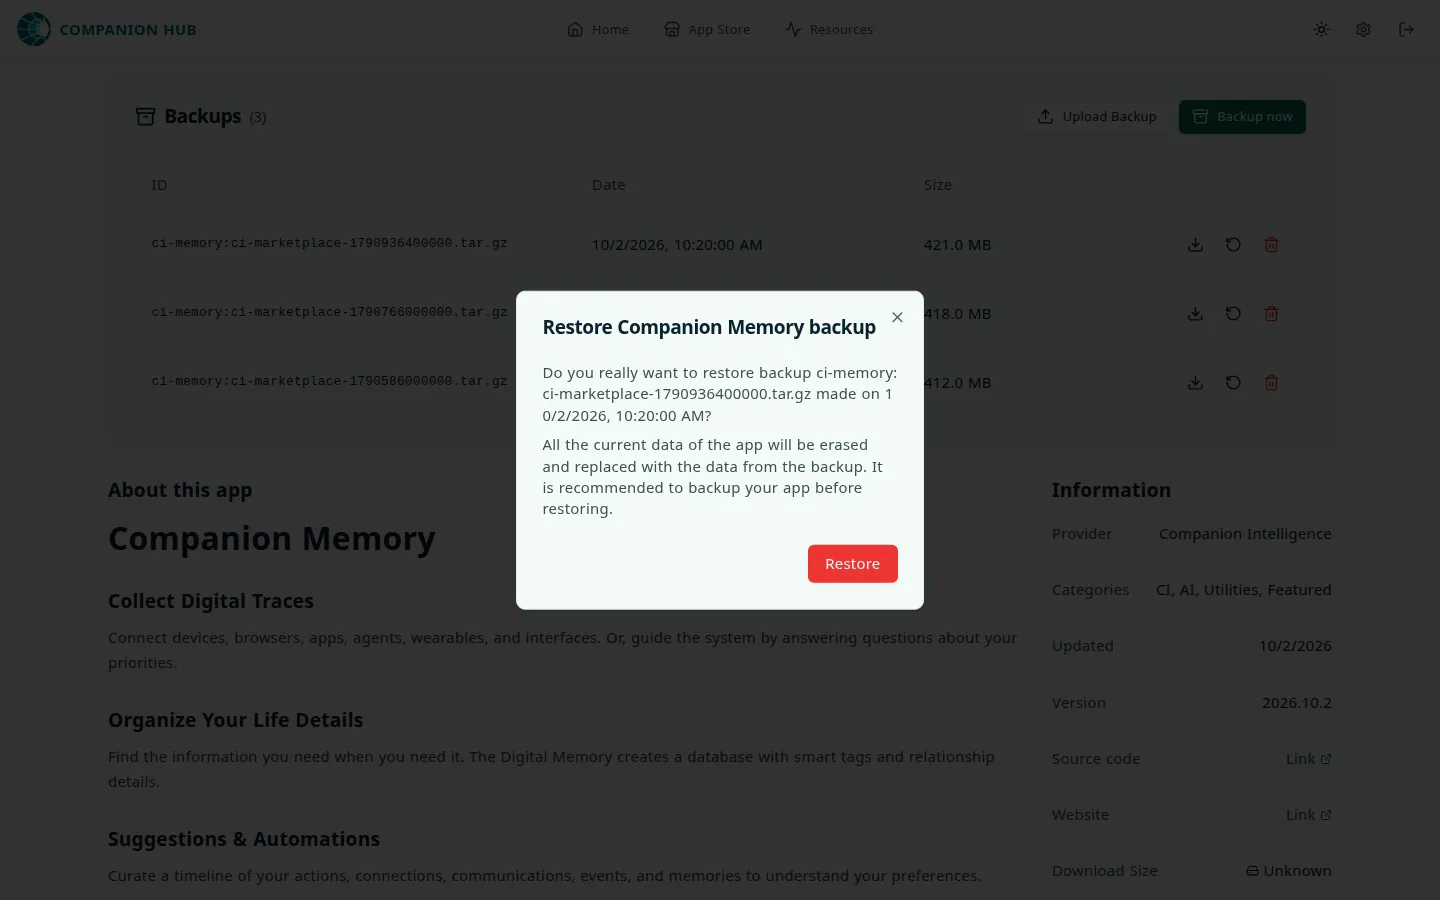
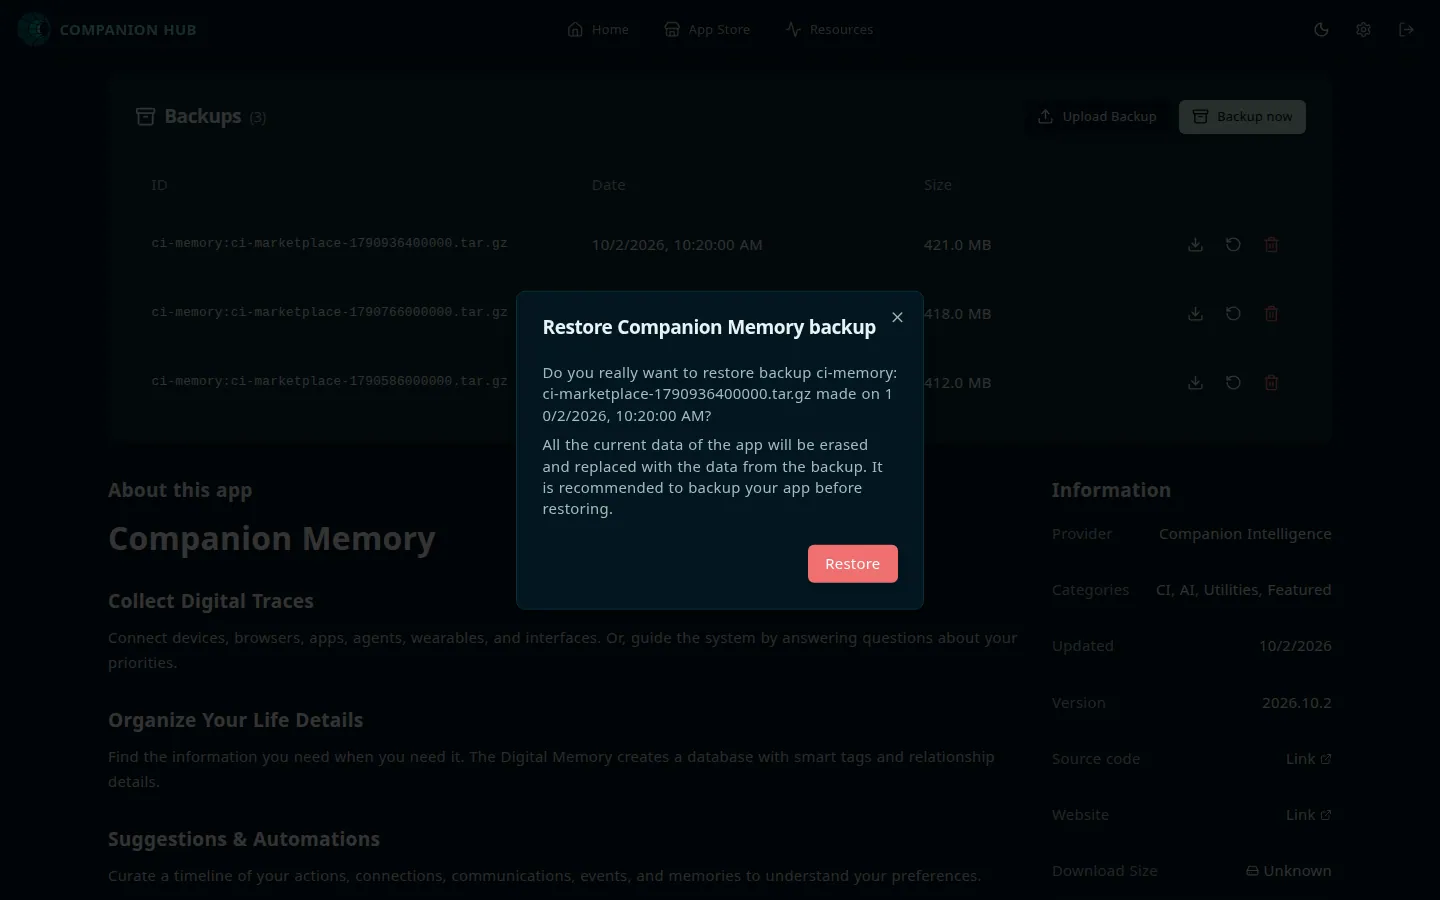
Hub stops the app, replaces its data, definition, and overrides with the archive’s contents, and starts it again if it was running. The app shows Restoring, then Running, and Hub shows App <name> restored successfully. If Hub refuses the archive, the app stays Stopped with its data untouched; Settings → Logs names the entry it refused.
Verify
Open the app again and look for the specific thing you deleted.
- It’s back — your backup and restore path both work.
- It’s not back — the archive didn’t contain what you assumed. Better to find that out now.
Retention
Two things trim your backups, and they don’t agree with the labels in Settings:
- After each backup, including the one Hub takes before an update, Hub deletes the app’s oldest archives beyond its limit. The limit is the app’s App backup limit (0 to 100, shown only while Advanced Mode is on), or the global Maximum backups to keep on the Settings tab when the app has none. The global field appears after you switch on Advanced settings there.
0means unlimited, and it’s the default. - Once a week, while Hub stays running, a cleanup keeps only the newest archives for each app: as many as the global limit says, or 5 when the global limit is
0. This sweep ignores the per-app limit, and the timer restarts whenever Hub restarts.
So an archive you need to keep for months belongs on another disk, not only in the backups folder.
The app’s update page has a Backup switch, on by default, that backs the app up before it updates. Leave it on; it is the cheapest insurance available.
Moving archives off the machine
Select the download icon on an archive’s row to save the .tar.gz file, or copy it from the backups folder with any file tool. To restore it on another Hub, install the same app there, select Upload Backup on the app’s Backups card, and restore the uploaded file. Uploads stop at 1 GB. For a larger archive, copy the file into the same <ROOT_FOLDER_HOST>/backups/<app-store>/<app-name>/ folder on that Hub, and it appears in the list.
For scheduled copies, see Auto backup your apps using cron.
Optional: run the drill through an agent
An agent connected to your Hub’s MCP server can run the same drill. Backup and list need a key with write capability or better. Restore is destructive, so it needs a full-capability key. Hub’s MCP server is on by default. On the Hub machine, mint a key:
cihub api-key create --name backup-drill --capability fullCopy the key when it’s printed — it’s shown once. Connect your agent with it, following Connect an existing agent. Your agent then has four backup tools. You can also run each one yourself from the tool catalog in Settings → MCP.
| Tool | What it does |
|---|---|
hub_backup_app | Create a backup of an app |
hub_list_app_backups | List an app’s backups |
hub_restore_app_backup | Restore an app from a named backup file |
hub_delete_backup | Delete a backup file |
Each tool takes the app’s URN, written as the app’s slug, a colon, and its app store’s slug — for example nextcloud:ci-marketplace. If you don’t know yours, ask your agent to run hub_list_installed_apps. Then ask your agent, in order:
Use hub_backup_app to back up nextcloud:ci-marketplace.
Use hub_list_app_backups for nextcloud:ci-marketplace.
Use hub_restore_app_backup to restore nextcloud:ci-marketplace from <archive file name>.
Your agent may ask you to confirm the restore, because the tool is marked destructive. Delete the thing you created between the second and third request, and check that it returns, exactly as in the steps above.
Next
- Backup and restore — moving a whole Hub to new hardware
- Auto backup your apps using cron — scheduling this
- Backup and restore — the feature reference