Run your first agent
Install a Companion agent on your Hub, connect it to a model, and give it something to do.
Time: ~20 minutes · You’ll need: Hub running, and either Ollama with a model or a cloud API key
The whole path, start to finish:
flowchart LR
    subgraph install["Get it running"]
        direction TB
        A["Check the dashboard"] -->|"not there"| B["Install OpenClaw WebCLI<br/>from the App Store"]
        B -->|"Hub injects its<br/>MCP endpoints"| C["Open it on port 18789"]
        A -->|"already installed"| C
    end
    subgraph use["Put it to work"]
        direction TB
        D["Give it a model:<br/>Ollama or a cloud key"] --> E["Give it a small,<br/>checkable task"]
        E -->|"a real answer"| F["Agent verified"]
    end
    install --> use
What you’ll have at the end
- OpenClaw WebCLI installed on your Hub and open in your browser on port 18789
- The agent connected to a model — local Ollama, or a hosted provider by API key
- One task answered, which proves the install, the model, and the agent’s tools all work
- Hub’s MCP endpoints wired into the agent, without configuring them by hand
Already run an agent elsewhere? If you use Claude Code, or your own OpenClaw or Hermes install, you don’t need to install anything here — point it at your Hub instead. See Connect an existing agent.
Which agent
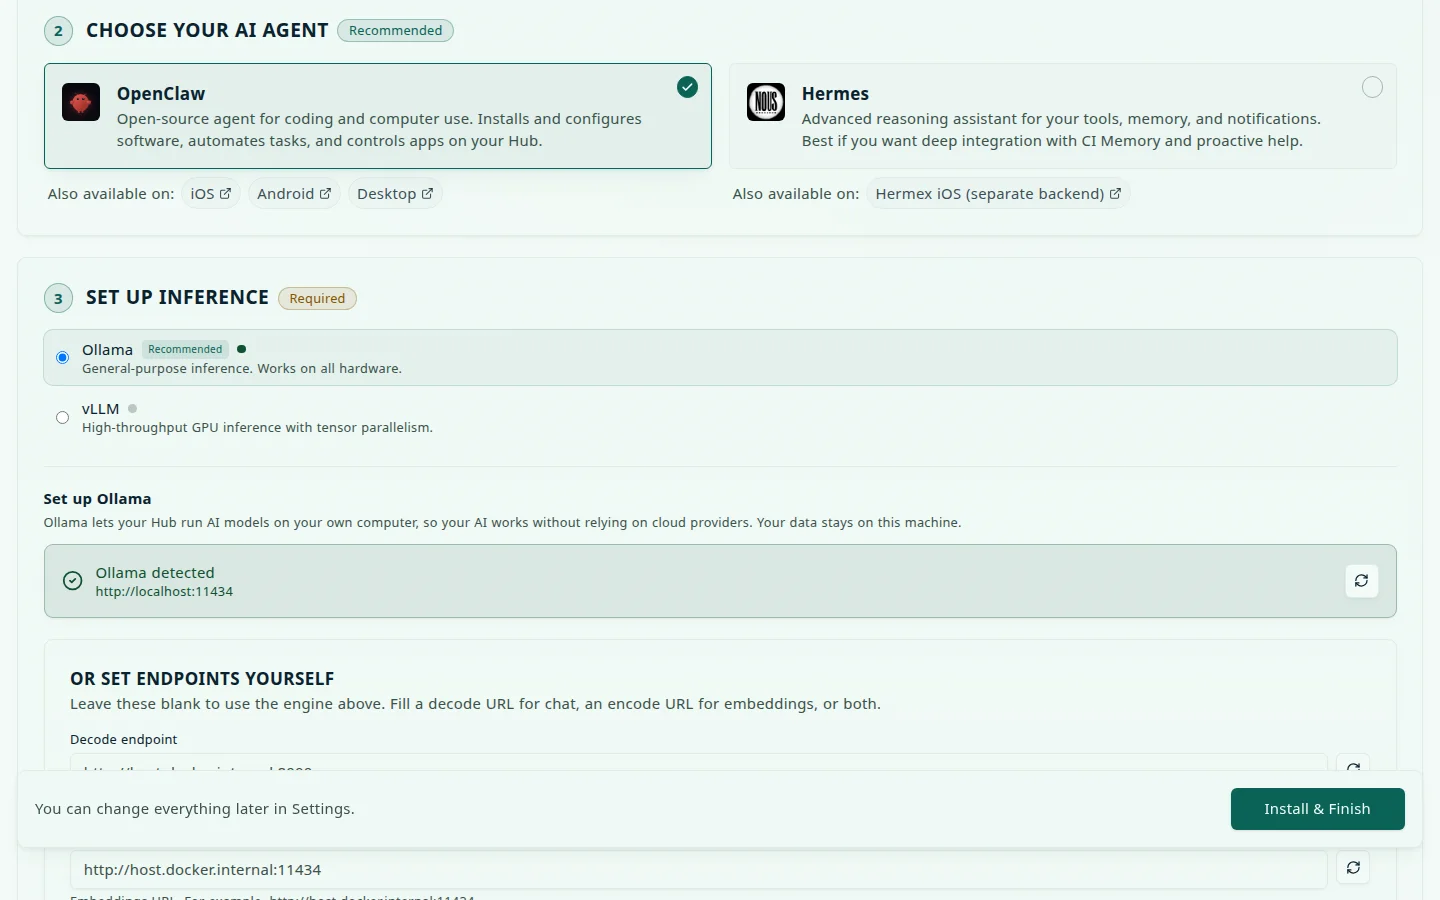
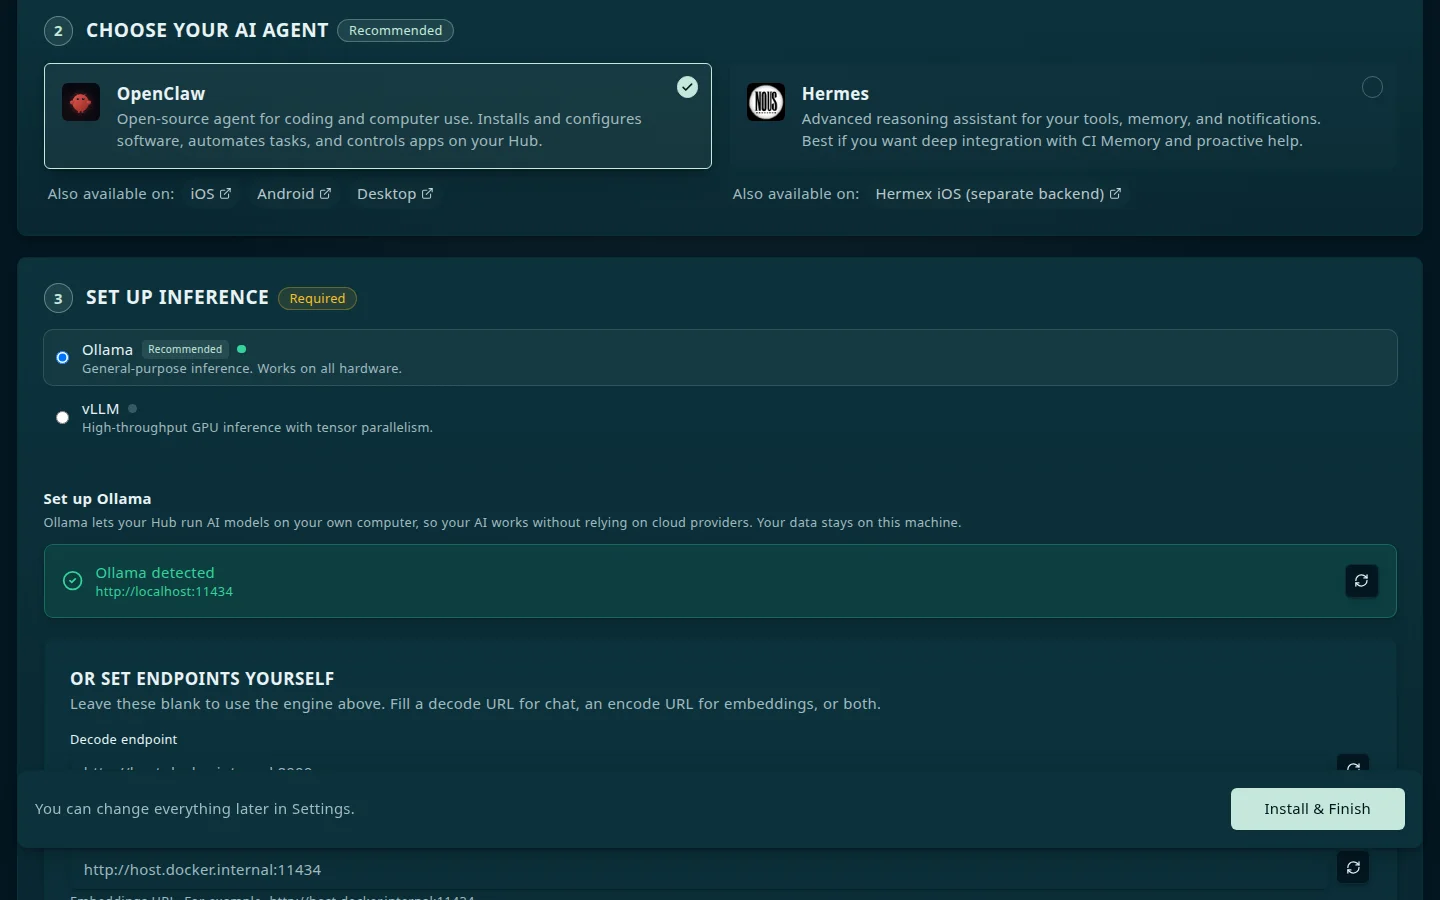
Two first-party agents ship in the App Store. Both declare hub_integration.mcp_client, so Hub hands them its MCP endpoints at install time.
| App | Store ID | Port | What it is |
|---|---|---|---|
| OpenClaw WebCLI | ci-openclaw | 18789 | Self-hosted assistant with browser automation and tool use |
| Hermes | ci-hermes | 18790 | Messaging assistant with a web terminal and dashboard |
Use OpenClaw, the wizard’s default, for these steps. Hermes follows the same process, and its install form also asks which messaging user ID(s) it should trust by default.
The store also carries a plain openclaw entry (port 30189). That is the
upstream project without Hub’s integration — it does not receive Hub’s MCP
or memory variables. For these steps, use ci-openclaw, listed as
OpenClaw WebCLI.
Check whether you already have it
The Onboarding wizard pre-selects OpenClaw, so it may already be installed. Look for OpenClaw WebCLI on your dashboard before installing a second copy.
Install it
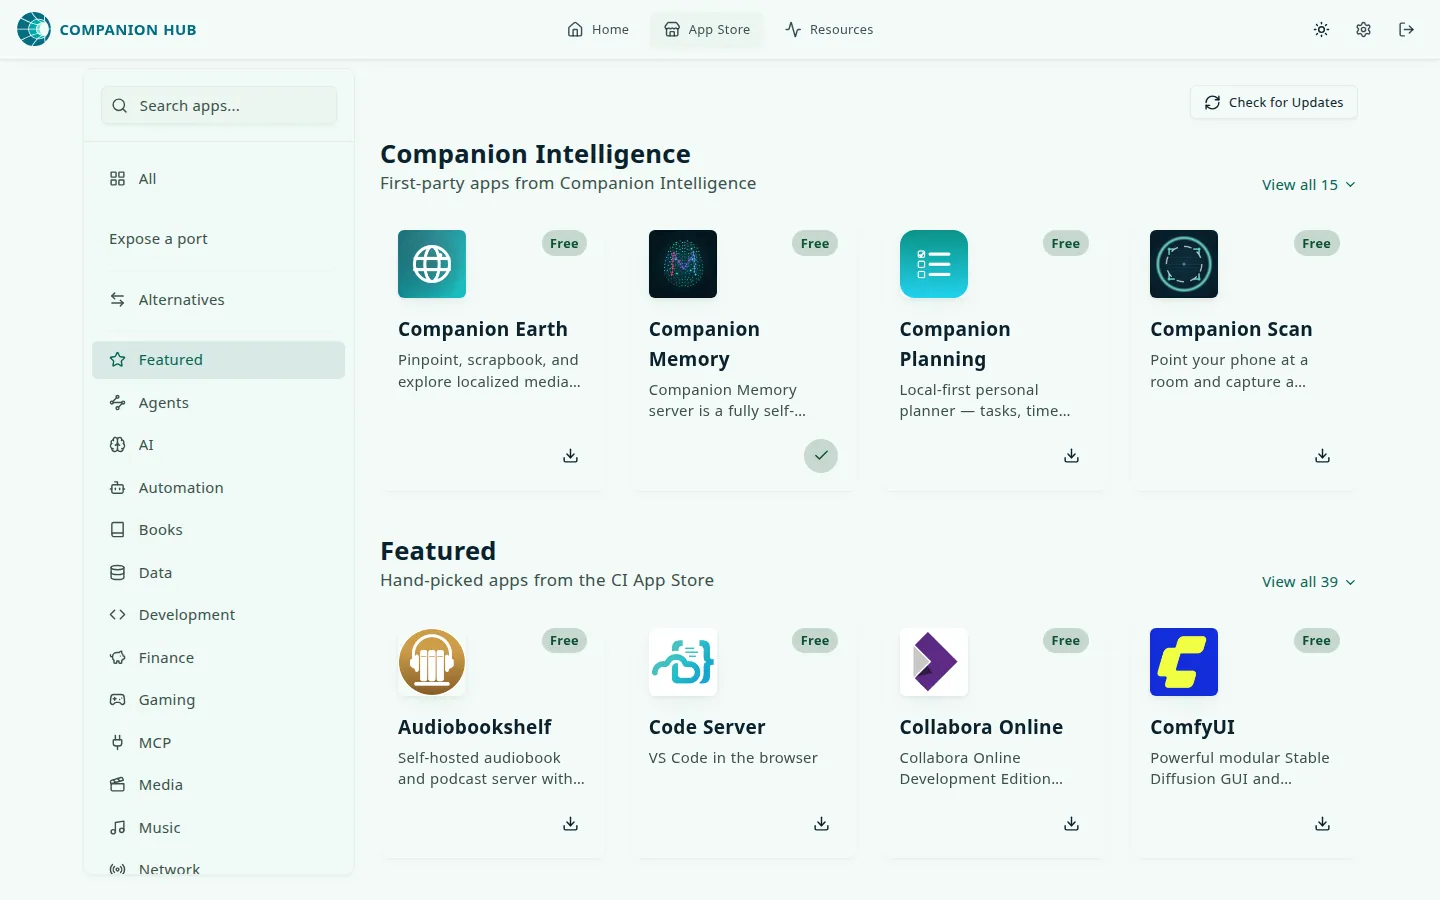
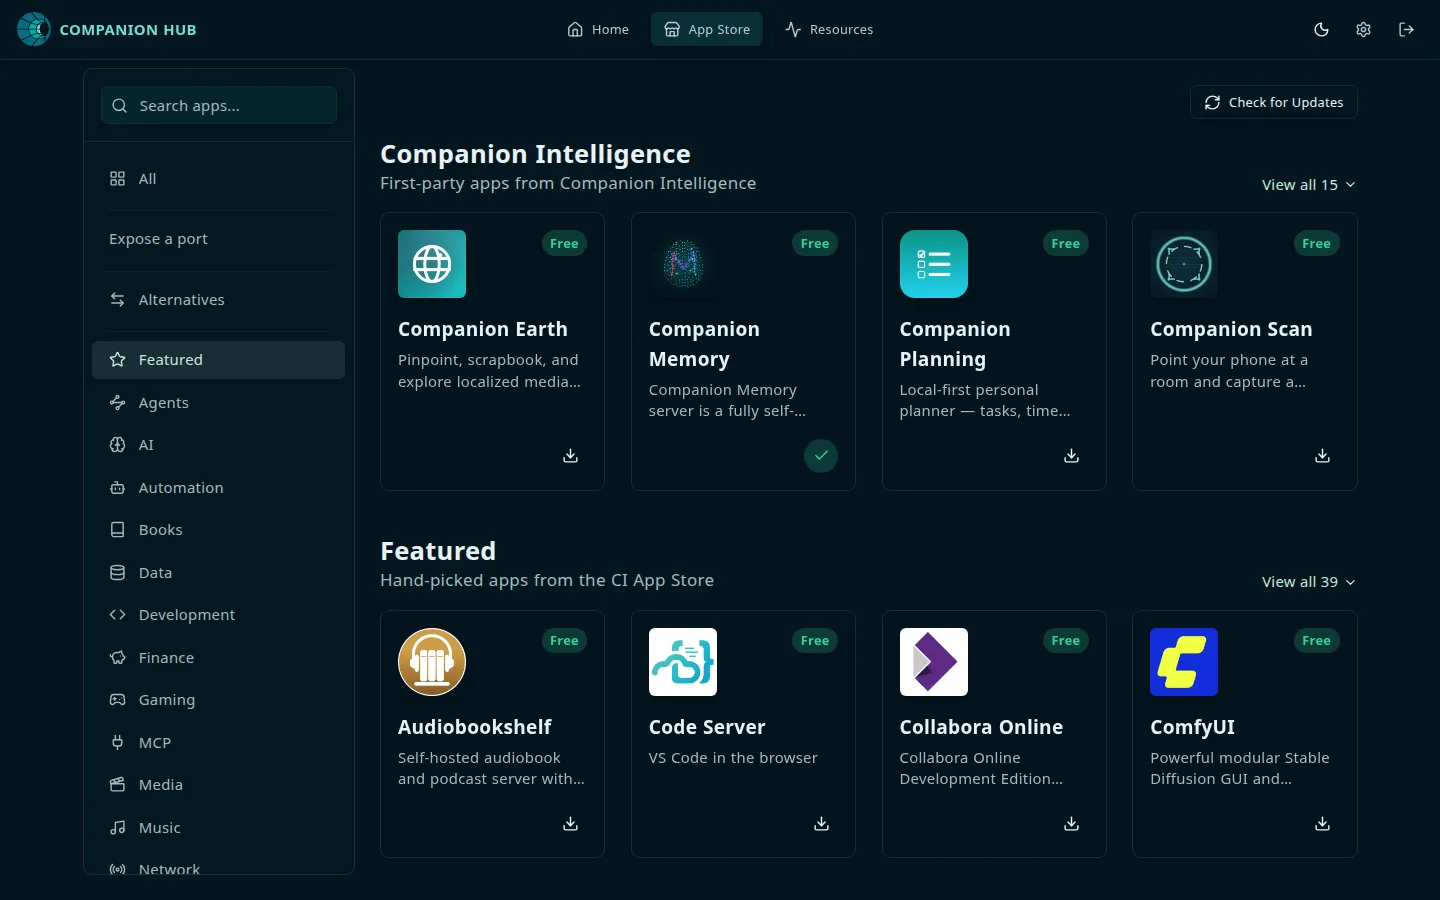
From the App Store, find OpenClaw WebCLI and install it. Hub pulls the image, generates the environment, and starts the container. Your Hub must be paired with your CI Account first, or the install fails.
Because the app declares hub_integration.mcp_client: true, Hub injects its MCP endpoint variables (HUB_URL, HUB_MCP_URL, HUB_MCP_API_KEY, and related) into the app’s environment. You do not configure those by hand — see AI & Inference.
Open it
Select the app on your dashboard, then select Open, or go to its port directly on the Hub machine:
http://localhost:18789You get OpenClaw’s setup interface on first run. Hub publishes an agent app’s port on the Hub machine only, so this address doesn’t work from another device; reach it from a phone or laptop through Private VPN or Public domain on the app’s Access points card.
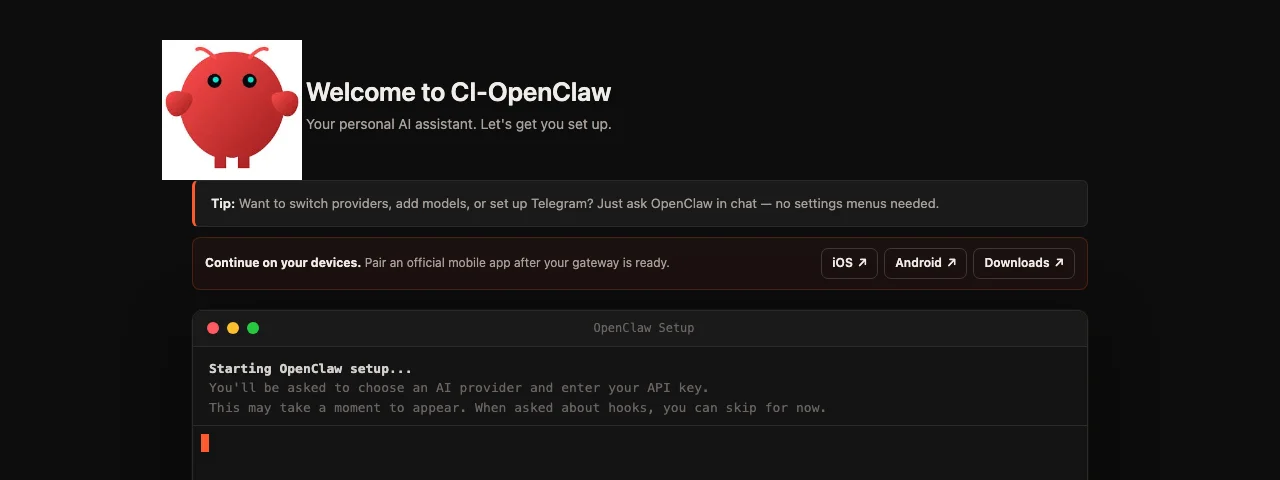
Address not opening? The Local access entry on the app’s page lists the address to use — see Finding your app’s URL.
Give it a model
Hub gives the agent a model when it installs it. It fills in the agent’s inference settings — the base URL, model name, and, when Ollama is your engine, its host — from Settings → AI, and adds any OpenAI, Anthropic, Google, or GitHub Copilot keys you saved there. Which model that is depends on what you chose in the wizard:
- Local — the Ollama (or other engine) model you selected. Nothing leaves your machine. See Install Ollama.
- Cloud — a hosted provider whose API key you saved. Better results on hard tasks; your prompts leave your machine.
The setup screen can still ask for a provider and key if none reached the agent, and you can add or switch providers later by asking OpenClaw in chat. It is not a one-way door.
Give it a task
Ask for something small and checkable, so you can tell whether it actually worked:
List the files in your working directory and tell me what this project is.A real answer confirms that the agent is installed, has a model, and can use its tools.
What the Hub integration adds
Installed this way, the agent gets things a standalone install doesn’t:
- Hub MCP endpoints, injected at install, so it can act on your Hub
- Companion Memory wiring, when Memory is installed — via
CI_SERVER_URLandCI_SERVER_TOKEN. Leave the two Companion Memory fields in the install form blank and OpenClaw connects to your Memory app automatically; you’ll be asked to sign in and approve - A wake endpoint (
/hooks/wake) Hub can call to nudge the agent
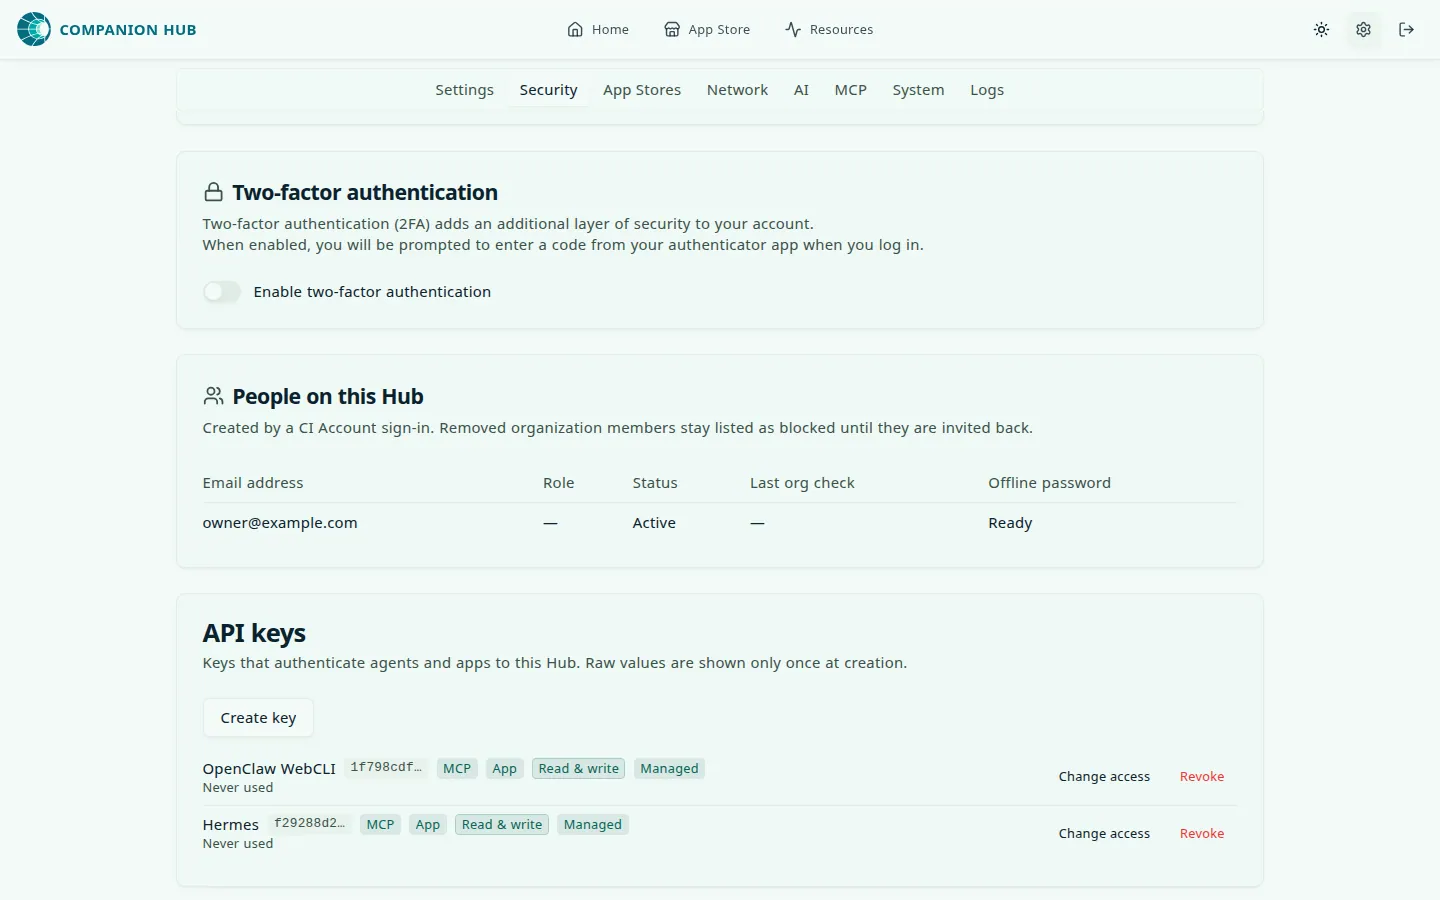
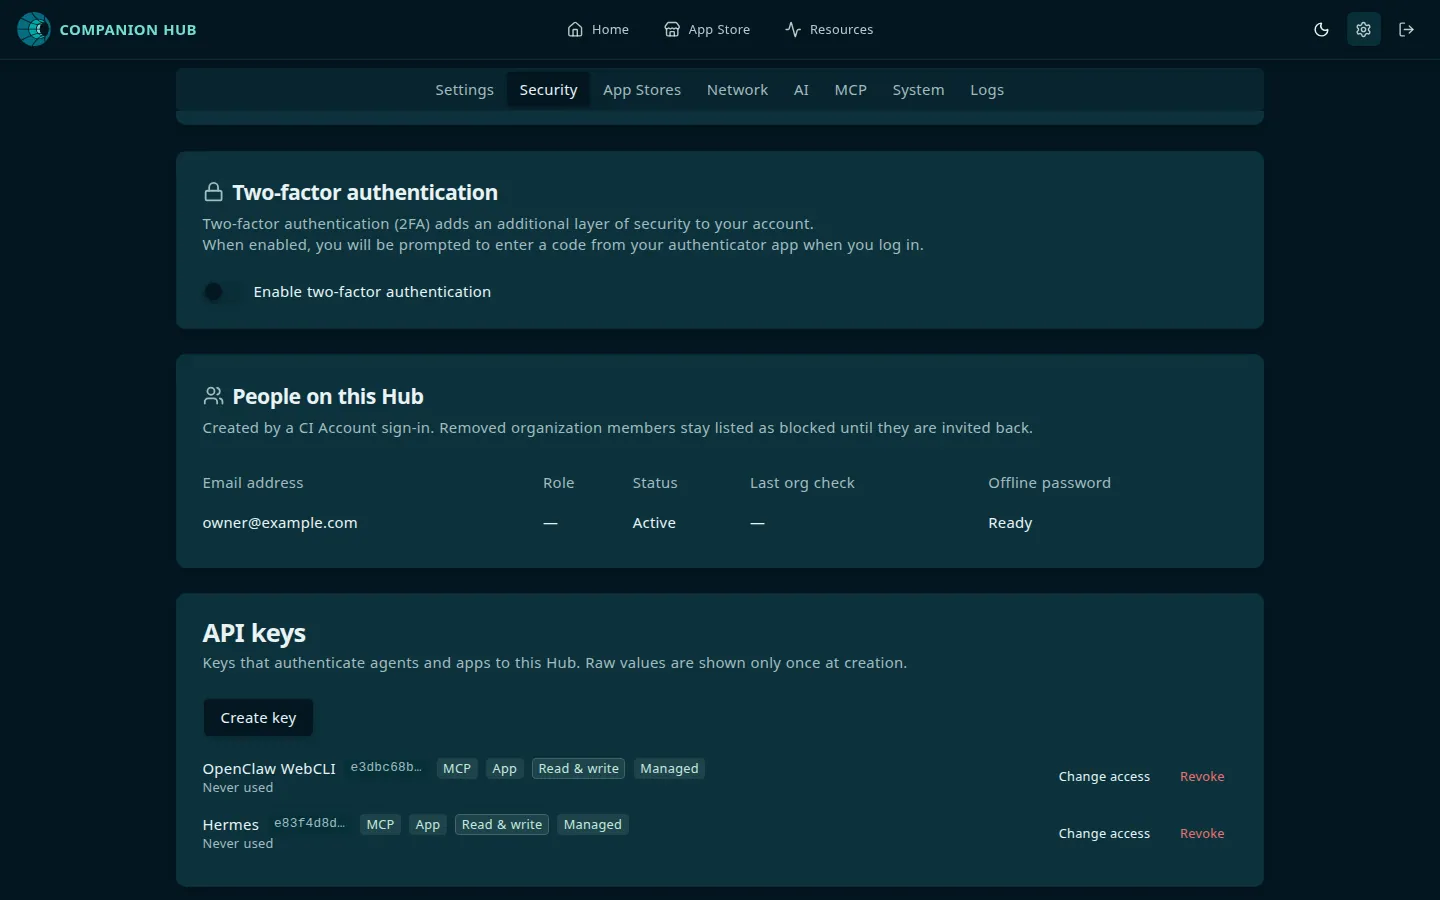
Hub’s MCP server is on by default, so there is nothing to enable. Settings → MCP shows its status and endpoint. See AI & Inference.
Open question
One detail remains unverified, so the steps omit it rather than guess: whether a restart is needed after Hub injects the memory variables. Upstream notes that OpenClaw needs one restart if the memory environment arrives after onboarding. Hub’s install ordering might avoid that restart, but this behavior needs verification on a live Hub before it goes into the steps.
Next
- Connect an existing agent — for agents you already run
- Companion agent — the agent ecosystem
- OpenClaw — the app reference