Your first hour with Companion Hub
From nothing installed to Hub running with a local app and AI behind it.
You’ll need: admin rights, a stable internet connection, enough free disk (see below), and a CI Account. You create the account at hub.ci.computer when Hub asks you to pair.
Four stages, each with a check you run before moving on:
flowchart LR
    A["1. Install Docker<br/>check: docker run --rm hello-world"] --> B["2. Install Ollama<br/>check: /api/tags from a container"]
    B --> C["3. Install Companion Hub<br/>check: cihub status"]
    C --> D["4. Pair, sign in, wizard, first app<br/>check: docker ps"]
Disk space
Plan in layers, not one lump sum:
| Layer | Typical download | Notes |
|---|---|---|
| Hub stack | ~0.4 GB | Docker images for the Hub, its database, its message queue, and its router, as downloaded. They take more space once unpacked |
| Companion Memory | ~3 GB | The first install downloads about 3 GB of container images, and its database and object store then grow with your library — see Companion Memory |
| Models | varies | Embedding model under 1 GB (Nomic Embed Text is about 0.3 GB); each chat model often 2 GB+ |
| Other apps | varies | Leave headroom — photo libraries, media, and backups add up fast |
A practical minimum for Hub + Memory + one small model is ~20 GB free; more is better if you plan to install extra apps or large models. Details: System requirements.
Inference
Hub apps need two different capabilities from an LLM backend:
- Chat / decoding — answering questions, agents, summarization
- Embeddings — vector search; Companion Memory requires embeddings
| Backend | Chat | Embeddings | Setup |
|---|---|---|---|
| Ollama (recommended to start) | ✓ | ✓ | Install on the host, or let the desktop app install it; Hub connects at port 11434 |
| Lemonade | ✓ | ✓ | AMD GPU hosts. Select it in the setup wizard; on Linux, follow the steps on the Lemonade card so Hub can reach it from Docker |
| vLLM | ✓ | Through Ollama | NVIDIA GPU hosts. Point Hub at an existing server URL and API key, or let the desktop app install it |
| oMLX | ✓ | Through Ollama | Apple Silicon. The desktop app installs it with Homebrew, or run brew tap jundot/omlx https://github.com/jundot/omlx && brew install jundot/omlx/omlx && omlx start |
If you use vLLM or oMLX for chat, you still need Ollama for Companion Memory embeddings. Ollama and Lemonade embed for themselves. The wizard shows only the engines that run on your hardware: Ollama everywhere, oMLX on Apple Silicon, vLLM on NVIDIA GPUs, and Lemonade on AMD GPUs or NPUs. It also filters local model recommendations by macOS, Linux, or Windows and by the detected accelerator; full detail: AI and inference.
Companion Core Server? Docker, Ollama, and Hub are preinstalled — skip to Pair with your CI Account, or follow the Core Server quick start.
Platform-specific traps and troubleshooting live on the dedicated pages — Install Docker, Install Ollama.
Install Docker
Hub runs every app as a Docker container. Nothing else works without Docker.
Check for Docker
docker --versionIf that prints a version, skip to Install Ollama.
Install
Docker Desktop works on macOS, Windows, and Linux. Licensing-free alternatives exist (Colima, Docker Engine in WSL2, Docker Engine on Linux) — Hub’s setup wizard can install those for you later if you prefer to skip manual install.
macOS
Download Docker Desktop , install for your chip, launch it, and wait until the menu-bar whale icon is idle.
Verify
docker run --rm hello-world
docker compose version
docker compose version must report 2.33 or newer. Hub refuses to start on an older Compose, and it recommends Docker Engine 28 or newer.
Docker Desktop must stay running — if you quit it, Hub stops too. Enable start-at-login in Docker settings.
Install Ollama
Ollama provides embeddings for Companion Memory and local chat. Skip this step only if you already run Ollama, or you plan to configure vLLM and a separate embedding backend in Hub settings.
Install
macOS / Windows
Download from ollama.com/download and run the installer.
Pull a chat model and an embedding model
ollama pull llama3.2
ollama pull nomic-embed-text
Let containers reach Ollama (Linux)
On macOS and Windows with Docker Desktop, containers usually reach Ollama at host.docker.internal:11434 without extra config.
On Linux, bind Ollama to all interfaces:
sudo systemctl edit ollama[Service]
Environment="OLLAMA_HOST=0.0.0.0:11434"sudo systemctl restart ollamaVerify from a container
docker run --rm --add-host=host.docker.internal:host-gateway curlimages/curl -s http://host.docker.internal:11434/api/tagsThe --add-host flag makes host.docker.internal resolve on Docker Engine for Linux, which doesn’t define it by default. Hub adds the same mapping to its own containers.
JSON listing your models means Hub apps can reach Ollama. See Install Ollama if this fails.
Using vLLM instead of Ollama for chat? After Hub is running, open Settings → AI, select vLLM, and point Hub at your server:
- Endpoint:
http://host.docker.internal:8000(Hub runs in Docker — notlocalhost) - API key: must match
--api-keywhen you started vLLM (e.g.vllm-local)
Click Re-check after vLLM is serving a model. vLLM handles chat only — keep Ollama
on port 11434 for Companion Memory
embeddings. Details: AI and inference — vLLM.
Using Lemonade or oMLX? Select the backend in Settings → AI and click Re-check. Lemonade is the AMD GPU path, and it embeds for itself. oMLX is the Apple Silicon path; keep Ollama running for embeddings.
Install Companion Hub
Install
macOS
Download the macOS installer for your chip (Apple silicon or Intel) from ci.computer/download , open the .dmg, and drag Companion Hub to Applications.
Launch and confirm
Open Companion Hub (or browse to http://localhost:5002). First launch pulls Hub stack images.
The desktop app adds the cihub CLI to your PATH — open a new terminal before using it.
cihub statusMore install paths: Installation.
Pair with your CI Account
A fresh Hub opens on the device registration screen. It asks you to pair with a CI Account before it lets anyone sign in. If you already paired during Core Server setup, skip to Sign in as the first admin.
Get a pairing code
On any device with a browser, sign in or register at hub.ci.computer . Select Add Device, name your Hub, and copy the 6-character pairing code.
No browser on the machine that runs Hub? On the registration screen, select Scan QR next to Sign in to CI Account to open hub.ci.computer on your phone.
Enter the code
Open http://localhost:5002 (or http://<server-ip>:5002). Enter the code in Enter Pairing Code and select Register.
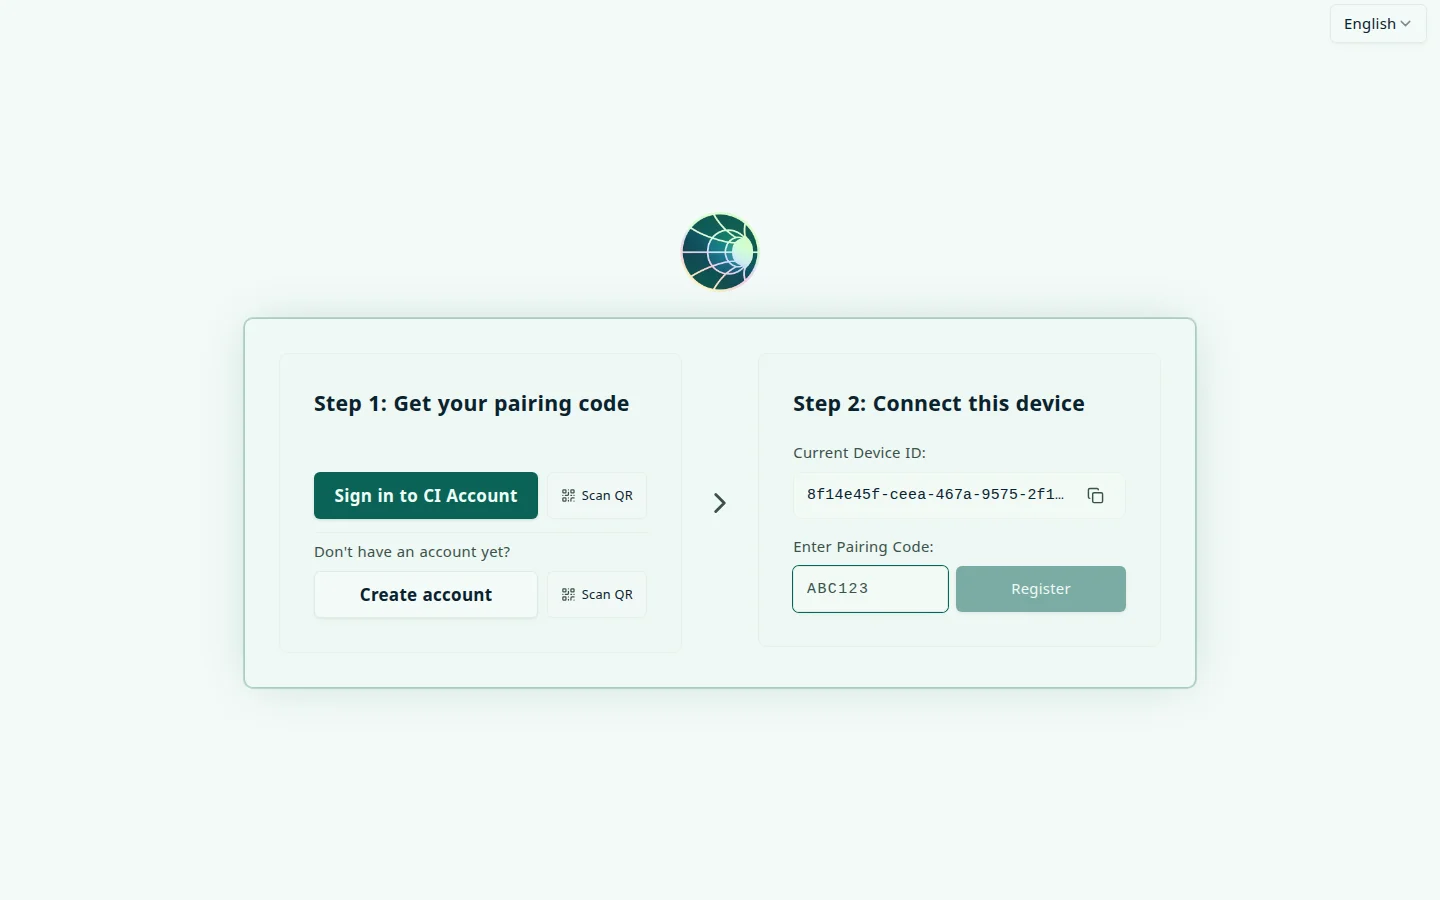
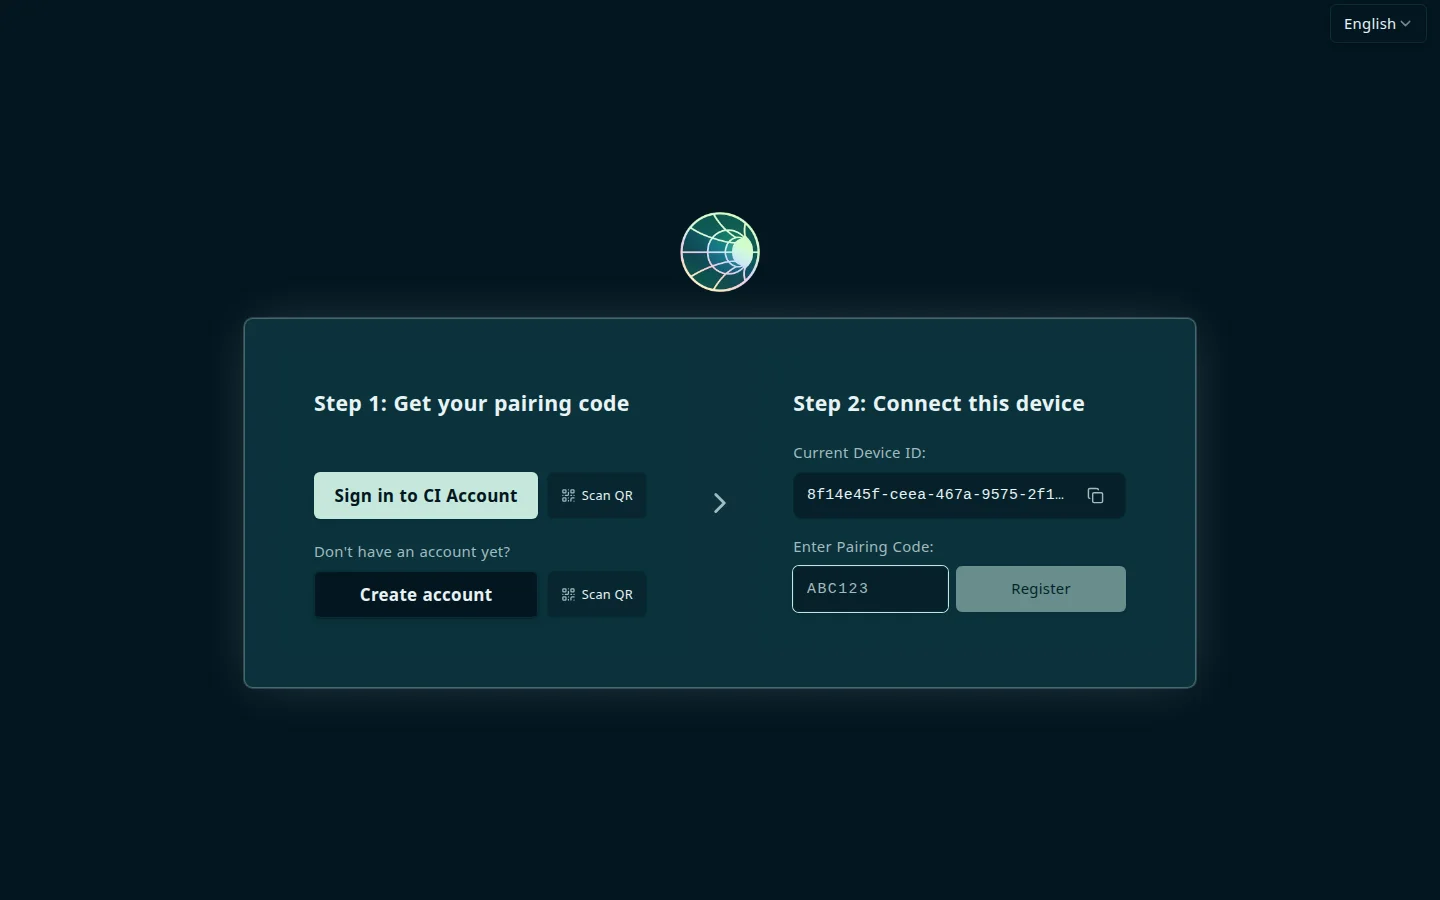
Hub then provisions your domain and secure tunnel. This usually takes a few minutes, and DNS propagation can add another minute or two. Keep the window open. Hub works locally even if the public address needs more time.
Prefer a terminal? Run cihub register --code YOUR_CODE. See Device pairing for the full flow.
Sign in as the first admin
Sign in
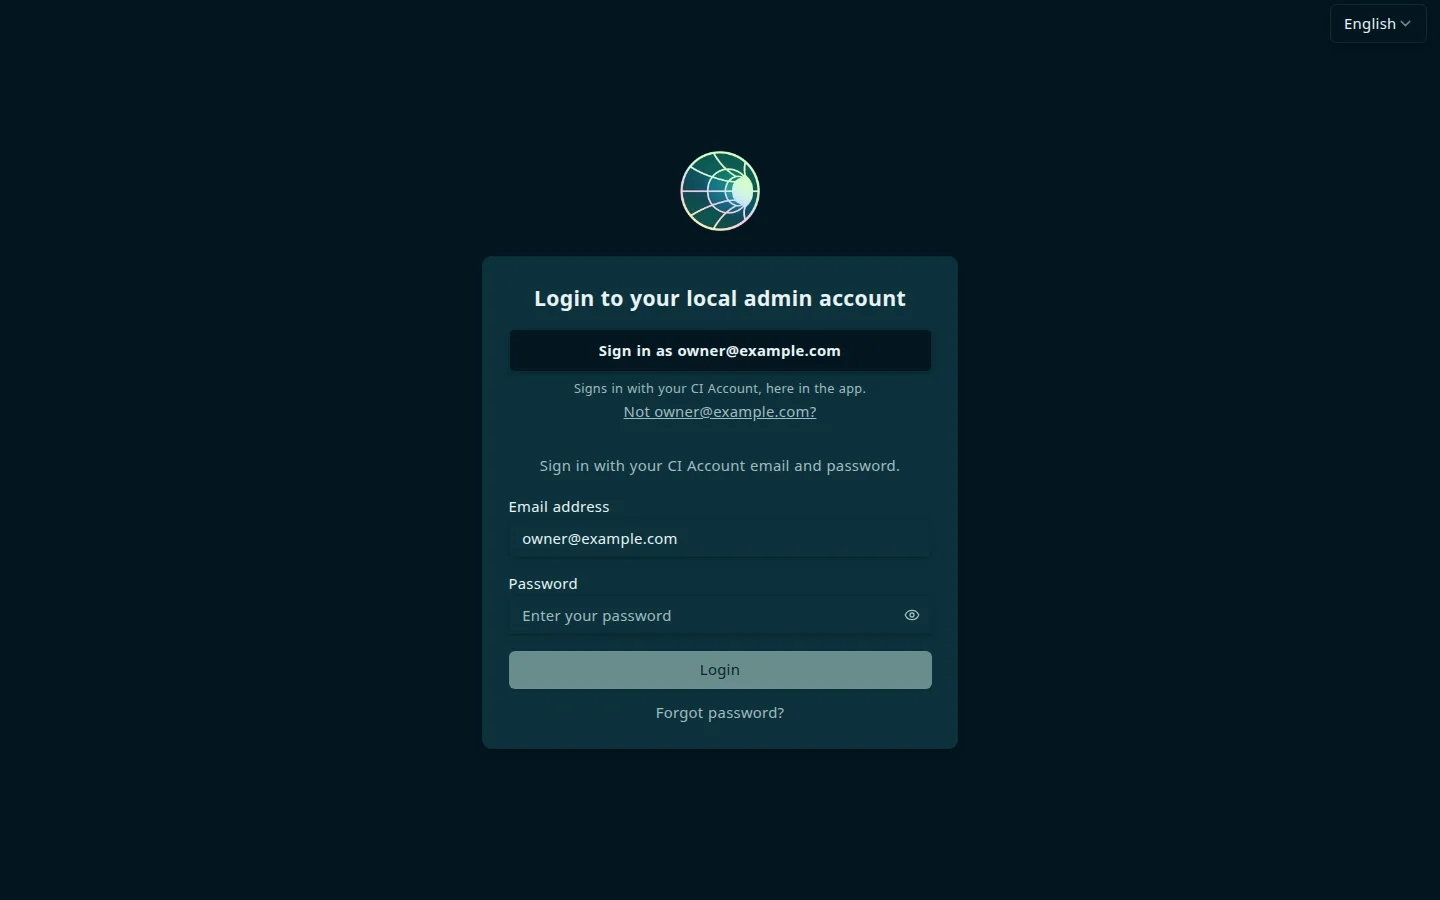
When registration finishes, Hub sends you to its sign-in screen, titled Login to your local admin account. The first person to sign in becomes the Hub’s admin. Sign in with the CI Account you just paired with: select Sign in using your CI Account (the button reads Sign in as followed by your email address when this browser is already signed in at hub.ci.computer), or enter that account’s email address and password.
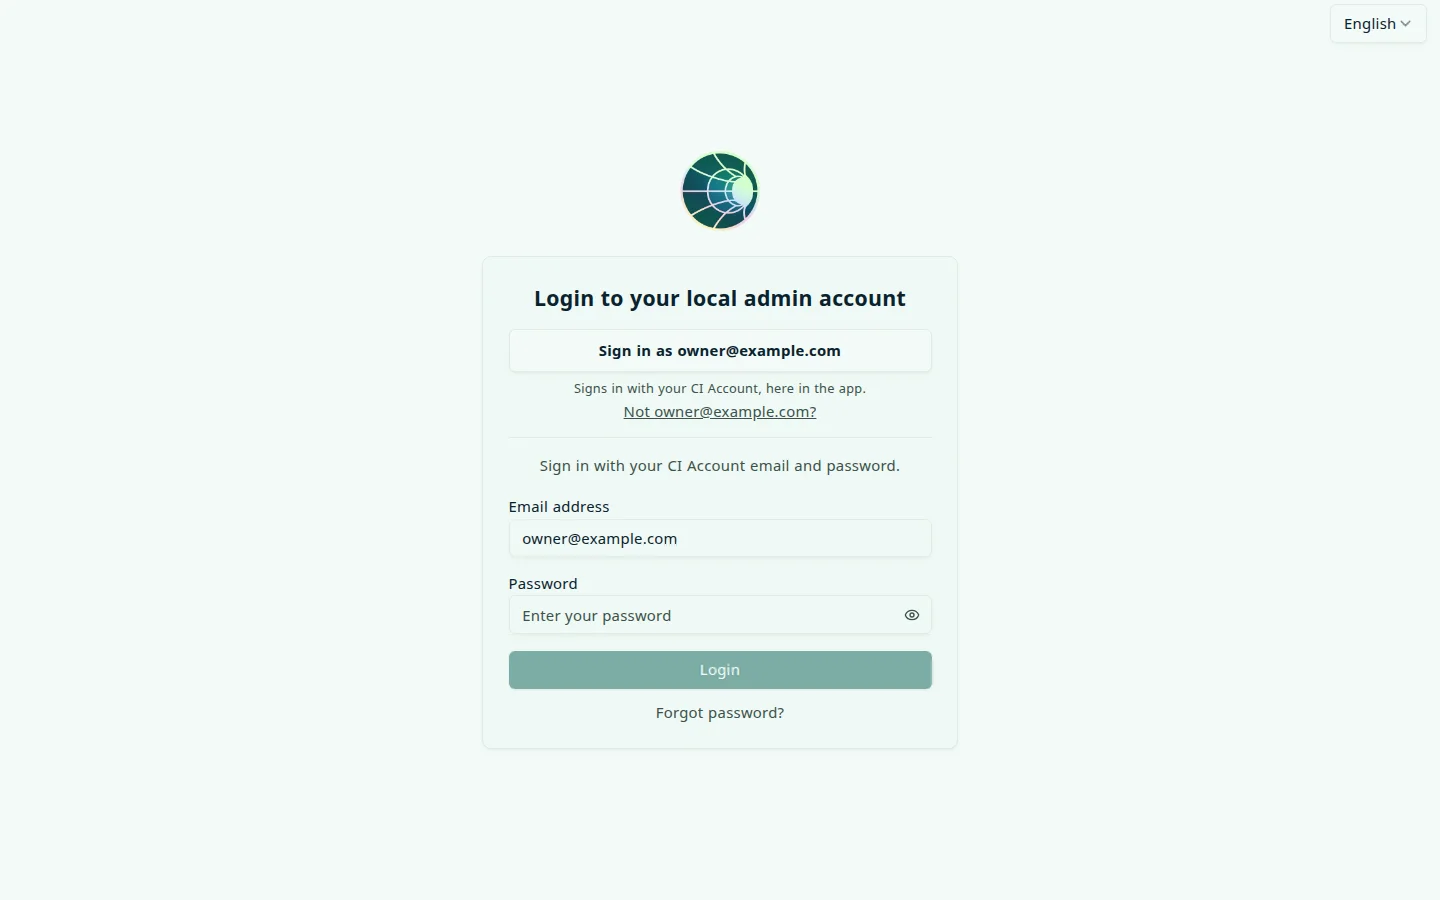
If Hub shows Create local admin user for this device instead, which it does when you open the Hub’s address again before anyone has signed in, see First login and setup. That form needs a password of at least 8 characters with an uppercase letter, a lowercase letter, a number, and a symbol.
To reset a forgotten password, select Forgot password? on the sign-in screen. Hub asks your CI Account to email reset instructions.
Run the setup wizard
After you sign in, the Set Up Companion Hub wizard shows a System Overview (OS, CPU, RAM, GPU, VRAM, storage) and your install choices on one page.
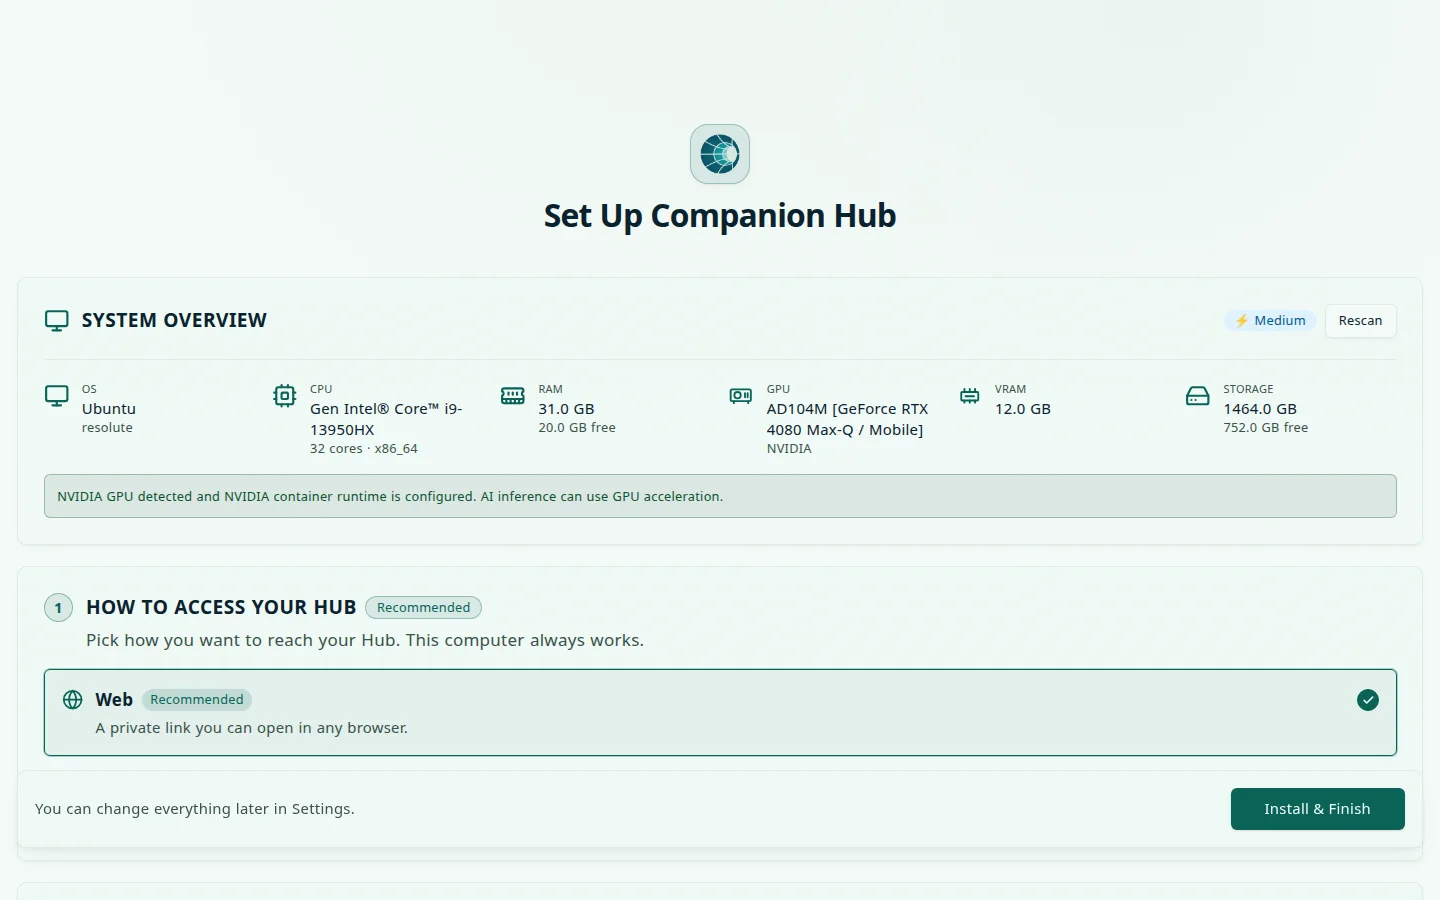
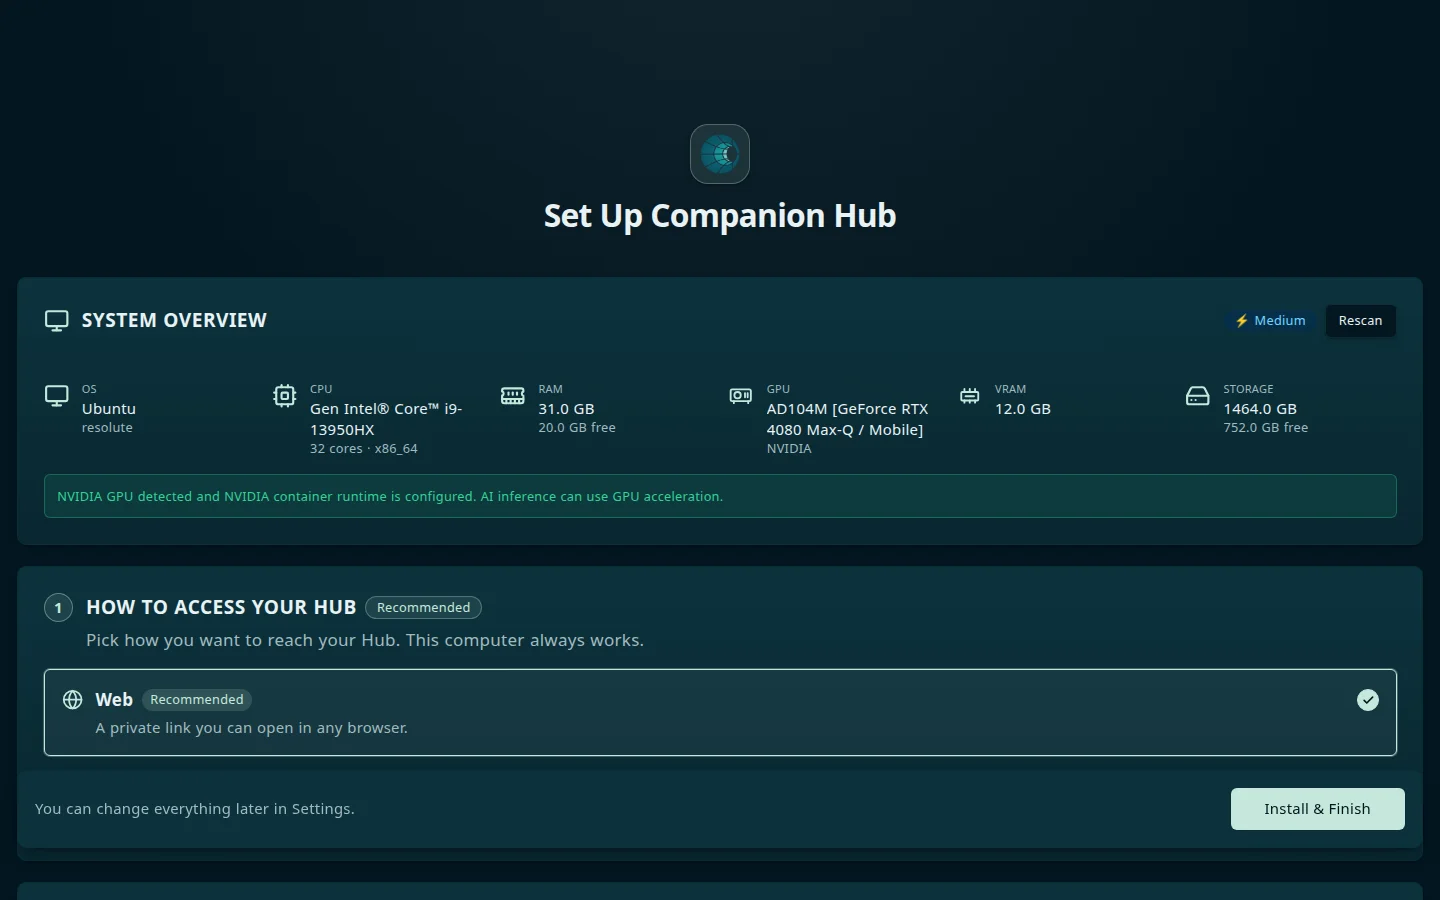
Reasonable defaults for a first run, in the order the wizard shows them:
| Step | First-run default |
|---|---|
| How to access your Hub | Leave Web pre-selected. Add Private VPN only if you already use Tailscale. |
| Choose your AI agent | OpenClaw is pre-selected |
| Set up inference | The engine marked Recommended: oMLX on Apple silicon, vLLM on an NVIDIA GPU whose container runtime is ready, otherwise Ollama. Pick Ollama if you installed it in the previous step. |
| Choose AI models | Models already in Ollama are pre-selected and show as Installed |
| Personal Memory Database | Leave Companion Memory pre-selected |
| Recommended private apps | One you’ll use from the App Store, or none |
| Advanced | Cloud API keys. Skip if running locally. |
Watch the footer download tally against free disk before clicking Install & Finish. Hub then queues everything and shows per-item progress. You can select Continue, whose label names what is still running in the background, and use the dashboard while installs finish.
Wizard reference: Onboarding wizard. Browse the full catalog: Apps Available.
Install your first app
If the wizard already installed apps, skip to Open on any app card. Otherwise:
App Store → Install → Open
Open the App Store from the top bar (see App Store) → pick an app → Install → Open.
Examples:
- Immich — photos (immich.app )
- Vaultwarden — passwords (project wiki )
- Nextcloud — files (nextcloud.com )
- Jellyfin — media (jellyfin.org )
Each app’s card lists the addresses that work for it. On your own network, the direct port works for most apps, for example http://<server-ip>:<port>. Agent apps such as OpenClaw and Hermes, and apps with no login of their own, publish their port on the Hub machine only: reach them through Private VPN or Public web. Public and Tailscale addresses appear once you expose the app — Finding your app’s URL.
You’re done
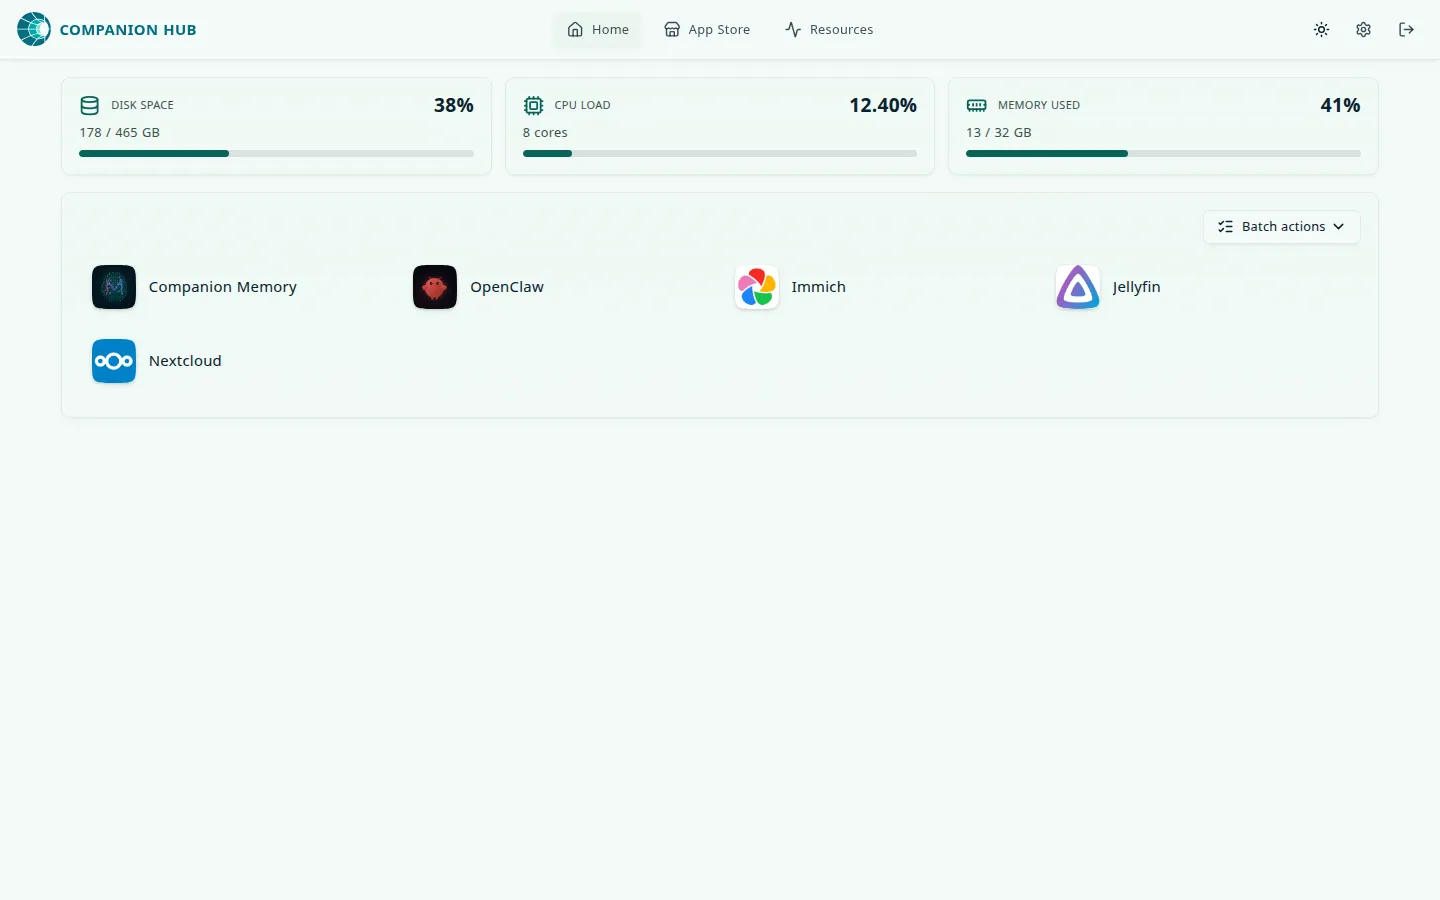
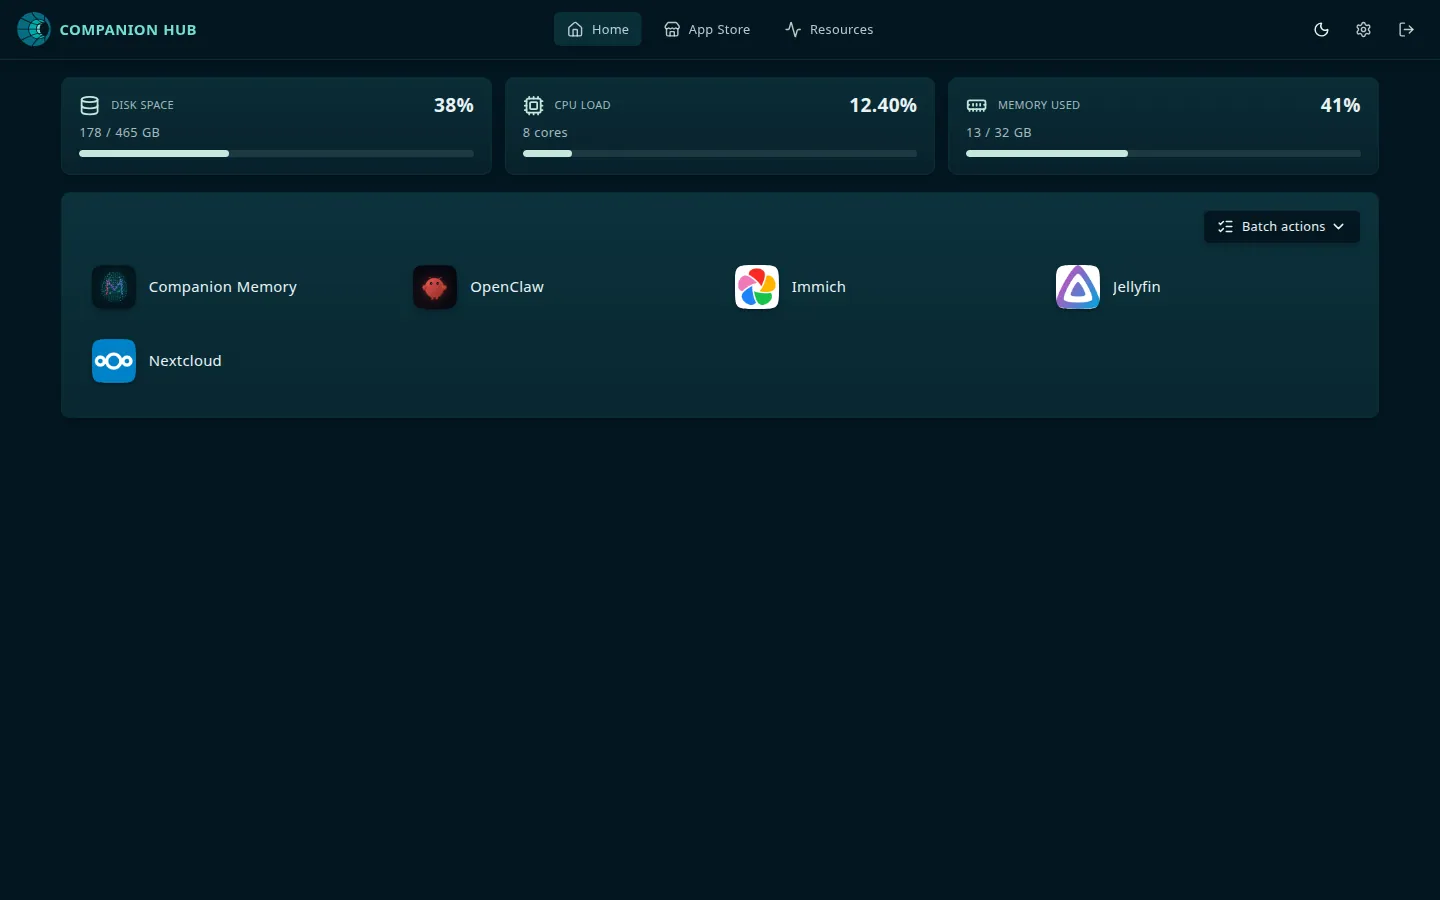
Hub, local inference, and at least one app — on hardware you control.
docker psEvery dashboard app is a container in that list.
Next steps
| Goal | Doc |
|---|---|
| Remote access | Networking |
| Backups | Backup and restore |
| How Hub uses Docker | Docker and Companion Hub |
| Connect an agent | Connect an agent |
| Models and vLLM | AI and inference |
| CLI | CLI reference |
| Problems | Troubleshooting |
If something went wrong
| Symptom | Likely cause |
|---|---|
cihub: command not found | Open a new terminal after first Hub launch |
Dashboard won’t load at localhost:5002 | cihub status; confirm Docker is running |
| Wizard shows no models | Ollama not reachable from containers — verify step |
| Memory search empty / embedding errors | No embedding model — pull one in Ollama or configure embeddings in Settings → AI |
| App URL 404s | Use the direct port on the app card |
An app’s public address shows <App> is starting… | Wait. The page reloads every five seconds and opens the app when it answers. After about two minutes it says the app isn’t responding: read Settings → Logs |
| Registration screen says Provisioning your domain for several minutes | Keep the window open. DNS and tunnel setup can take a few minutes, and propagation can add a minute or two. Hub works locally meanwhile |
| Registration says the code was made for a different device | In your CI Account, open this computer’s device menu, choose Regenerate pairing code, and enter the new code |
| Marketplace installs fail, or the App Store looks empty | Hub isn’t paired, or it lost its device key. Pair it again: Settings → Network → Reset this Hub only opens the pairing screen, or run cihub register --code YOUR_CODE |
permission denied on Docker (Linux) | Log out/in after usermod -aG docker |
Hub can’t reach Docker but docker info works | Docker socket mismatch |
Still stuck? Getting Help — include cihub status output.